Set-up LeadSquared CRM as data destination for Meta Lead Ads
LeadSquared is a Customer Relationship Management (CRM) platform that is designed to help you sell, service, analyze, and connect with your customers.
Integrating Datahash with LeadSquared allows you to import leads, Audience or events data to merge your CRM data with rich behavioural data from other sources gain a more complete view of your customers. Engage your users on any channel based on their status in your sales cycle.
Prerequisites:
- A LeadSquared account .
- User ‘Access Key’ and ‘Secret Key’ to the LeadSquared account which has permissions to access Leads and API (for administrator profile no permission check required).
- A defined field in LeadSquared CRM to capture Meta Lead ID
- Go to https://studio.datahash.com/login
- Enter your credentials to log in
- Navigate to CRM category under Destinations list in the right section
- Click on the “LeadSquared” connector tile
Before starting the process, ensure that you have a LeadSquared account set up, including a defined field to capture the Meta Lead ID in the Leads module. Once done, follow the steps below to integrate LeadSquared with Datahash
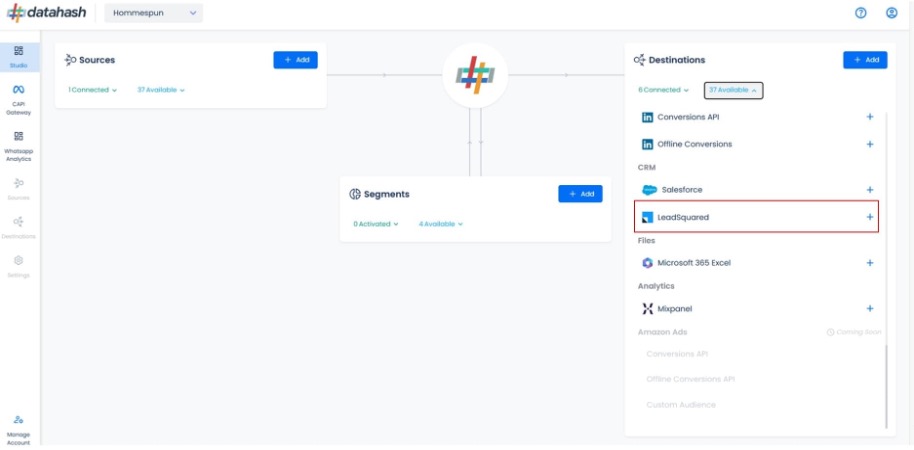
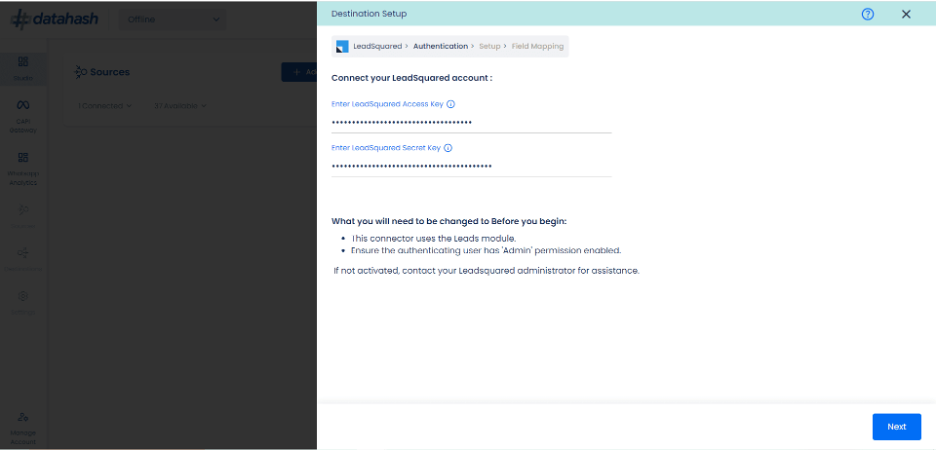
In Order to connect to your LeadSquared account You will require the LeadSquared access key & secret key.
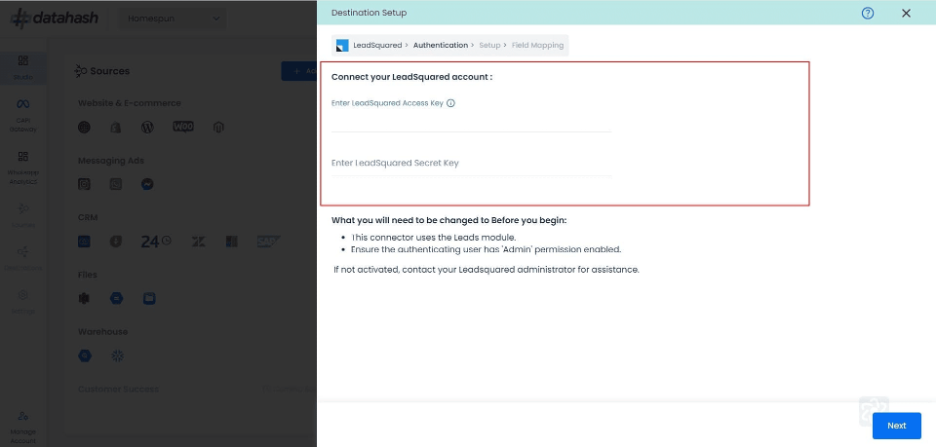
Getting the LeadSquared access & secret key
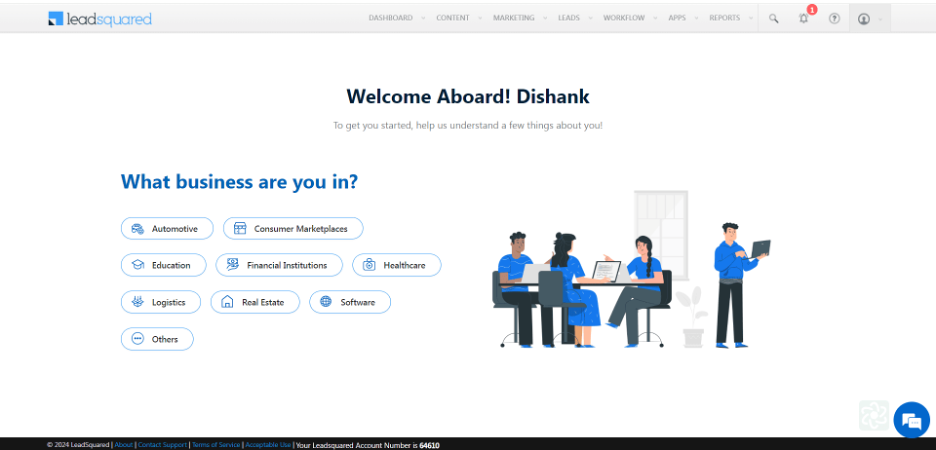
Go to LeadSquared & login to your account.
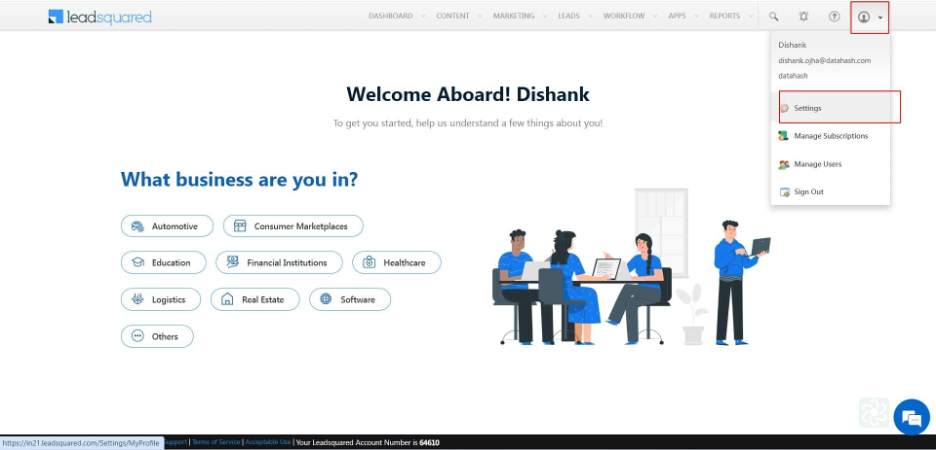
Navigate to the top right corner and look for profiles. Under your profile, click on settings.
In the left section, navigate to API and webhooks and then click on to API Access keys.
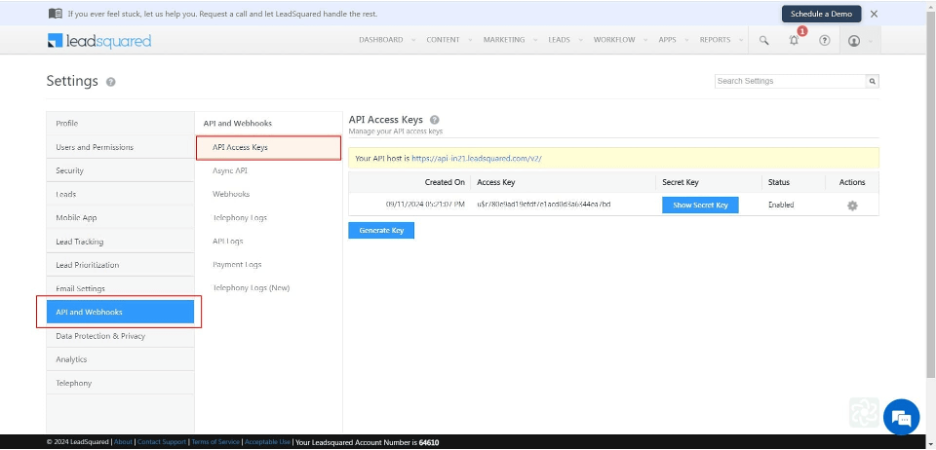
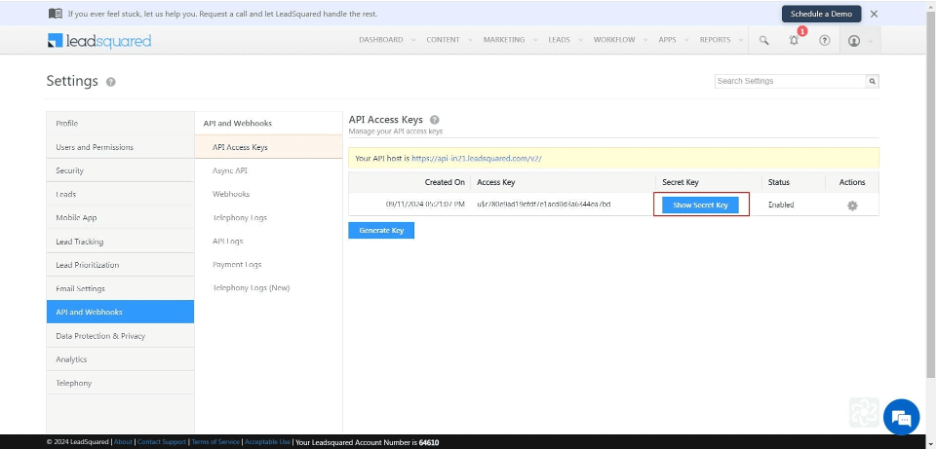
Click on Show Secret Key.
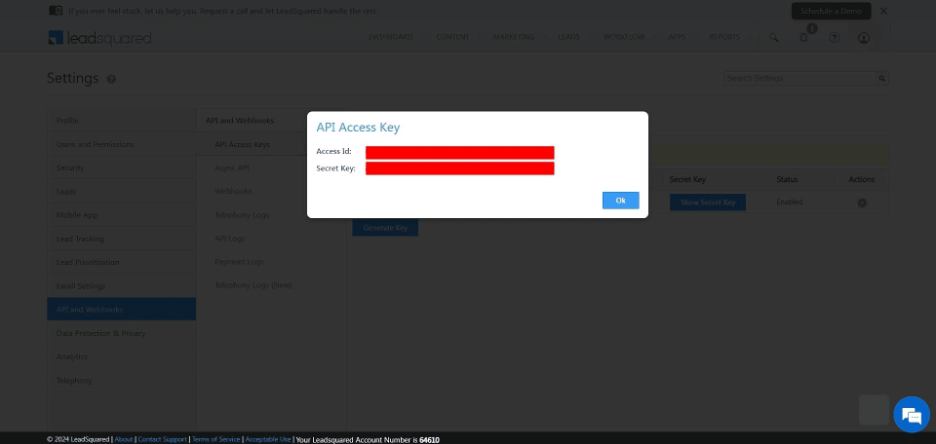
Copy the access key & secret key from here.
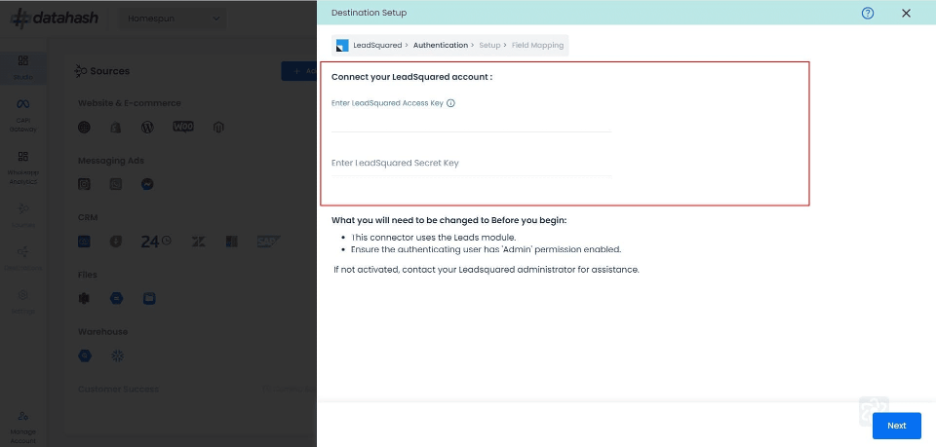
Paste the access key & secret key in Datahash studio and click ‘Next’.
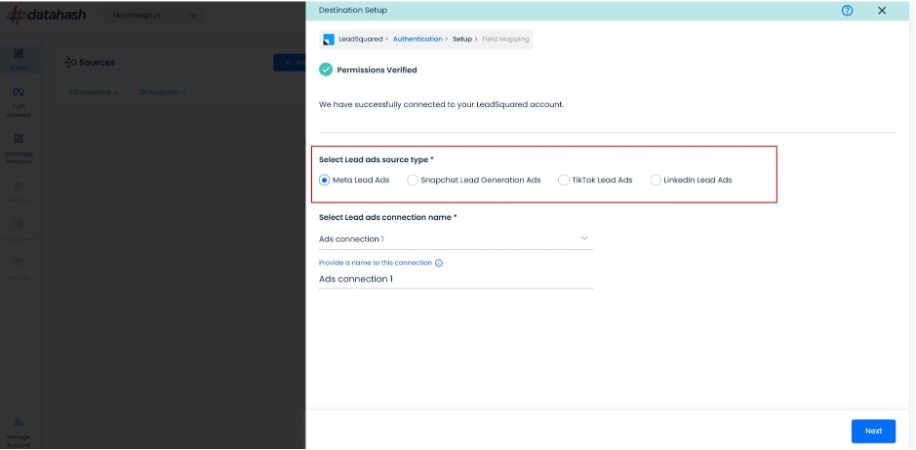
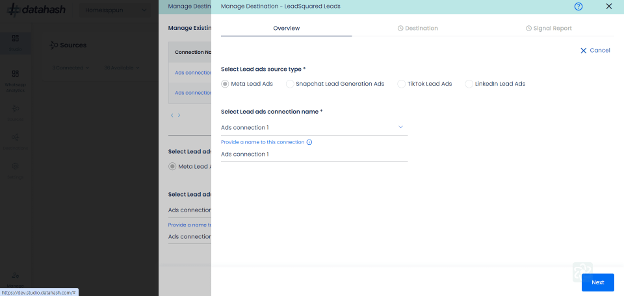
Select the Meta Lead Ads source type.
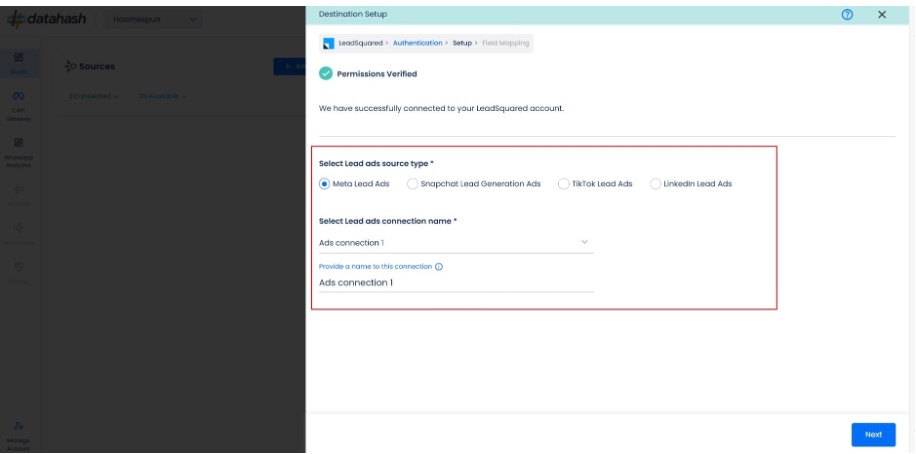
- Now select the connection name you want to integrate. This is the same connection name you have already connected in the Source connector (Meta Lead Ads Source).
- Provide a name to the connection. Click Next to continue.
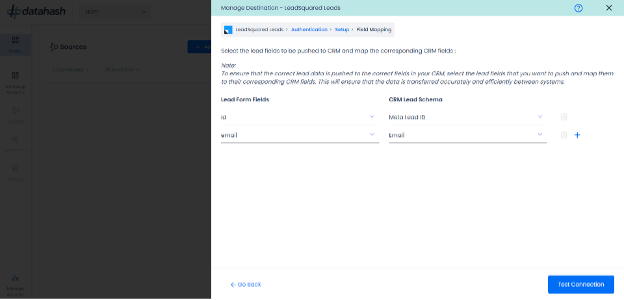
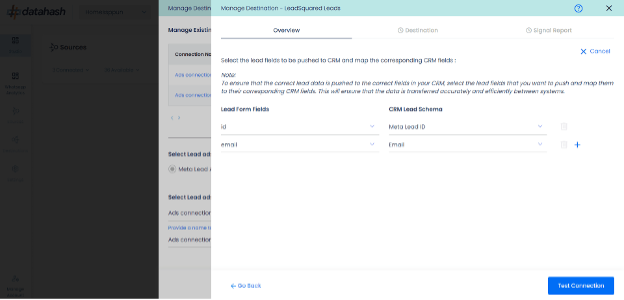
Field Mapping: It is a critical step in the process where you need to map your Meta Lead form Fields with the respective LeadSquared Schema Fields. Ensure that either of First Name, Last Name, Email Address, Phone, or Mobile is required to successfully complete the setup.
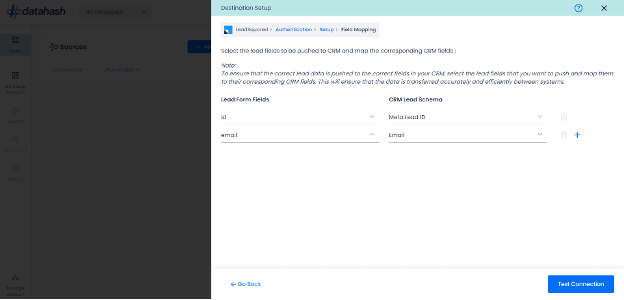
- The Meta Lead ID field is the mandatory field which needs to be mapped to successfully complete the setup. Please ensure to also map any other mandatory field that is set-up in your CRM (these mandatory fields are marked with asterisk for better understanding)
- Once done, click on ‘Test connection’ .
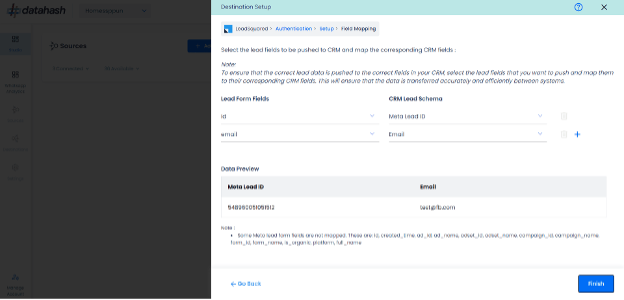
Click “Finish” to complete the setup.
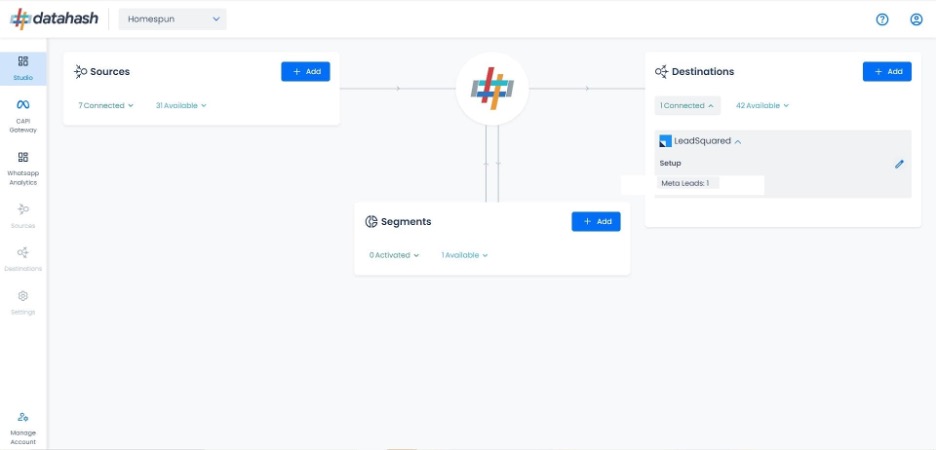
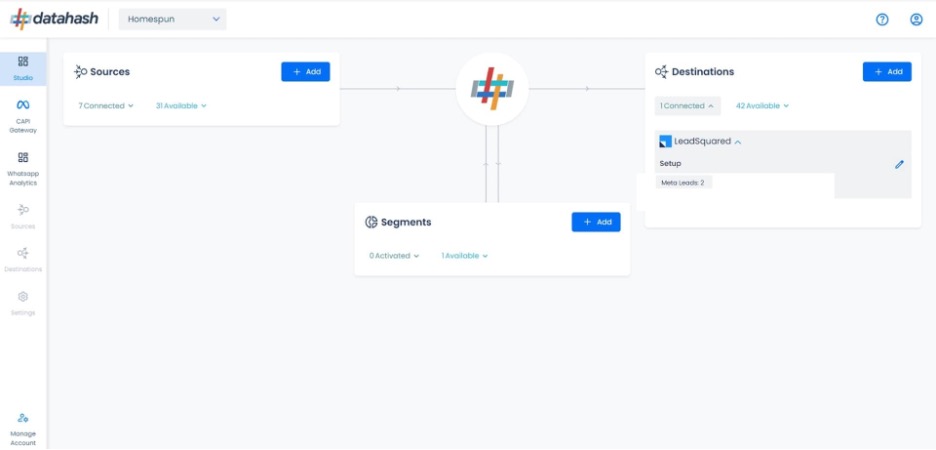
You can see the connected instance in the dashboard.
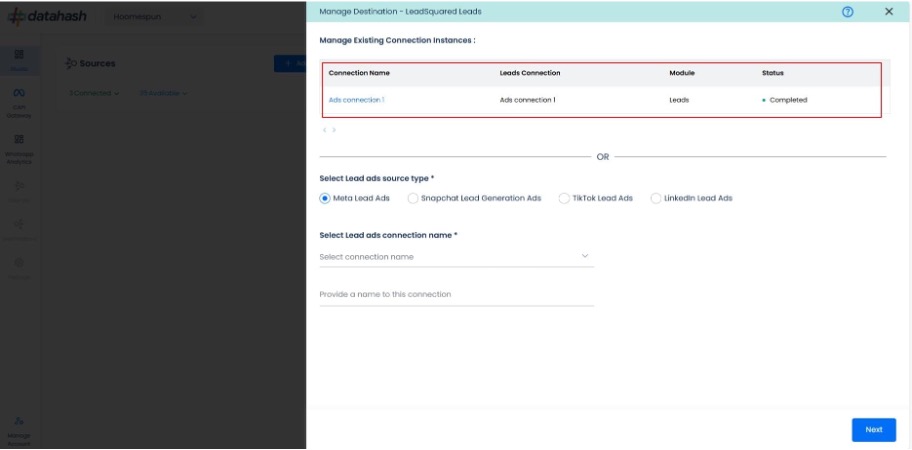
Adding New Instances and Editing Existing Instances:
- To add another instance or edit the existing one, click on the Edit icon to open the RACS for the Manage connections.
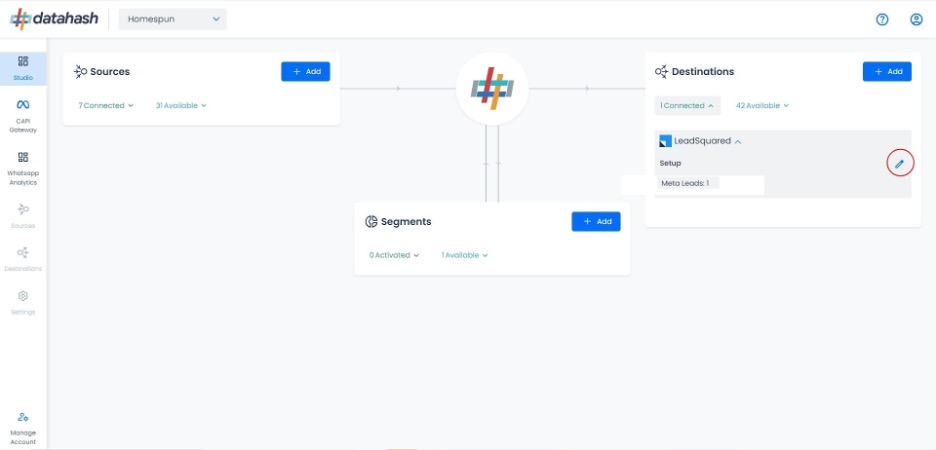
Adding a new instance:
- Start the same setup as done above by selecting the lead ads source type and other required fields.
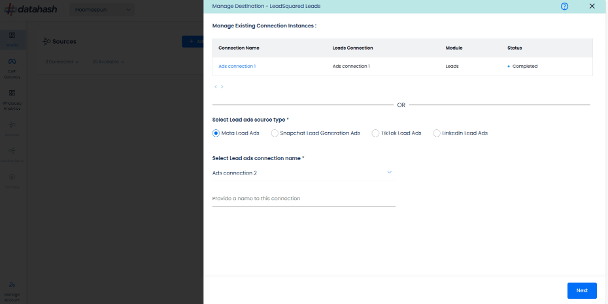
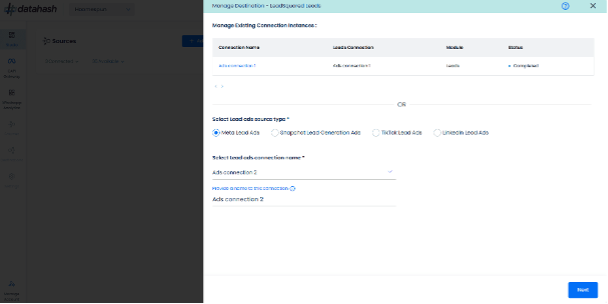
- Once done, click ‘Next’ to proceed.
- Provide the of the lead form field to the CRM fields mapping ensuring all the required fields are mapped.
- Once done, click on ‘Test connection’.
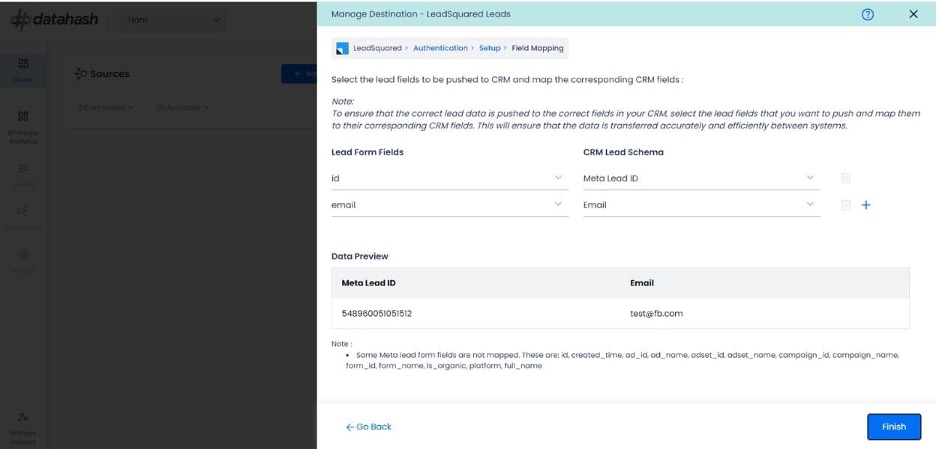
- Click Finish to complete the setup.
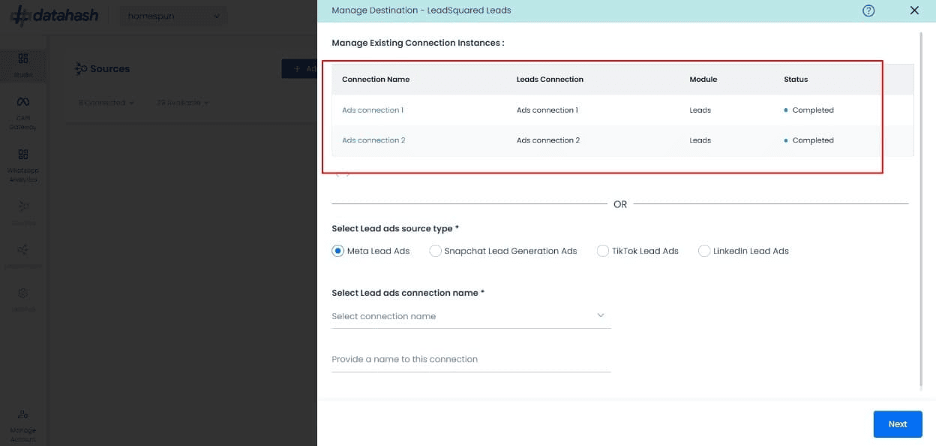
You can see the newly created instance “Ads connection 2” in the manage existing connection instances table.
Editing an existing connection instance:
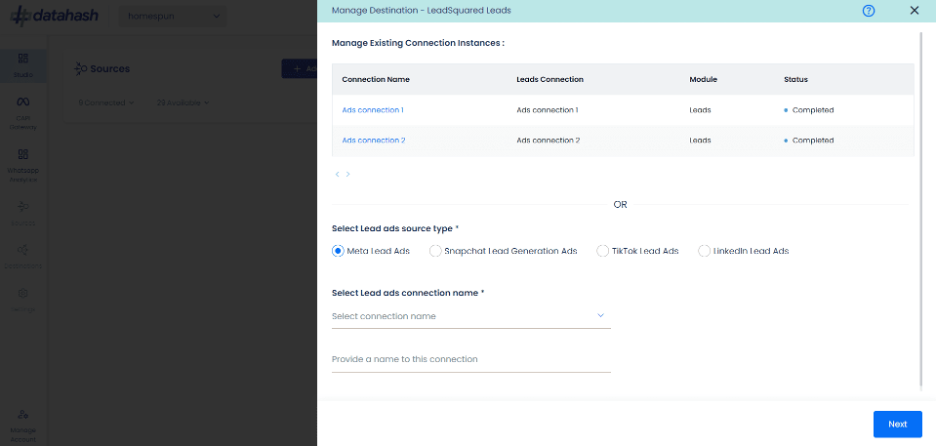
- Click on the connection name in the manage existing instances table to open the setup.
- Click on the ‘Edit’ icon available at the top right corner to enable the edit mode.
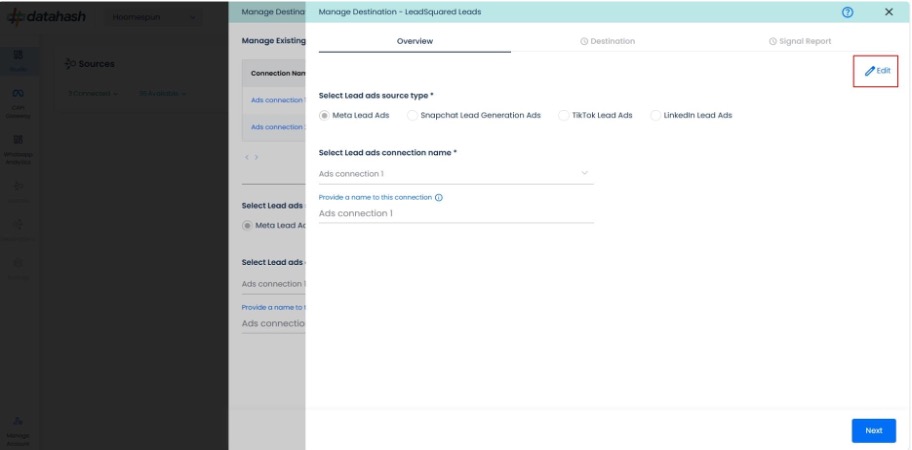
- Choose the field value/values which you would like to update.
- Once done, click on the ‘Test connection’.
- In case you click on ‘cancel’ during the edit flow, and closes the setup, the previous configuration will keep running as it is. The updates are pushed only when you click on the Finish button.
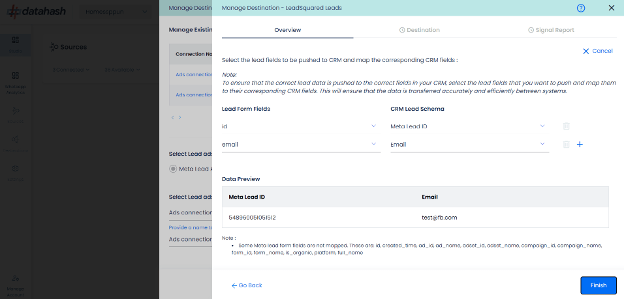
- Click Finish to complete the setup.


