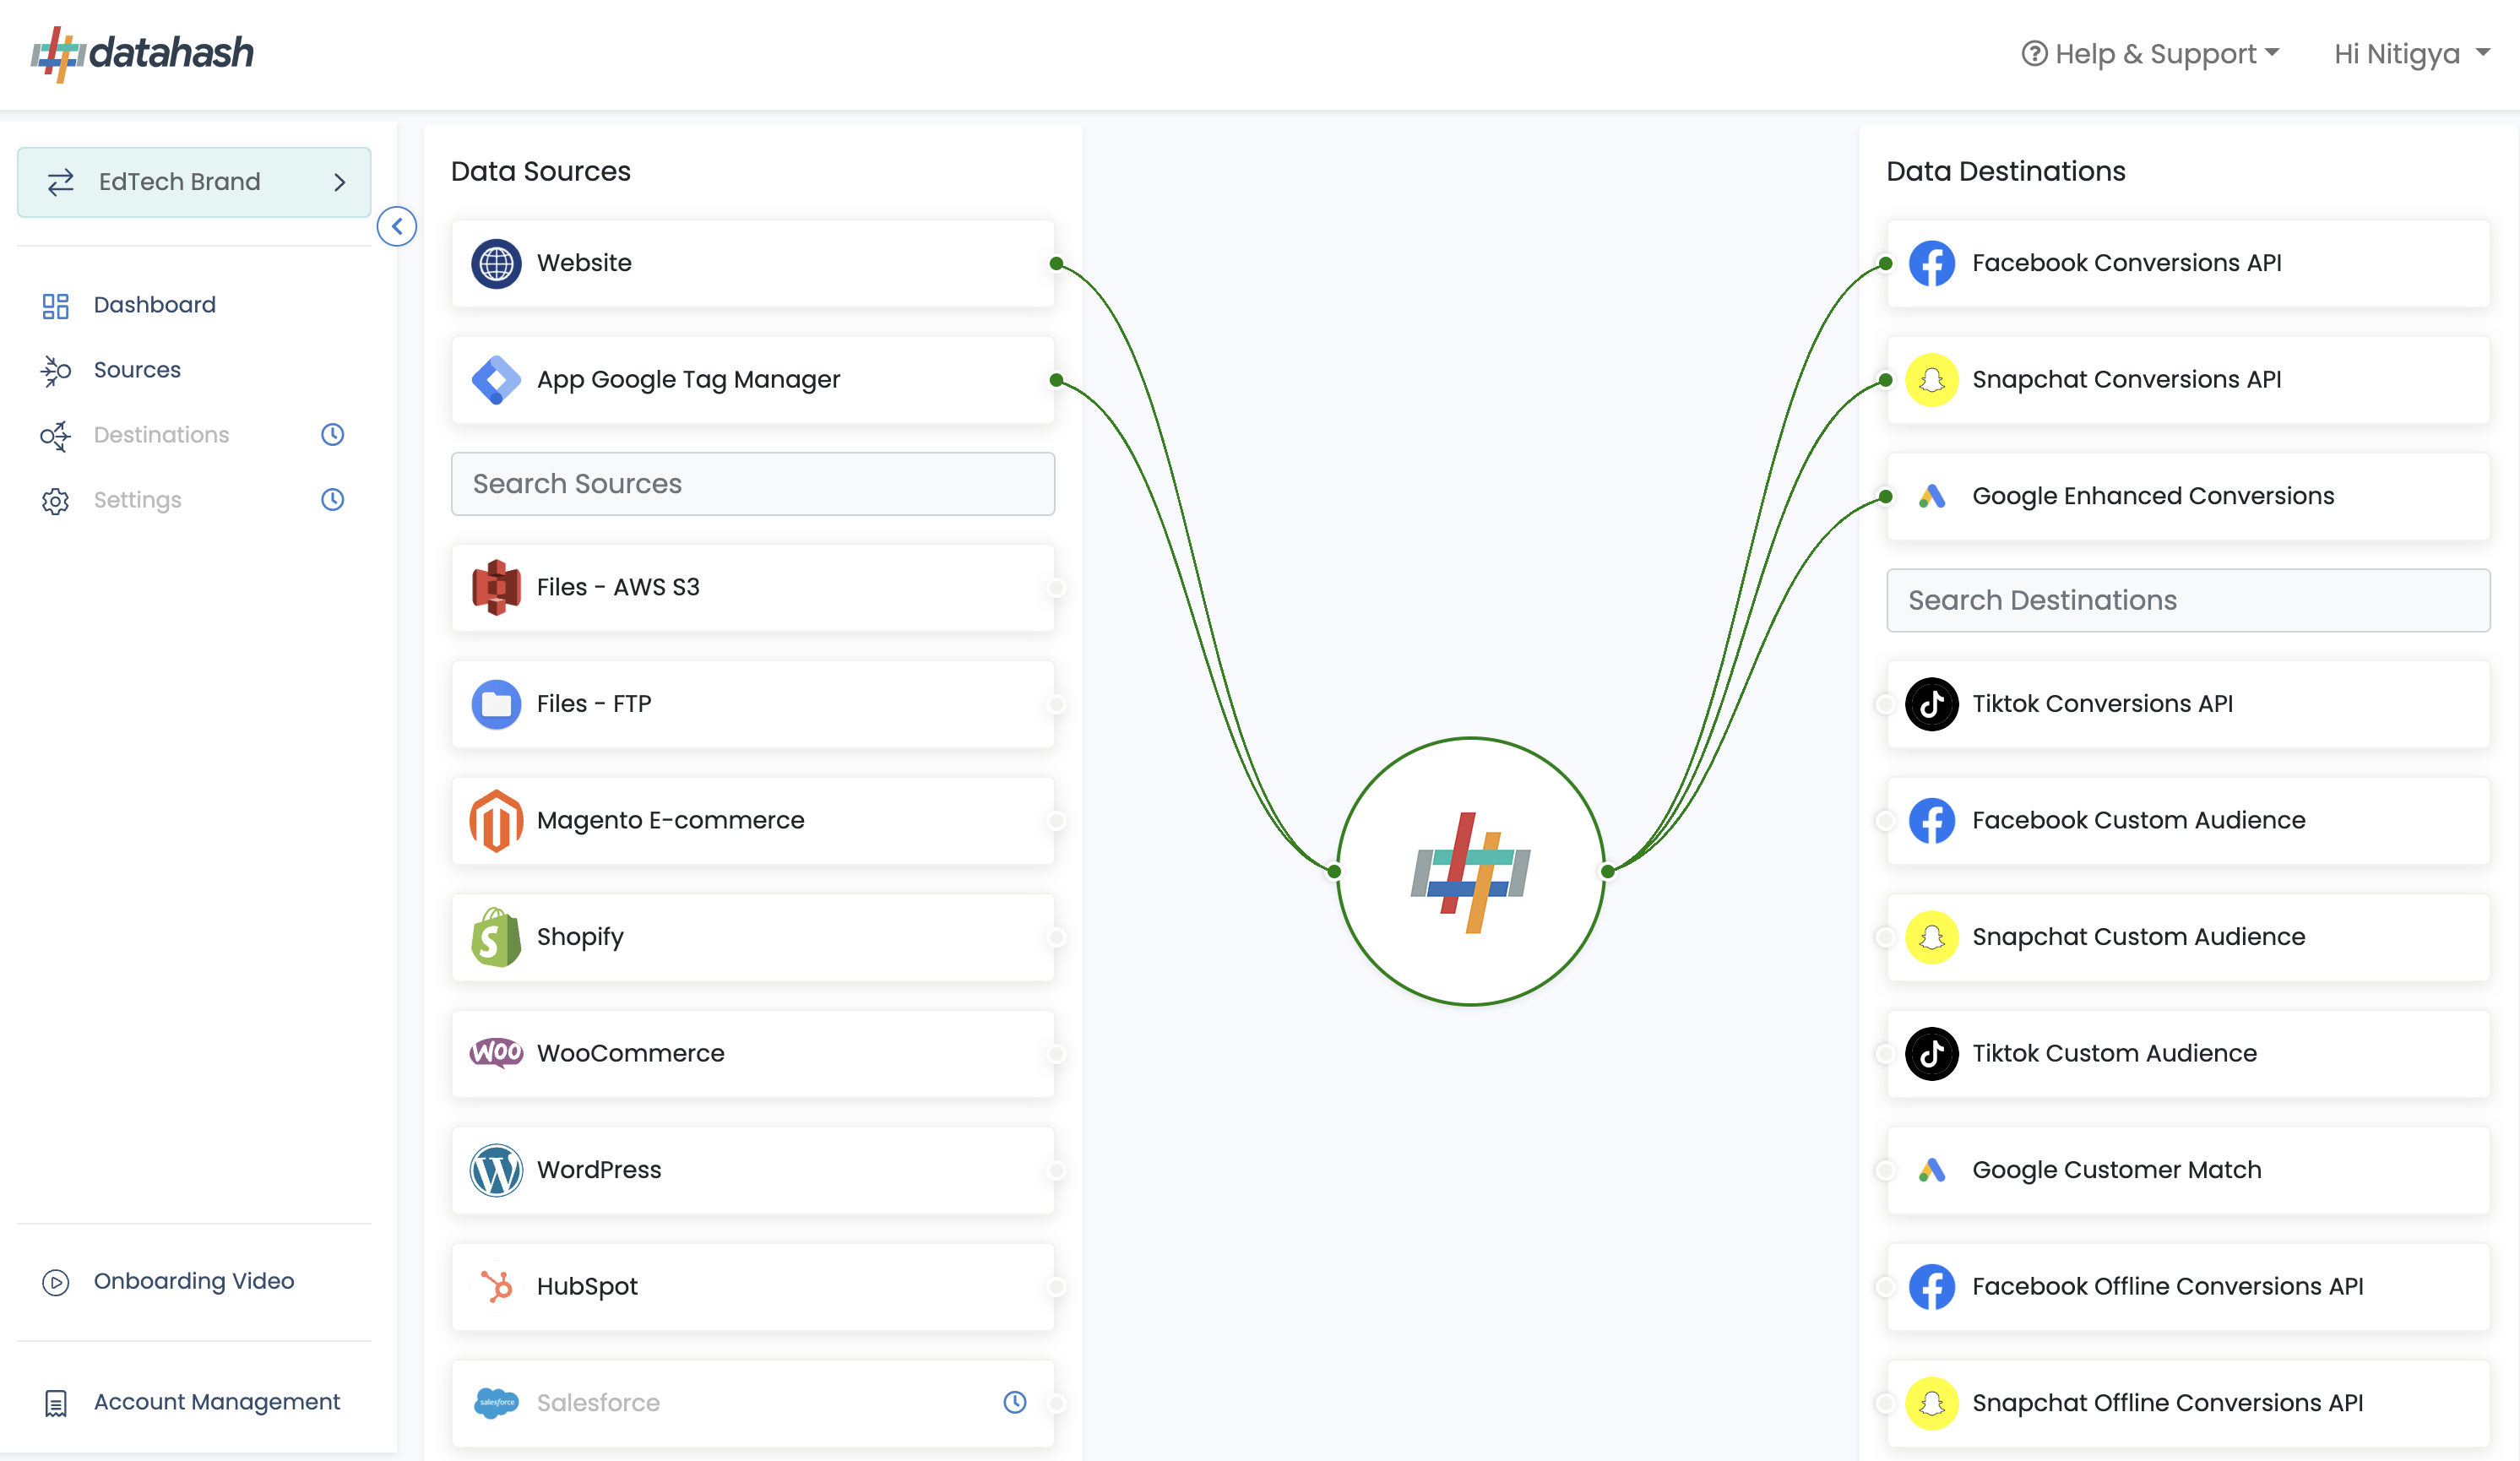
Maximise your Marketing Campaign Efficiency in a Cookieless World
Move beyond vanity metrics, activate first-party data to optimise your efforts in marketing that lead to a higher ROAS.

Trusted by industry leaders and best-in-class brands
around the globe for first-party data


Activate Server Side Tracking with
First-Party Data on any Ad Platform
in Less Than 15 Minutes

Proud Partners with Top Ad Platforms
Bringing best solutions for advertisers globally


Feature Packed for the Cookieless Future
Easy Setup
Implement CAPI in less than 15 mins
Zero Code
No IT Development required
No Data Retention
GDPR & CCPA Compliant
Maximum Security
Uses Undecryptable First-Party Data
One True Interface
Activate for Meta, Google Ads, Snap, TikTok, X
Marketing Leaders narrate Success Stories

"Implementing First-Party Data into our Snap campaigns through Conversion API has had an astounding impact on our ability to connect with the right audience through the right Ad, while being able to accurately measure the right conversion. Our ROAS has increased 15.8x times and we are excited to see continued growth in our results!"
Adham Awde Digital Marketing Manager
"...our business priorities continue to revolve around better lifetime value customers and cost-efficient conversions. ... we agreed that the Conversions API would be the ideal solution to help us send more reliable conversion events and strengthen our optimization and targeting. 11.7% increased in attributed free trial subscribers with CAPI"
Rakesh Ramesh VP of Growth
"From the moment we integrated Conversion API into our App campaigns on Snap, we witnessed a remarkable 68% increase in our return of investment within just 2 weeks of going live. ...proven to be a vital success for our digital performance, especially post iOS 14, improving our ad-reporting, reducing costs and amplifying our growth."
Aboo Backer Marketing Director
"NiceOne is always looking for new ways to drive growth and improve our results and implementing Conversion API for both Web & App campaigns on Snap ... has helped us achieve up to 20x increases in ROAS ... has been instrumental in driving growth for our business. ...excited to see what other innovative strategies we can explore in the future."
Chaymaa Mohamed Head of Digital Marketing
Datahash ensured seamless execution while providing excellent support every step of the way. Their expertise has proved to be invaluable in helping us navigate the post-cookies era. I recommend the platform to businesses looking to upgrade their data management capabilities.

"Datahash has allowed us to execute campaigns with great efficiency while prioritizing the privacy and security of our audiences. ... provided our teams with valuable insight that has helped us understand our customers better. With its speedy service and cutting-edge hashing techniques, Datahash stands out ... for maximizing marketing efforts."
Hemil Shah Business Manager
"We partnered with datahash for META CAPI implementation and were impressed by their exemplary service. ...outstanding support and ensured a speedy, seamless integration. The quality of service was top-notch, reflecting their commitment to excellence. I highly recommend datahash for their efficiency and professionalism in delivering high quality services."
Jakub Matoušek Senior Digital Marketing ManagerWho We Are?
A single tool to onboard first-party data for any Ad platform in less than 15-minutes!
Contact Us
Address
Datahash DMCC
Unit No: UPT-YCBC-CW52 Uptown Tower Plot No: DMCC-UD-T2 Uptown
Jumeirah Lake Towers
Dubai , United Arab Emirates


"Given the upcoming changes to the ecosystem, moving to Conversions API seemed inevitable to improve and maintain performance. We are super excited to see the increase in efficiency and purchase volume as a direct result of the same."
Sony Nagpal Senior E-commerce Manager5% additional purchases measured with CAPI and pixel combined, compared to pixel alone.