Overview:
Website data source is the most common event source of the Datahash which we can use to track user actions on the website. It tracks user actions and hashed user data which is eventually send to multiple destinations.
Pre-Requisites:
- Sub Domain Manager Access
- Google Tag Manager Access
When setting up your first connector in Datahash, you will be directed to the following screen.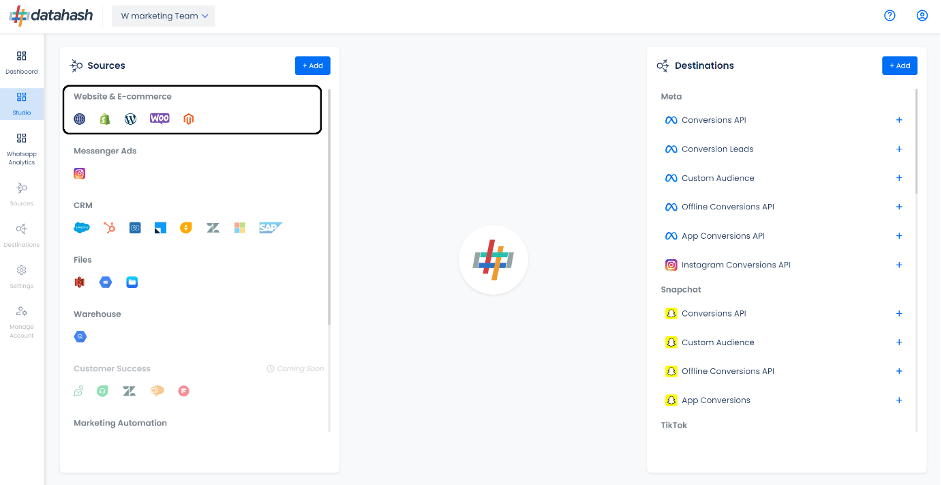
To search for the Website Source Connector, you can either click directly on the Website icon under the Website and ecommerce category or click on the category name.
There are 2 steps which needs to be completed in order to setup the connector.
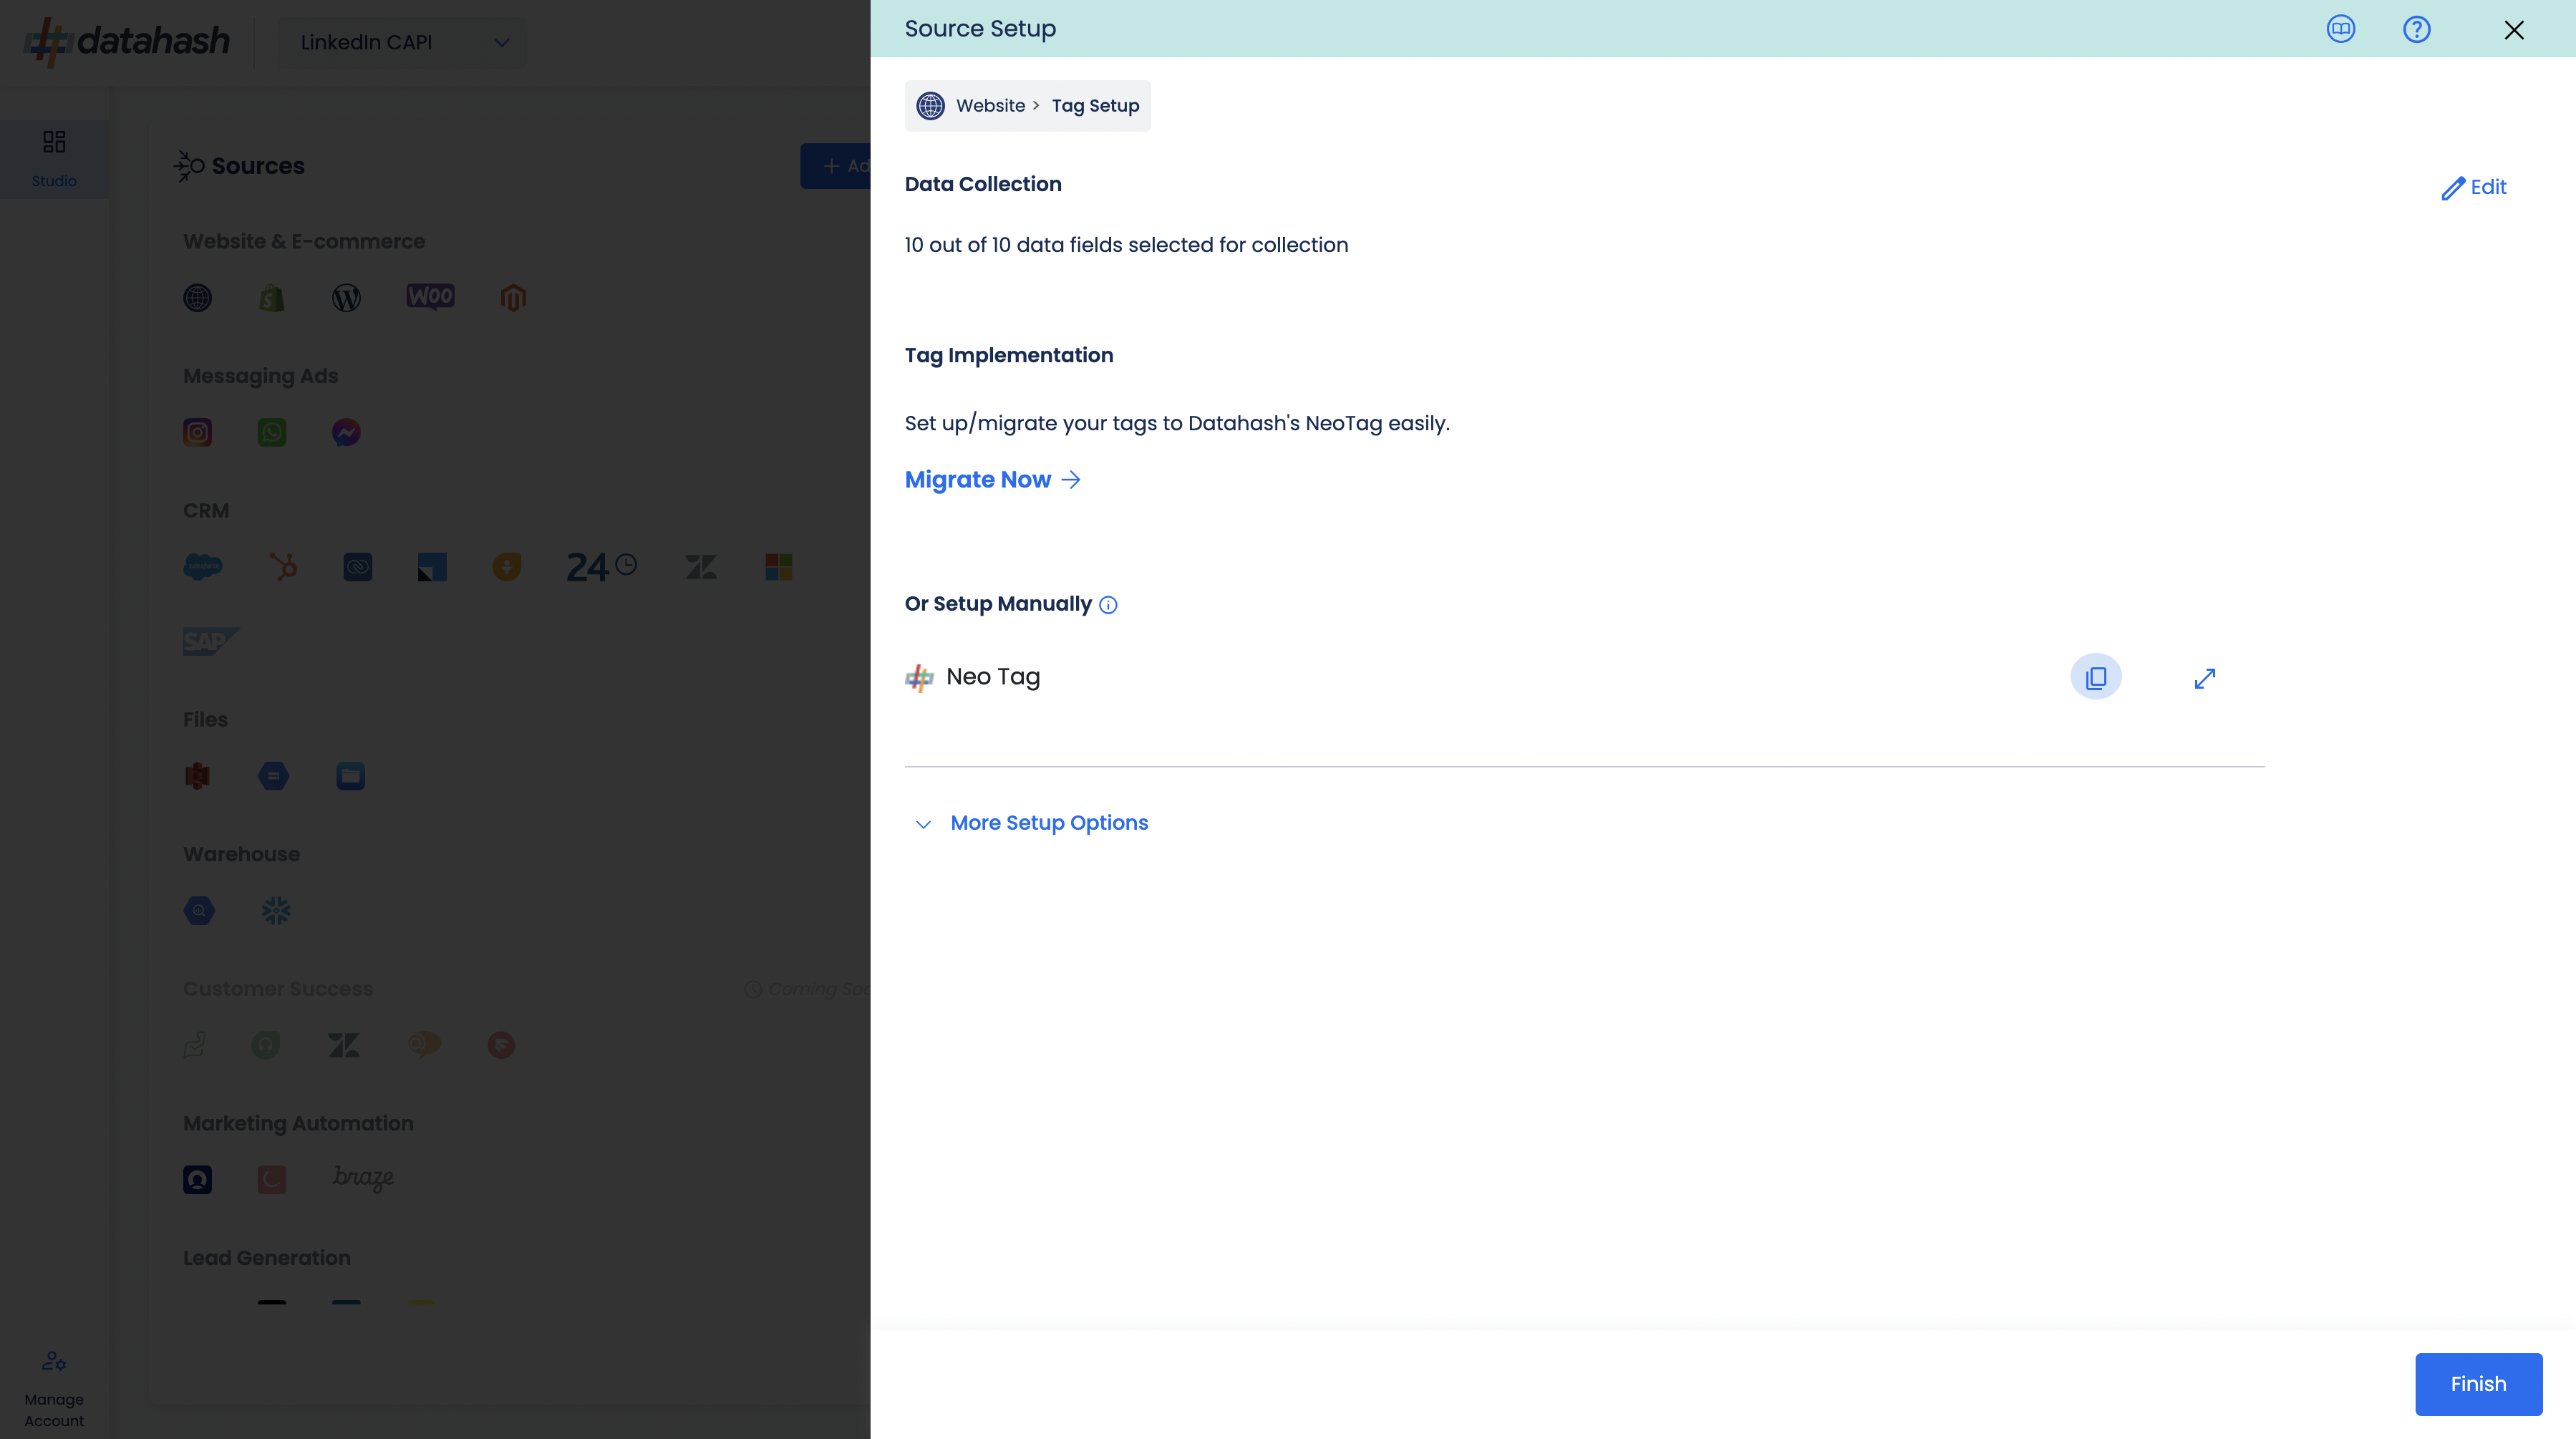
Step 1: Data Fields
Click on Edit in the Data collection section if you want to modify the selected data fields. Choose the user data fields that you would like to send with your events from your website. There are certain pre-selected fields which are necessary to be sent. These fields cannot be unselected.
Click Confirm.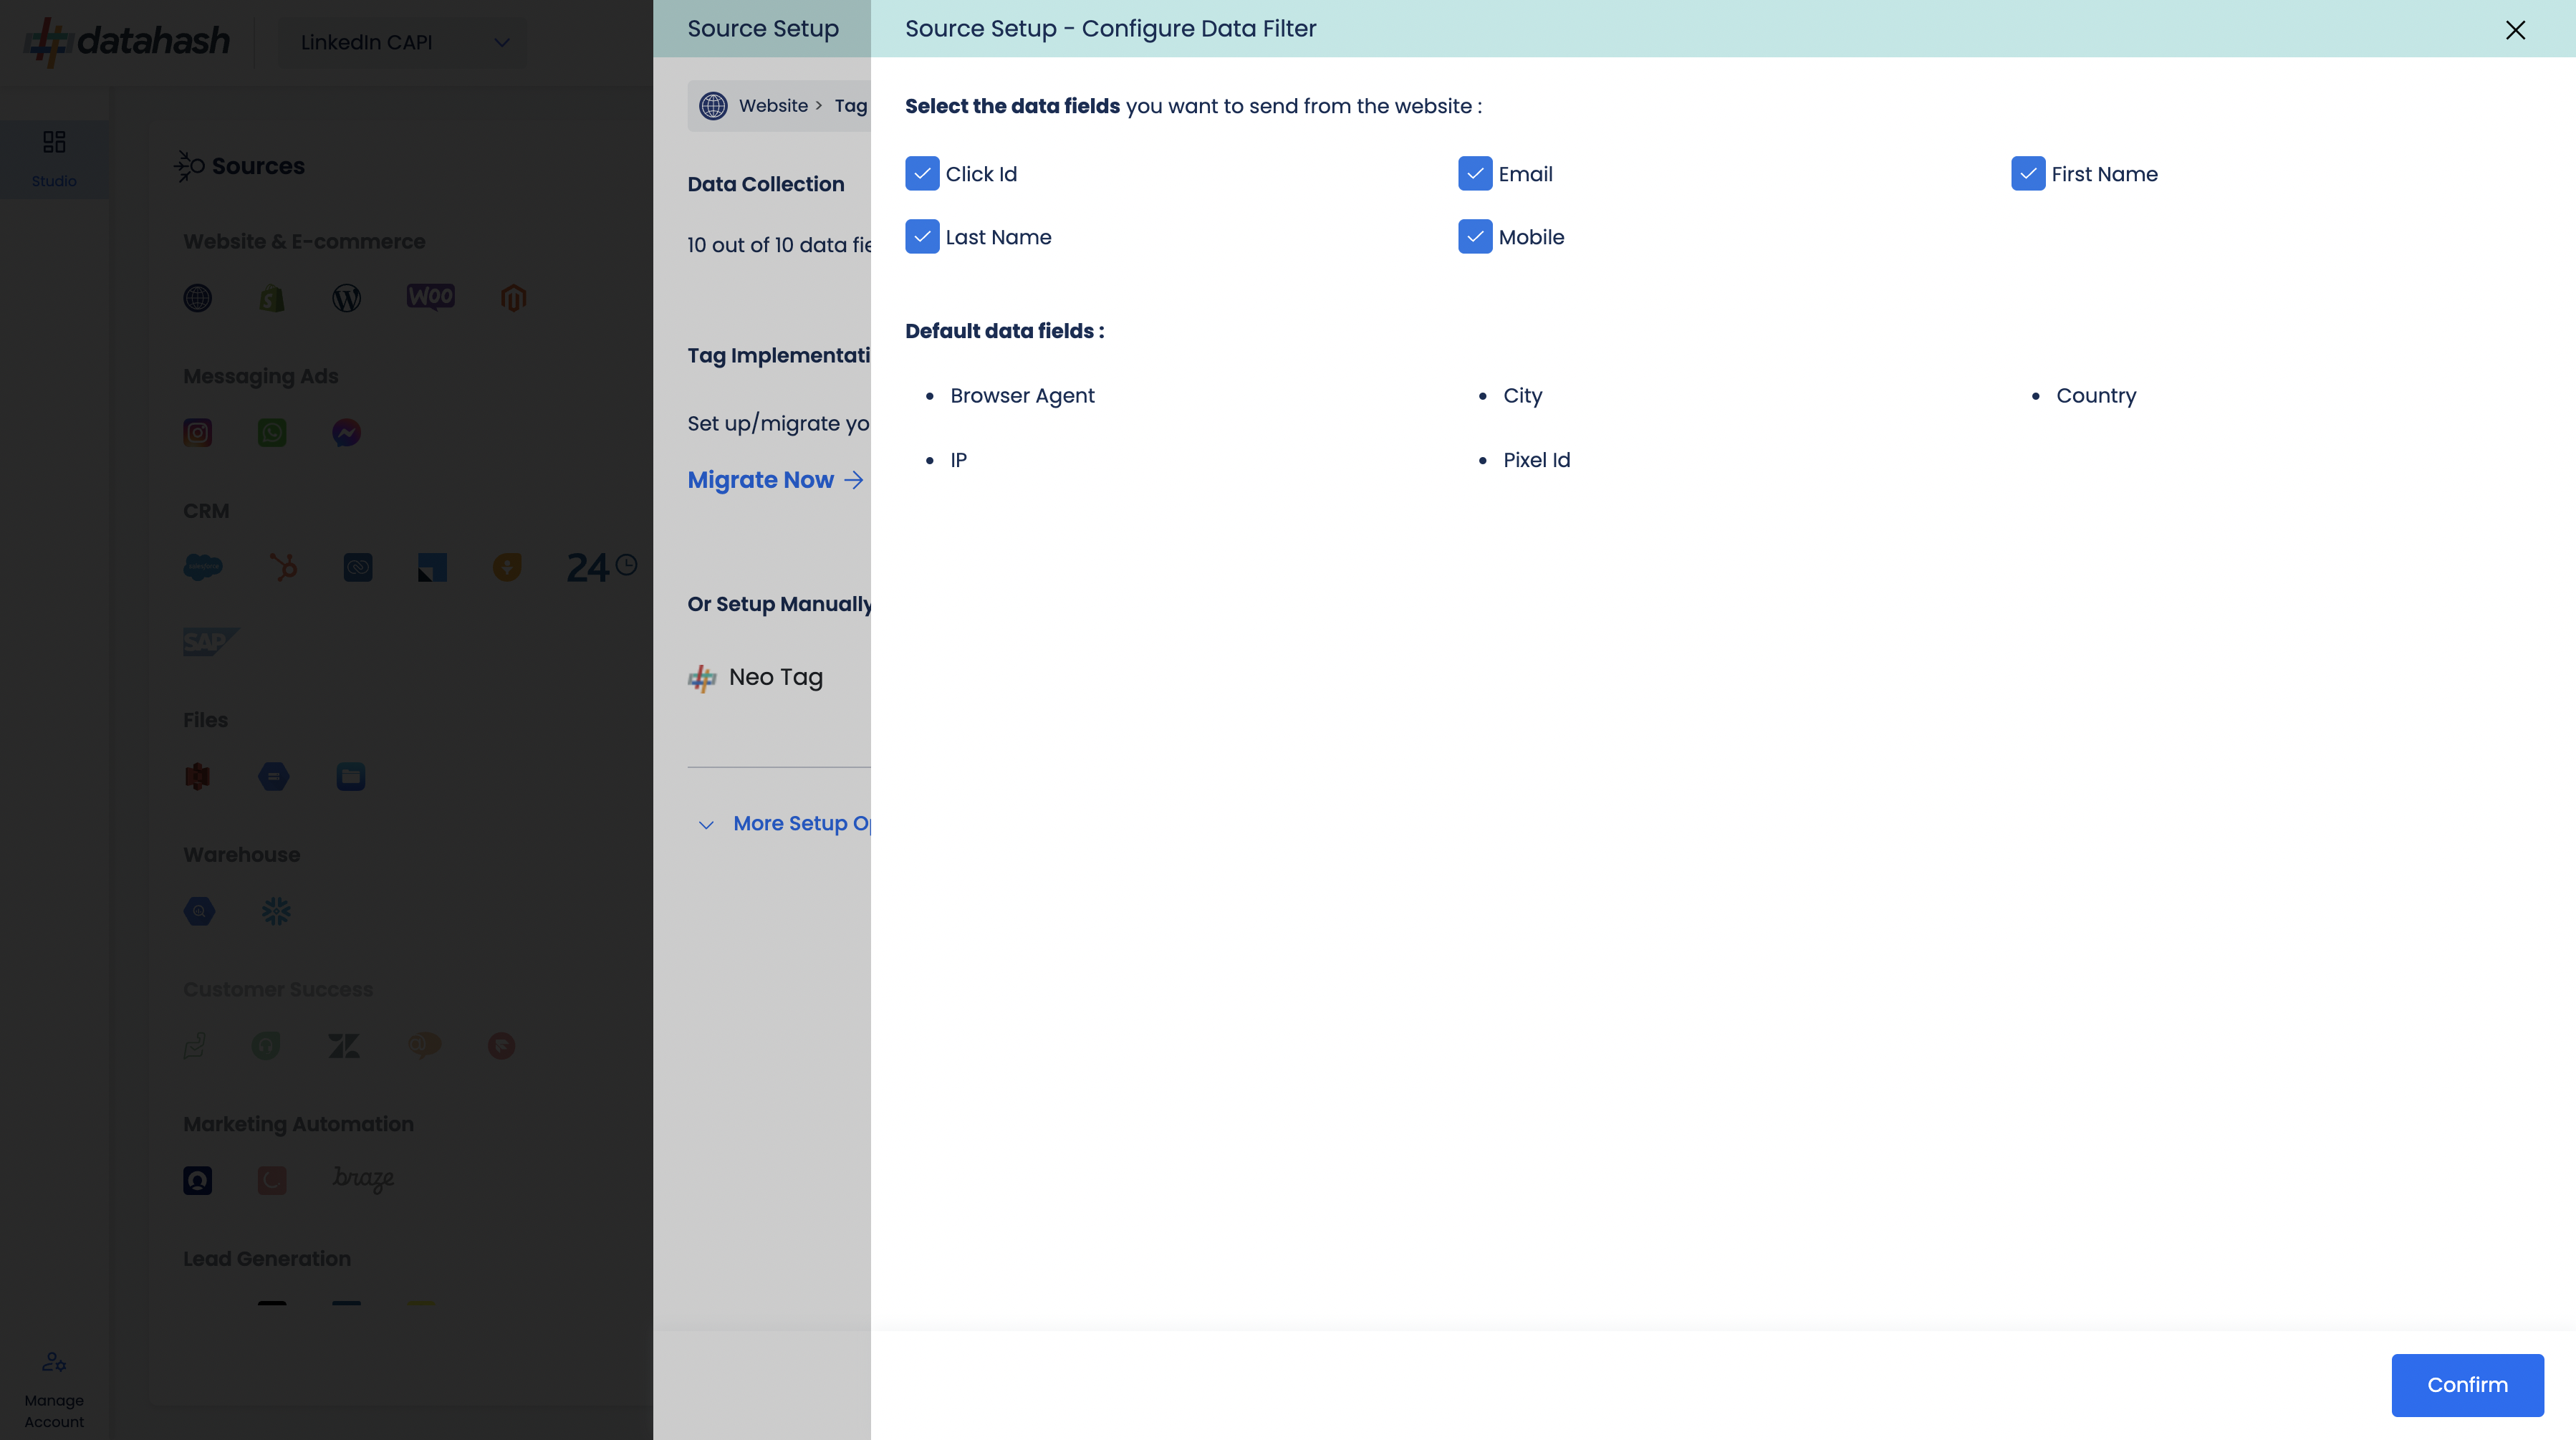
Step 2: Neotag Implementation
Copy the NeoTag code by clicking on the copy button
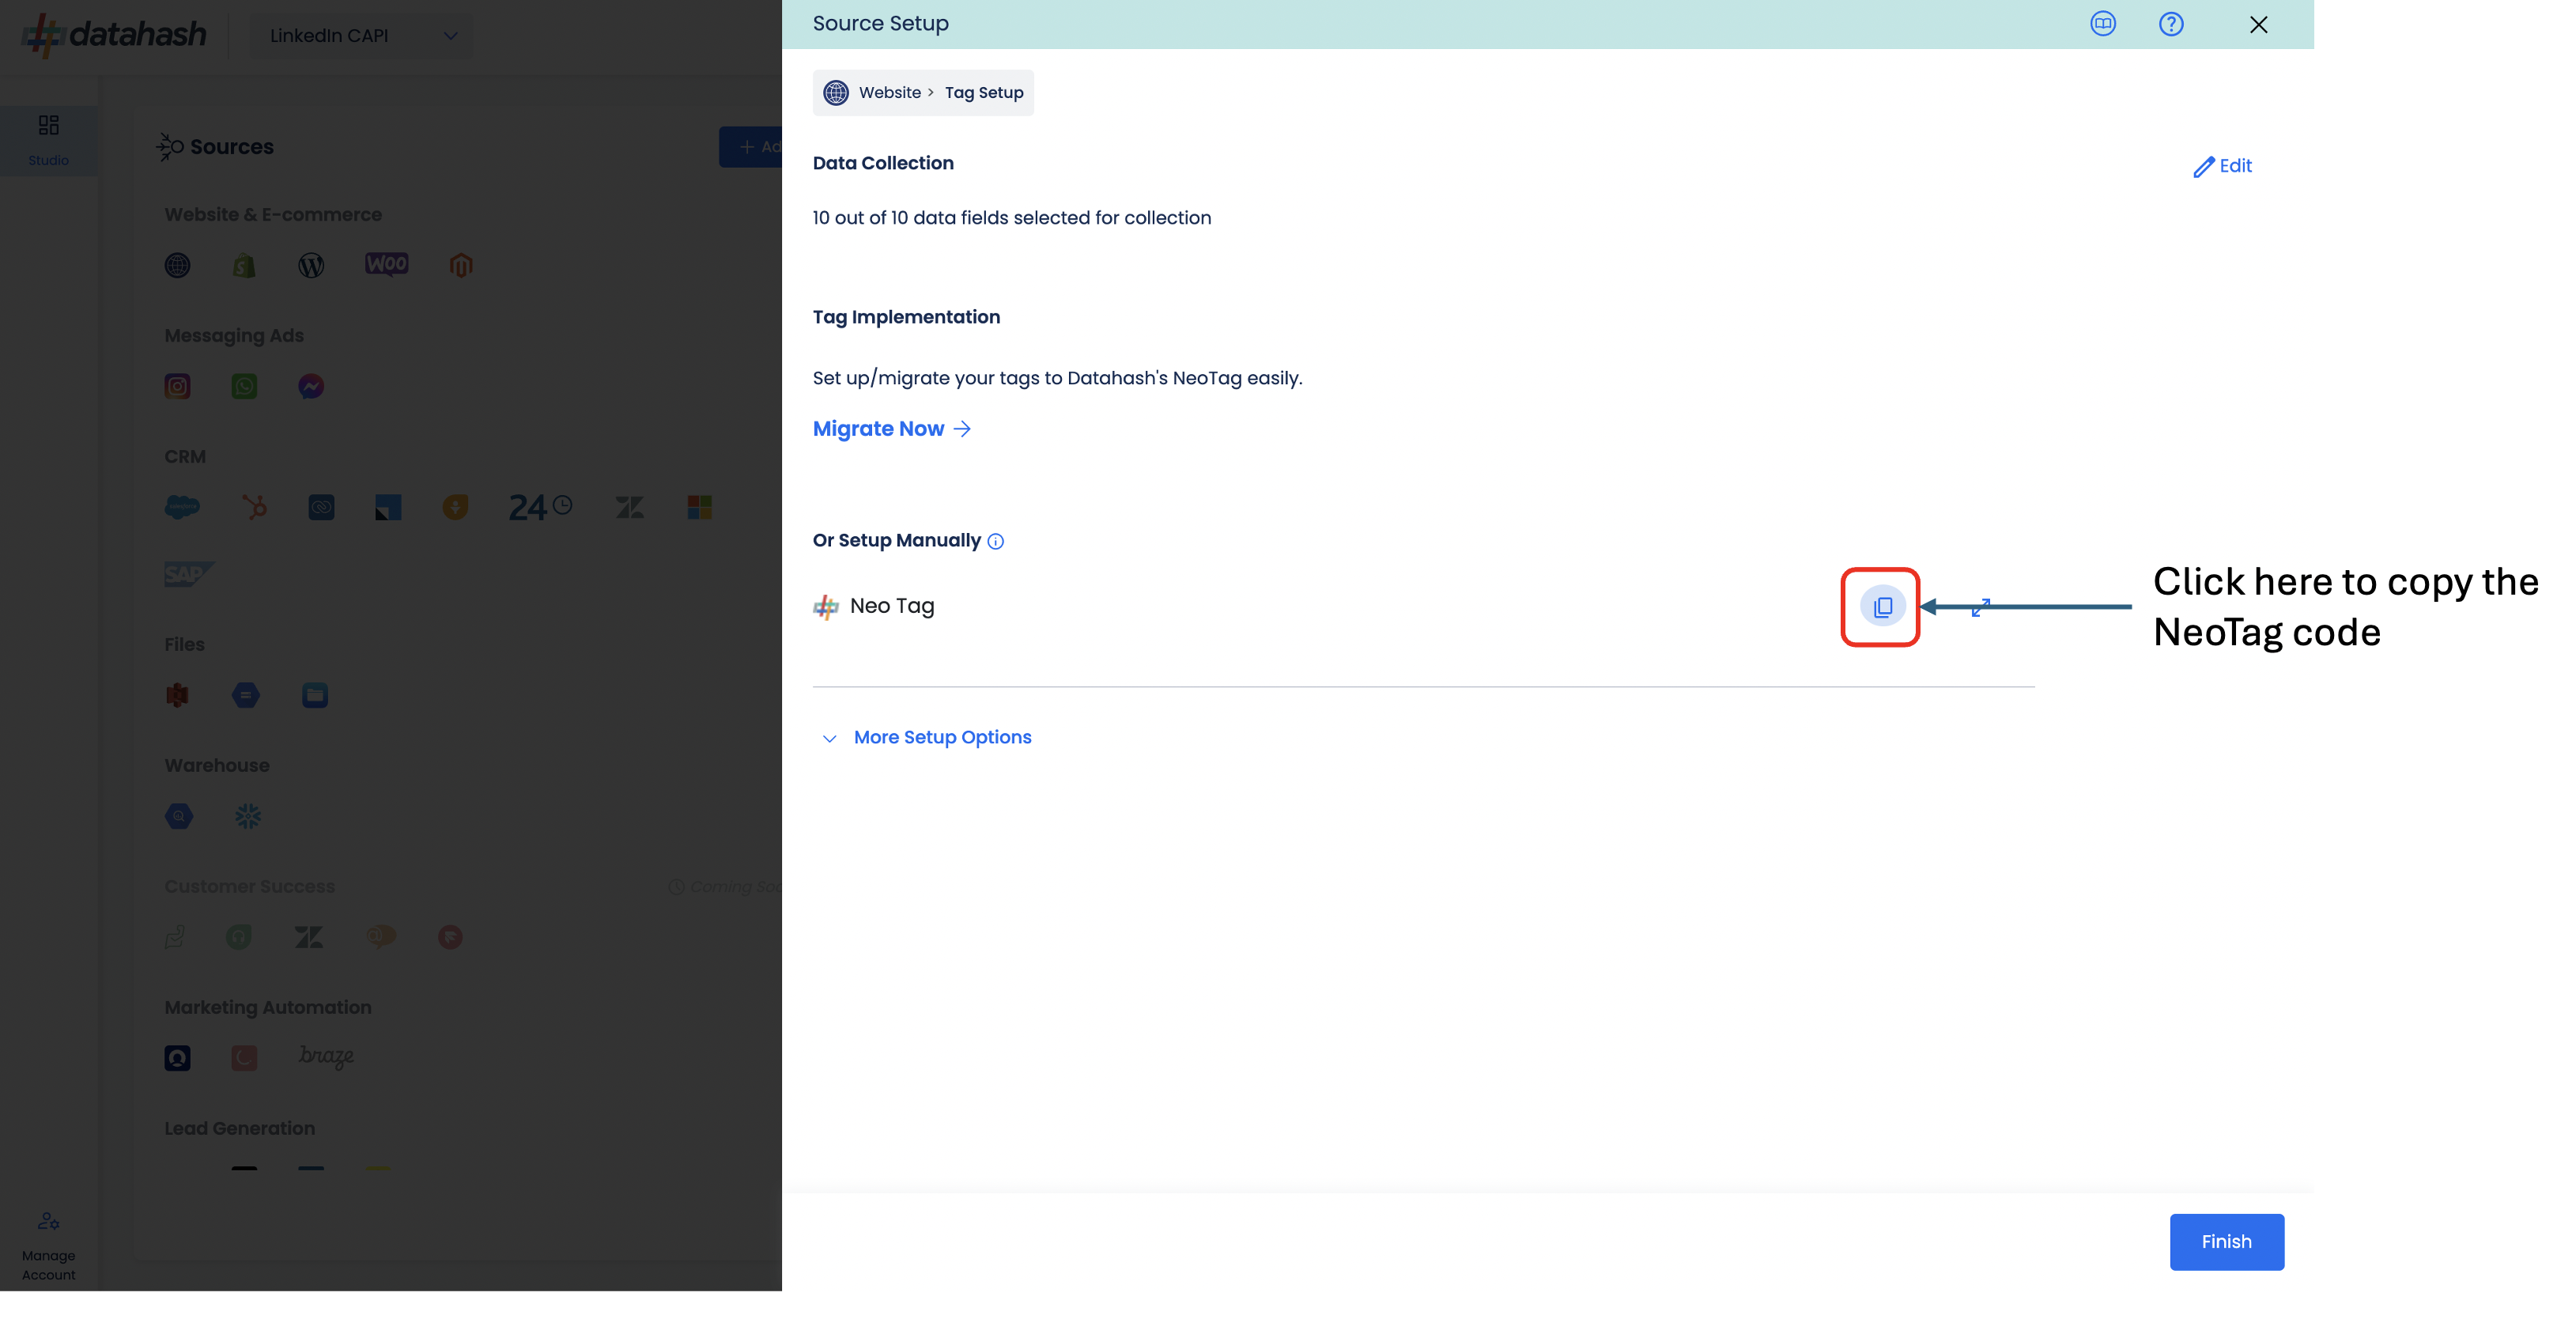
You can expand the code if you want to see the details.
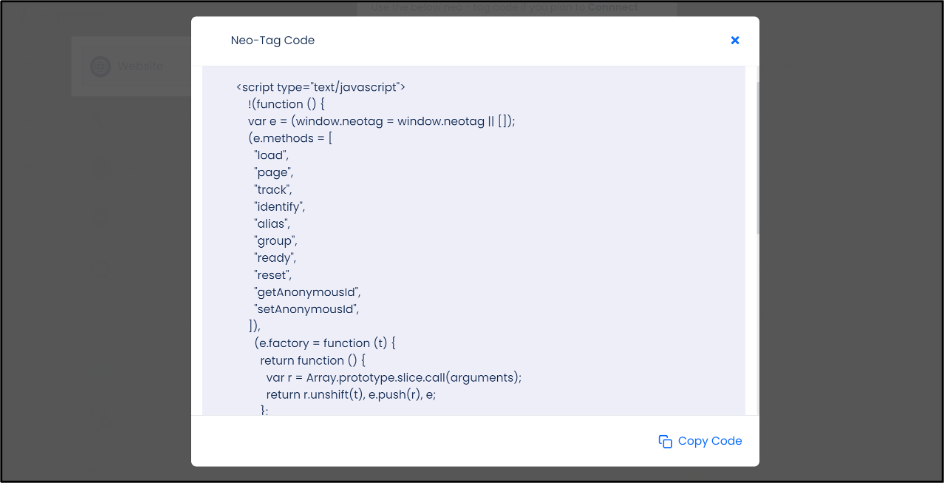
Go to Google Tag Manager and log in with your account.
In Tag Manager Go to Tags, click New.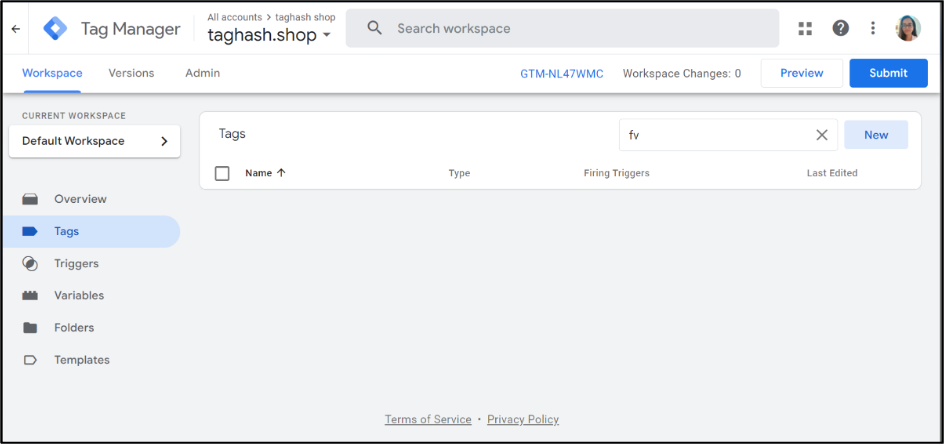
Select Custom HTML as a tag type and put copied base code (Copy the Neotag base code from Datahash dashboard) here.
Paste the Neo-Tag code in the Custom HTML tag being created and hit save.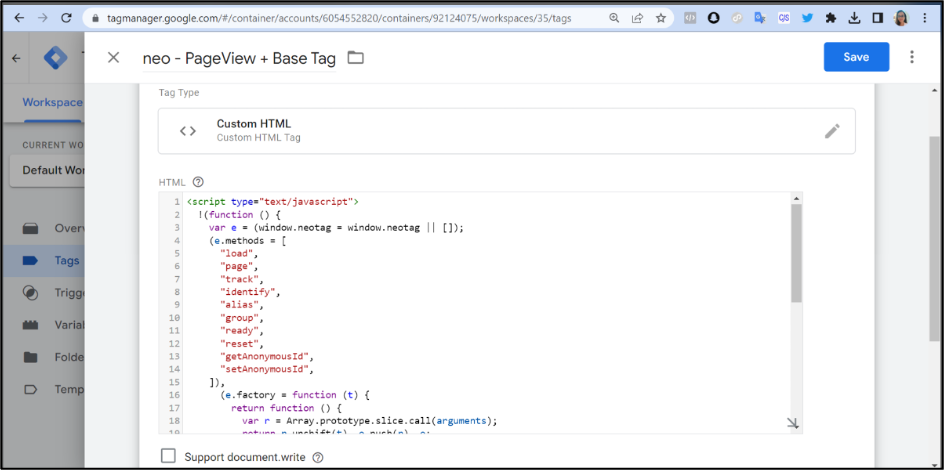
To track events on the website, create new tag and implement the event code on the tag. Assign a specific event trigger.
This is where you will set up the pixel or tag code. Platform-specific options can be selected when only one platform needs to be connected or choose Neotag for multiple marketing platforms.
After implementing the desired tag in your Tag Manager, click Finish. Datahash will verify the overall setup and send an update via email or notification when the data starts flowing.


