Description:
Google Cloud Platform (GCP) is a suite of cloud computing services offered by Google that provides a series of modular cloud services including computing, data storage, data analytics, and machine learning, alongside a set of management tools.
Prerequisites:
- GCP bucket
- GCP JSON Key
- Go to https://studio.datahash.com/login
- Enter your credentials to log in
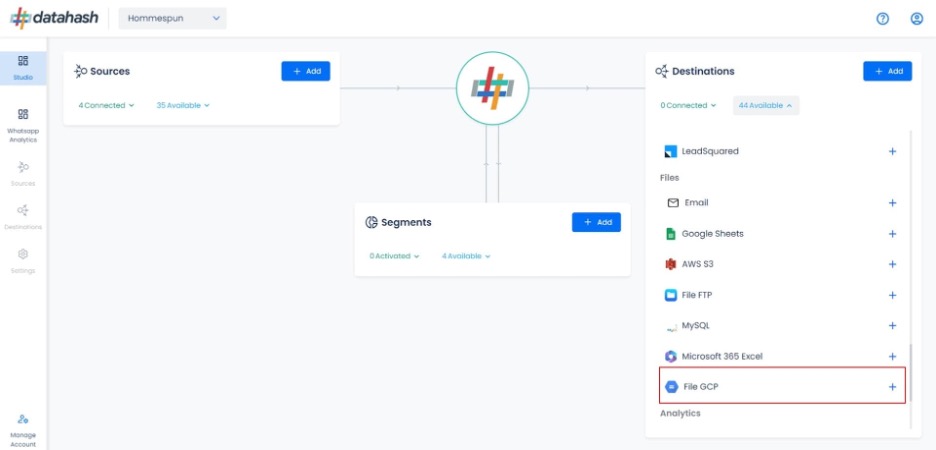
- Navigate to Files category under Destinations list in the right section.
- Click on the “File GCP” connector tile
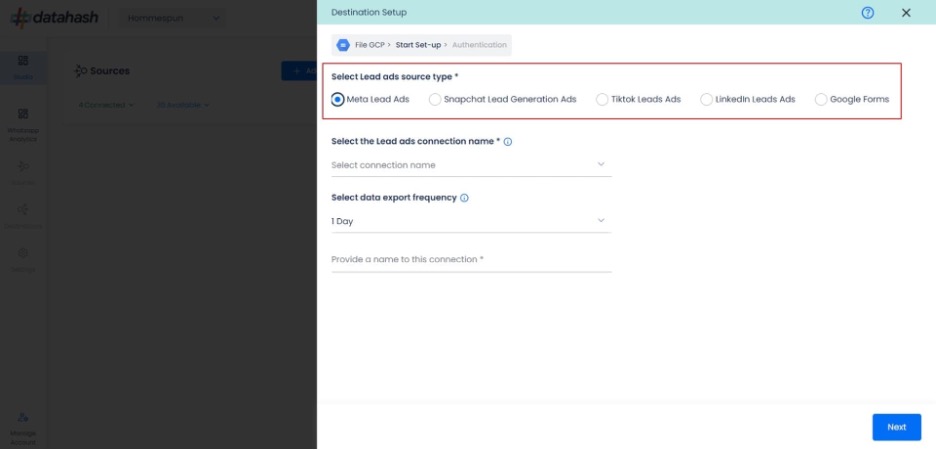
Select the Meta Lead Ads source type.
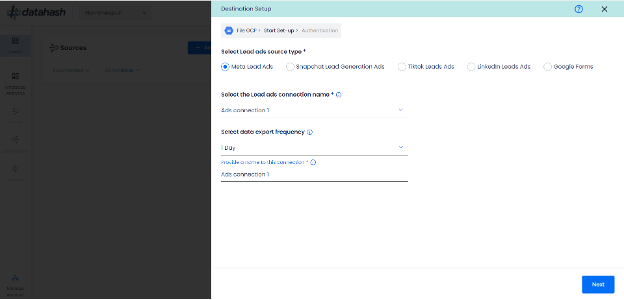
- Now select the connection name you want to integrate and provide a name to it. This is the same connection name you have already connected in the Source connector (Meta Lead Ads Source).
- Select the data export frequency at which you would like to receive the file . Currently, we support Realtime, 1 hour, 3 hour and 1 day frequencies.
- Provide a name to the connection. Click Next to continue
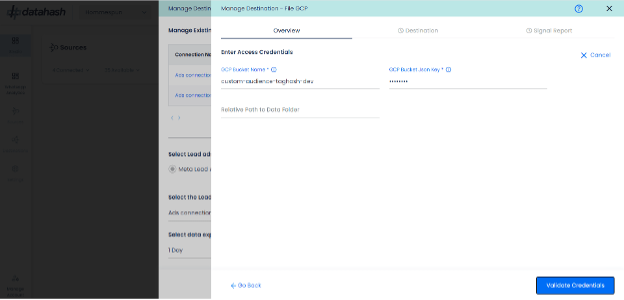
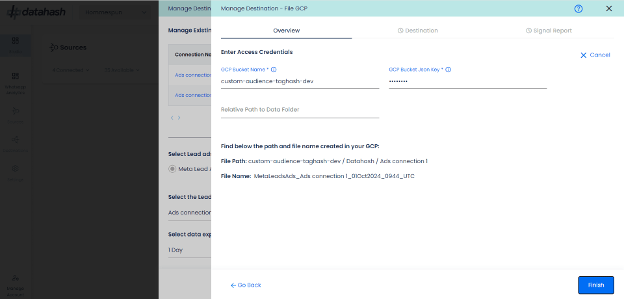
Provide the GCP access credentials: This is the most crucial step where the user needs to provide the GCP credentials which will help Datahash to send the file in the provided location. These credentials are-:
- GCP Bucket Name: Name of the bucket where the file exists
- GCP JSON Key: To access the buckets stored on S3, connector requires credentials with proper permissions. This Key basically works like a user name/password which helps in accessing the bucket you have created.
- Relative Path to Data Folder: A path like prefix name where you would like to have you would like to receive your data file.
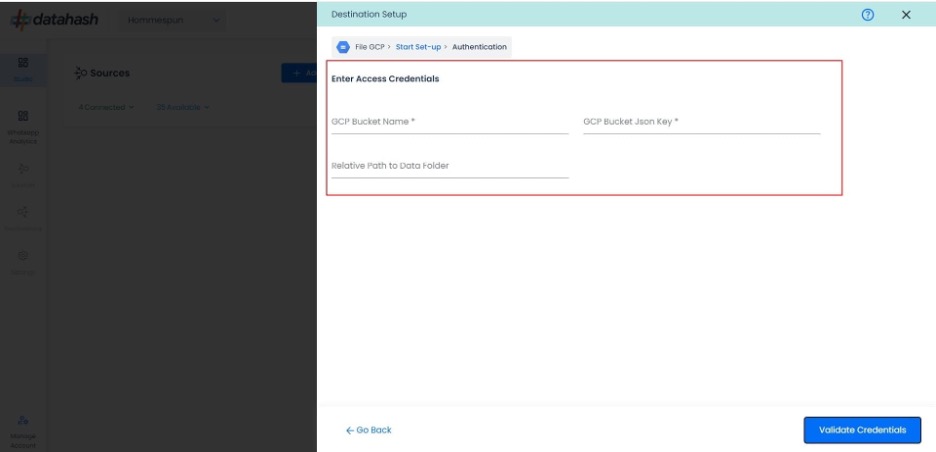
- Once all the credentials are provided, click on “Validate Credentials”.
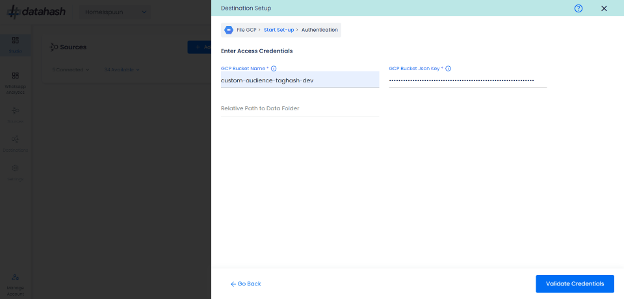
- During the setup process, a new folder named ‘Datahash’ will be created. This folder will be placed in the relative path you’ve provided, or directly in Bucket name if no specific path is provided.
- Inside the ‘Datahash’ folder, we’ll create another folder named after your lead ads connection. This is where your data file will be stored.
- As new data comes in, a new file will be created and added in this folder as per the file name provided with the timestamp for the lead ad source connection you selected during setup.
- This ensures all your data stays organized in one place, making it easy to access and analyze
- Once the connection is verified, click “Finish” to complete the setup. You will also be able to see the file path & file name created in you GCP.
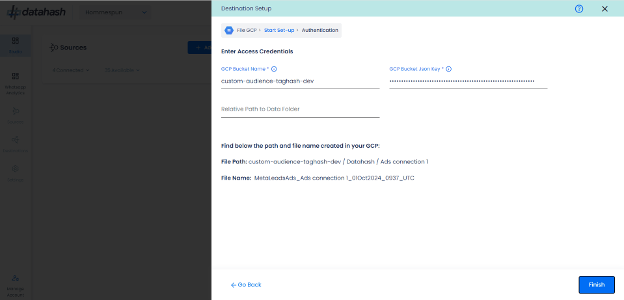
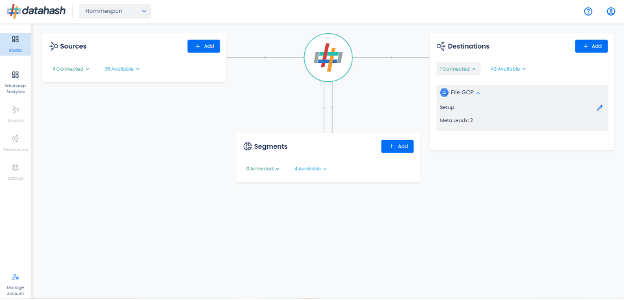
You can see the connected instance in the dashboard.
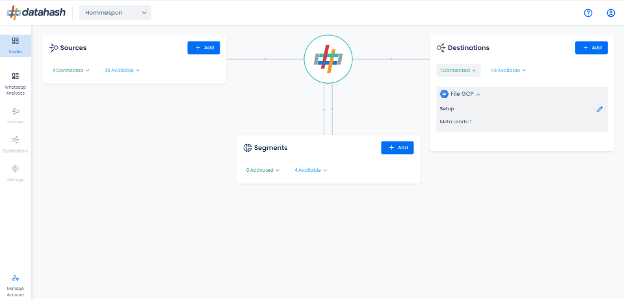
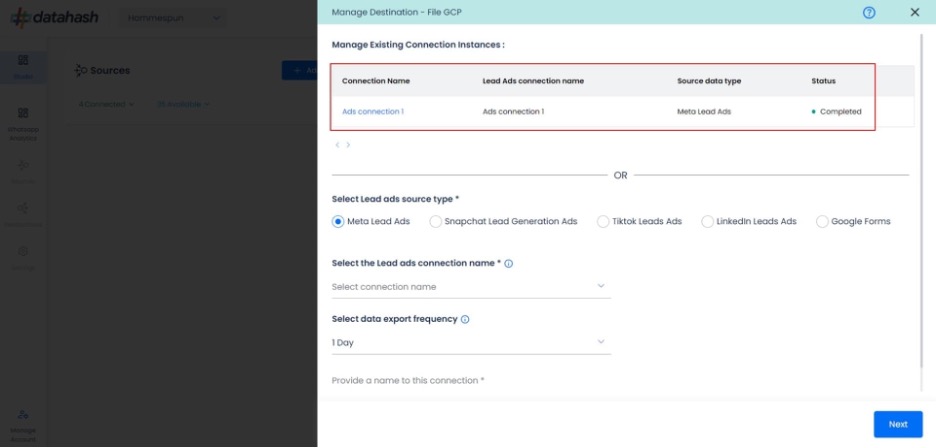
Adding New Instances and Editing Existing Instances:
- To add another instance or edit the existing one, click on the Edit icon to open the RACS for the Manage connections.
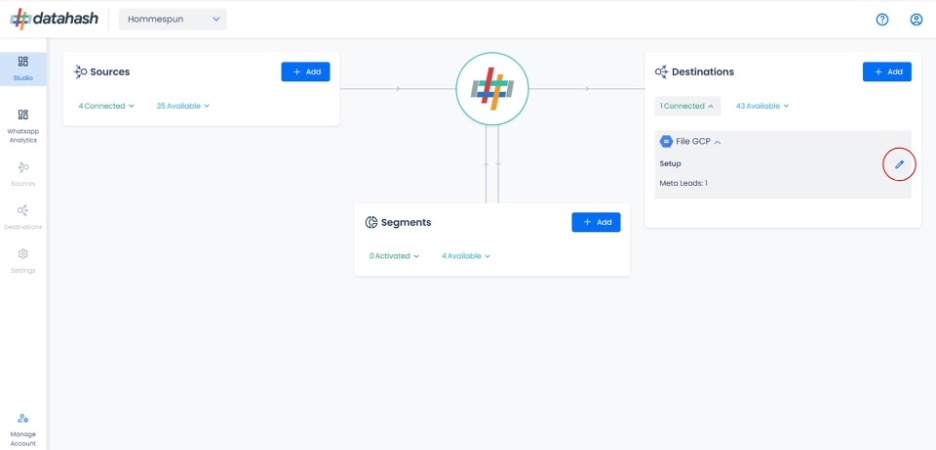
Adding a new instance:
- Start the same setup as done above by selecting the lead ads source type and other required fields.
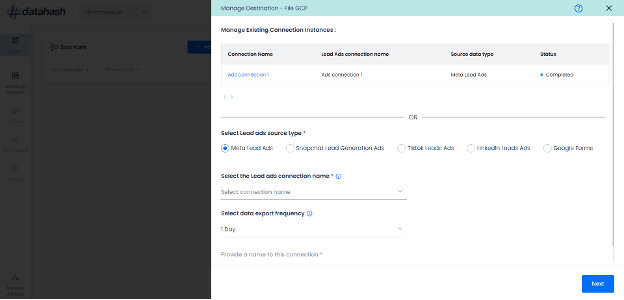
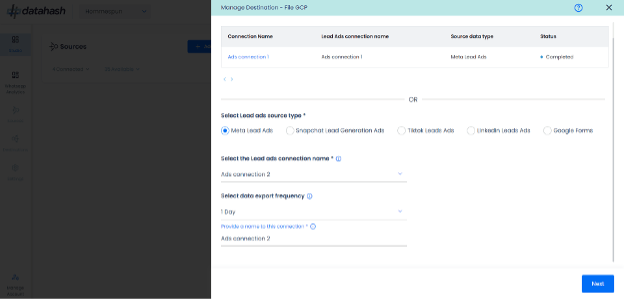
Once done, click ‘Next’ to proceed.
Provide the GCP file access credentials.
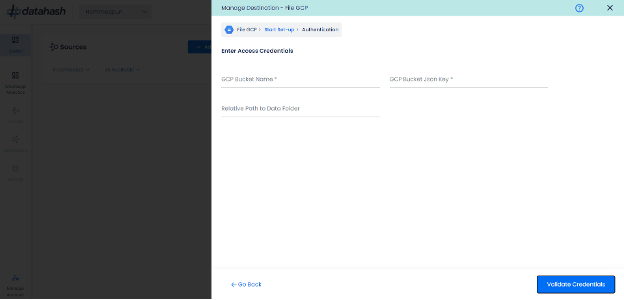
Once done, click on Validate Credentials.
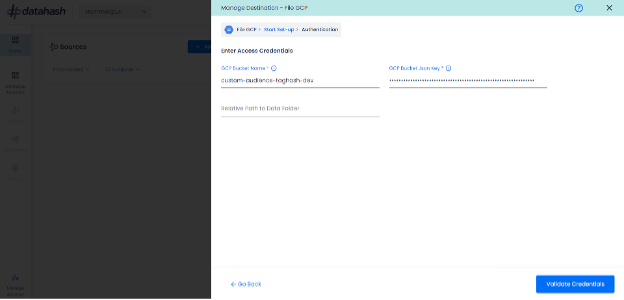
The connection has been established, and the new file path & file name are shown below.
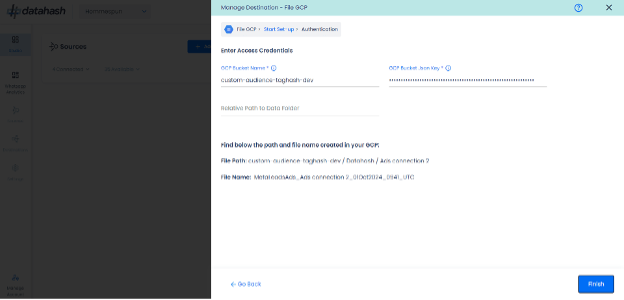
Click Finish to complete the setup.
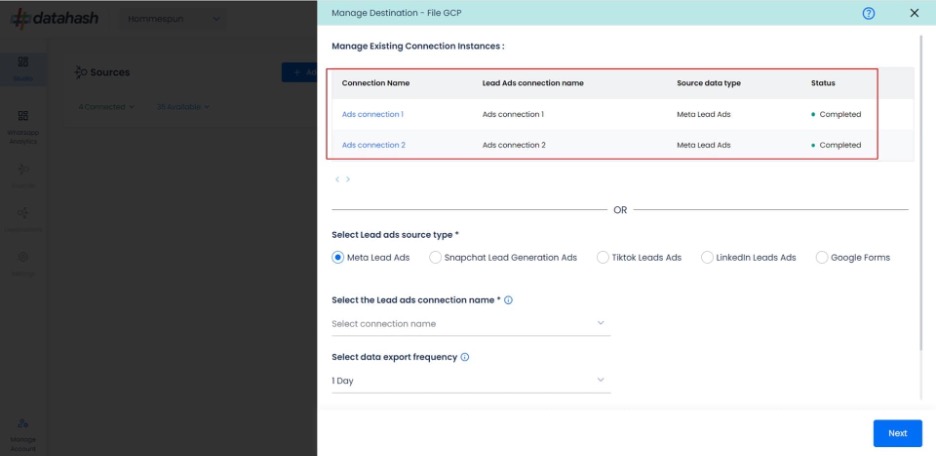
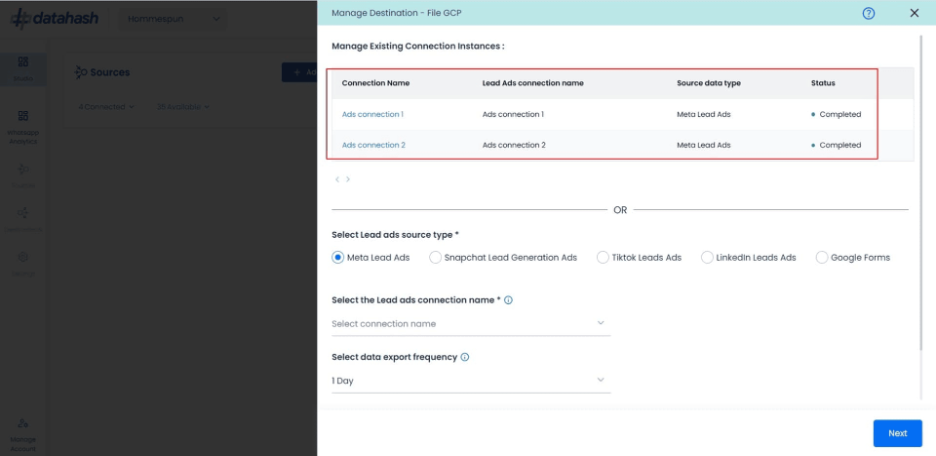
You can see the newly created instance “Ads connection 2” in the manage existing connection instances table.
Editing an existing connection instance:
- Click on the connection name in the manage existing instances table to open the setup.
- Click on the ‘Edit’ icon available at the top right corner to enable the edit mode.
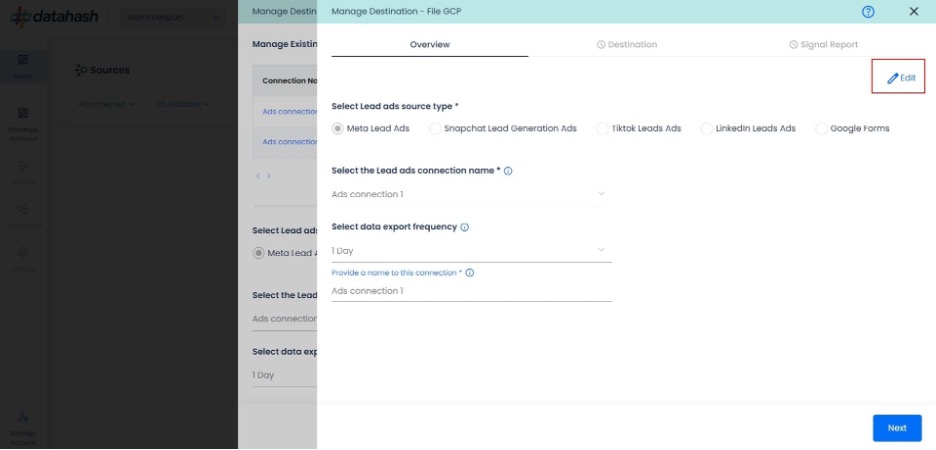
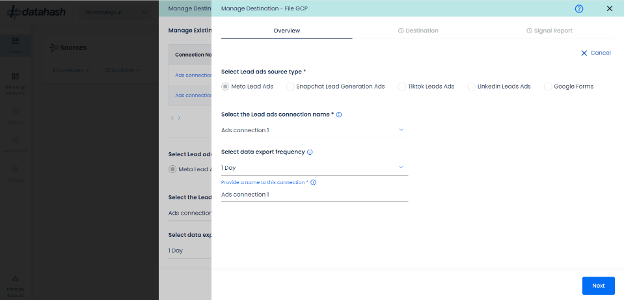
Choose the field value/values which you would like to update. Once done, click on Next
Choose the field value/values which you would like to update. Once done, click on Validate Credentials.
In case you click on ‘cancel’ during the edit flow, and closes the setup, the previous configuration will keep running as it is. The updates are pushed only when you click on the Finish button.
The updated file name and file path will be shown.
Click Finish to complete the setup.


