Video Walkthrough:
Prerequisites:
- Access to a LeadSquared CRM account with permissions for the CRM module that you intend to integrate
- User ‘Access Key’ and ‘Secret Key’ to the LeadSquared account which has permissions to access Leads and API (for administrator profile no permission check required).
Set-up process:
Log in to your Datahash account on https://studio.datahash.com/login
Navigate to CRM category under Sources list in the left section.
Click on the “LeadSquared CRM” connector tile.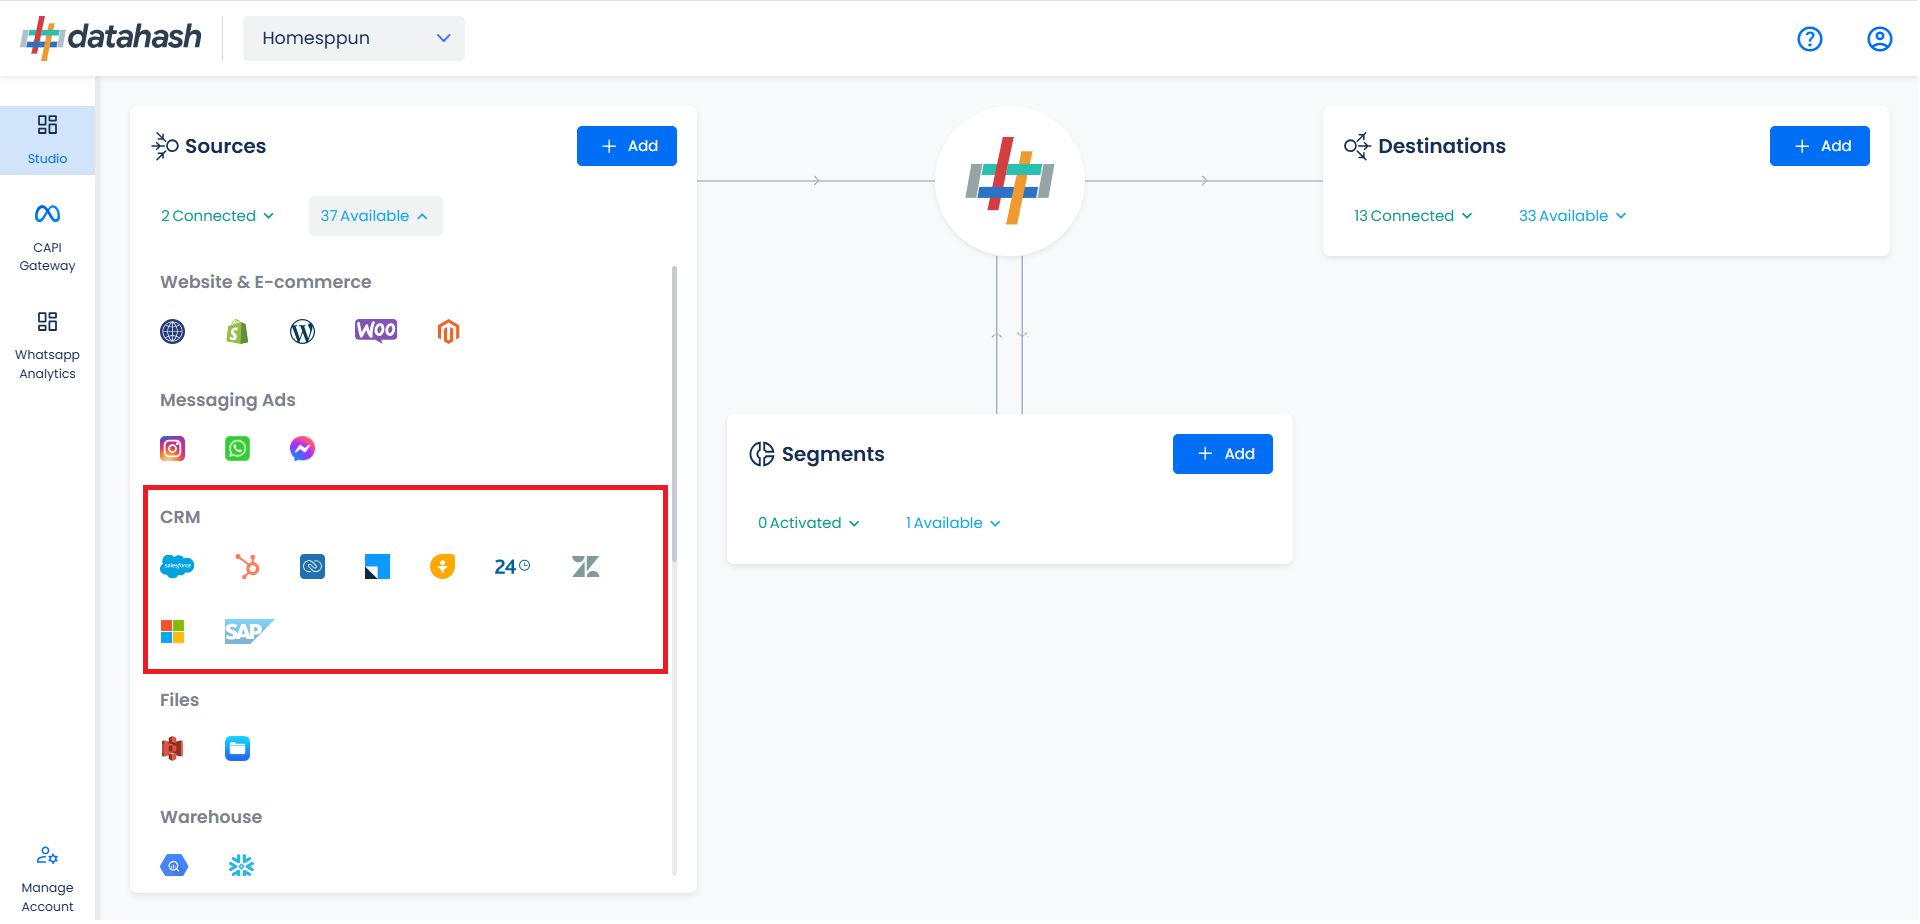
In order to connect to your LeadSquared CRM account. You will require the LeadSquared access key & secret key.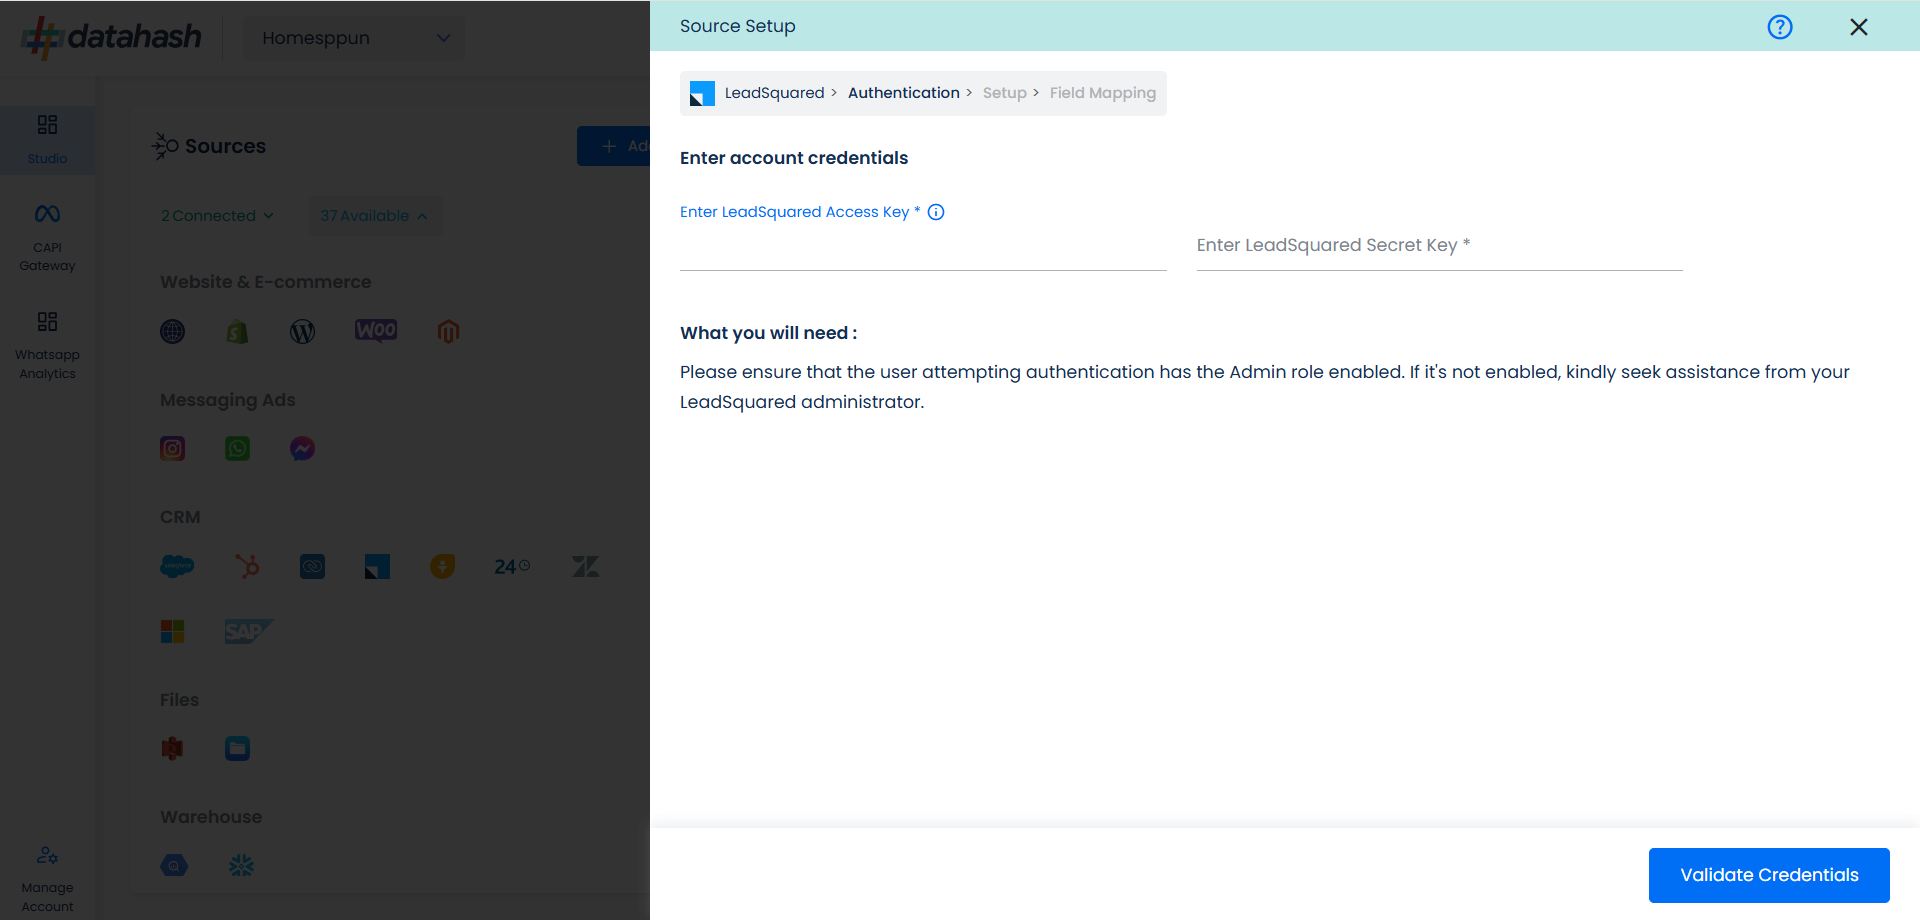
Getting the LeadSquared access & secret key
Go to LeadSquared CRM & login to your account.
Navigate to the top right corner and look for profiles. Under your profile, click on settings.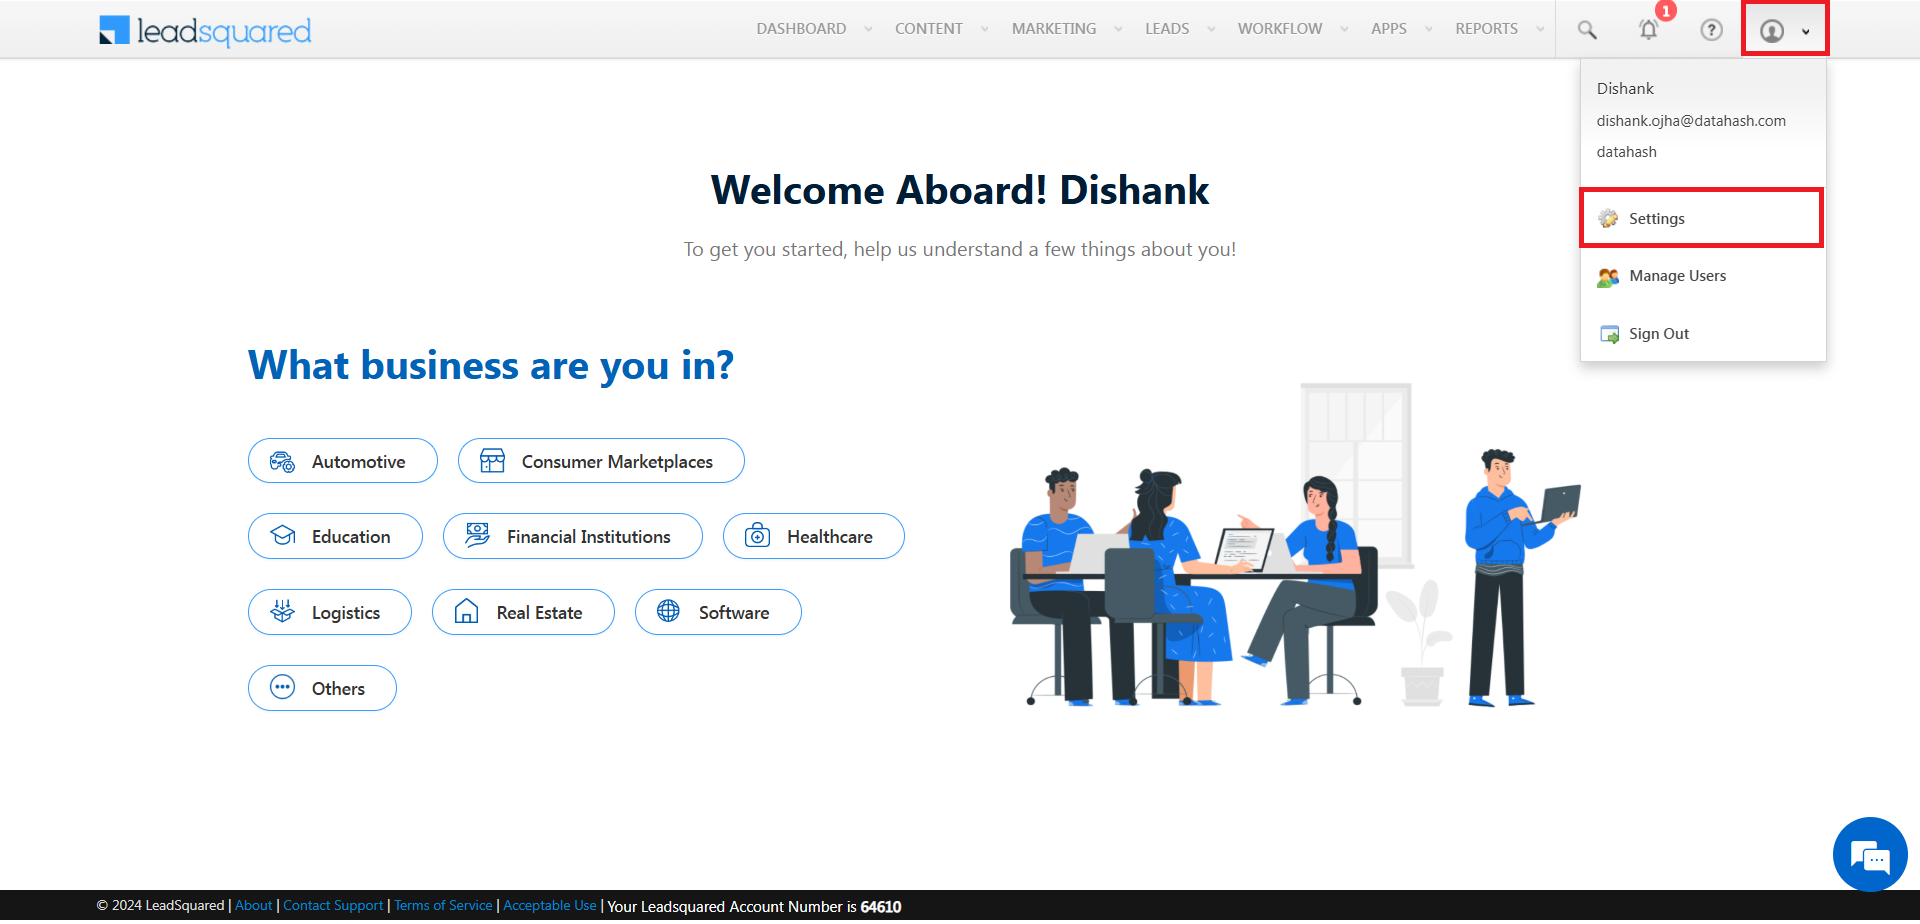
In the left section, navigate to API and webhooks and then click on to API Access keys. Once done, click on Show Secret Key.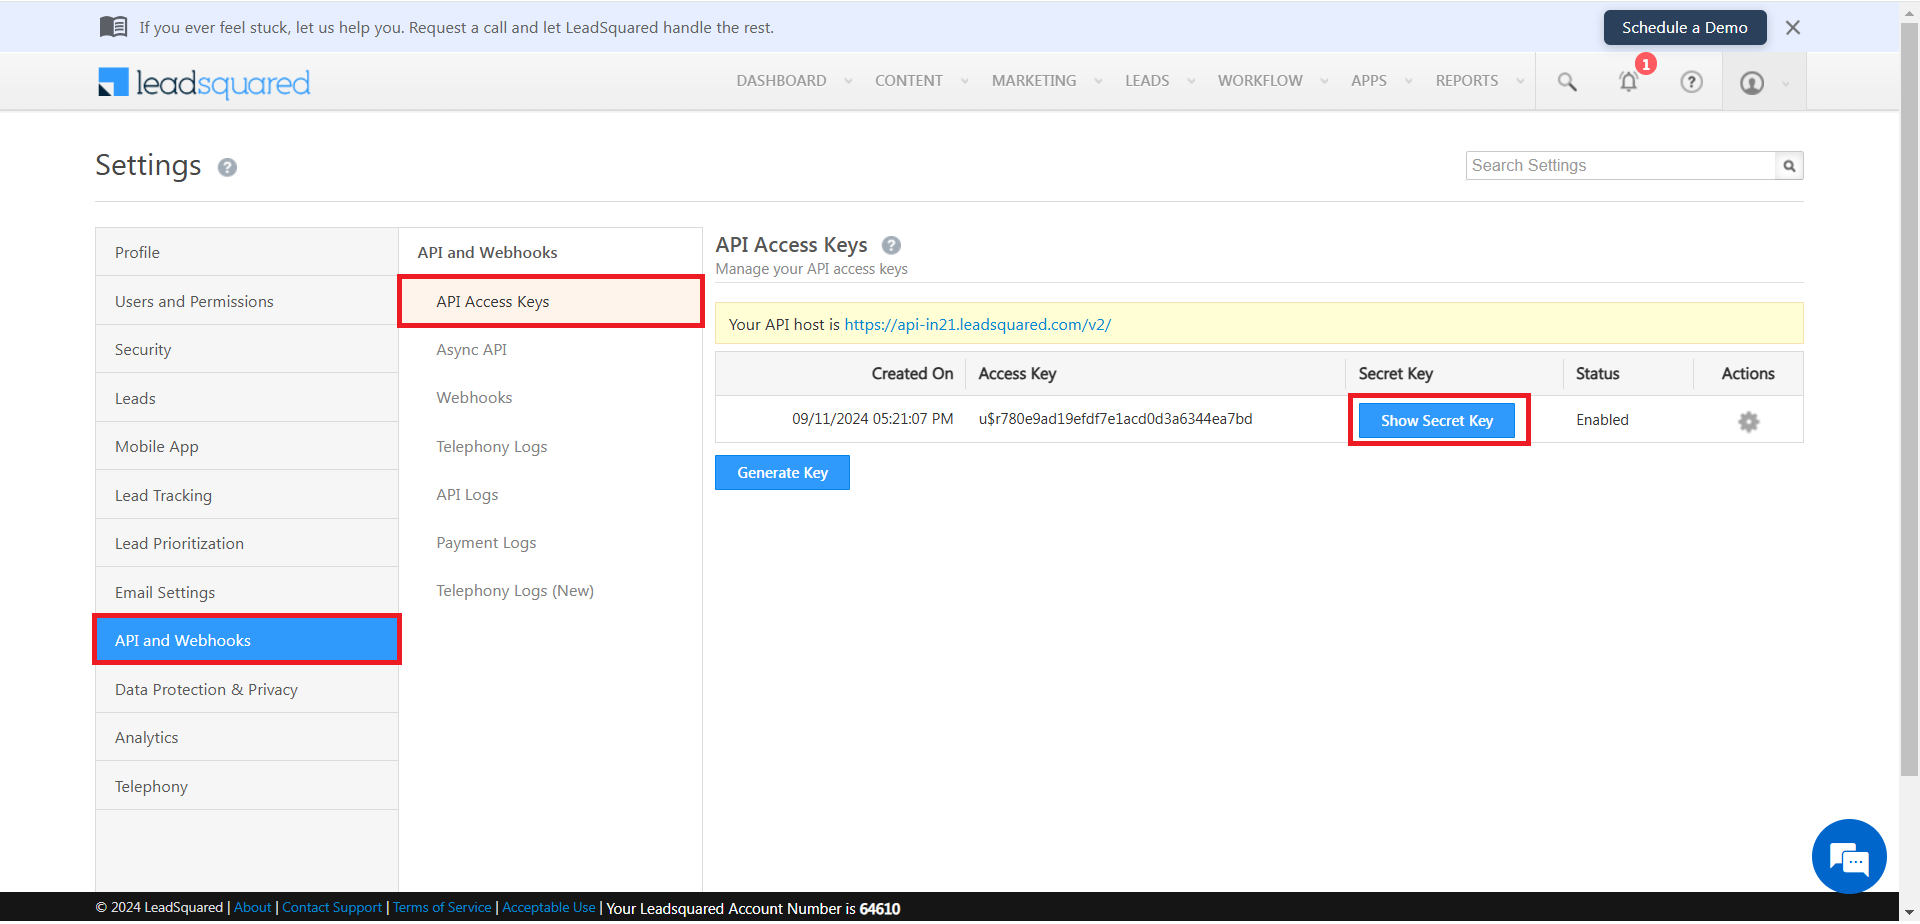
Copy the access key & secret key from here.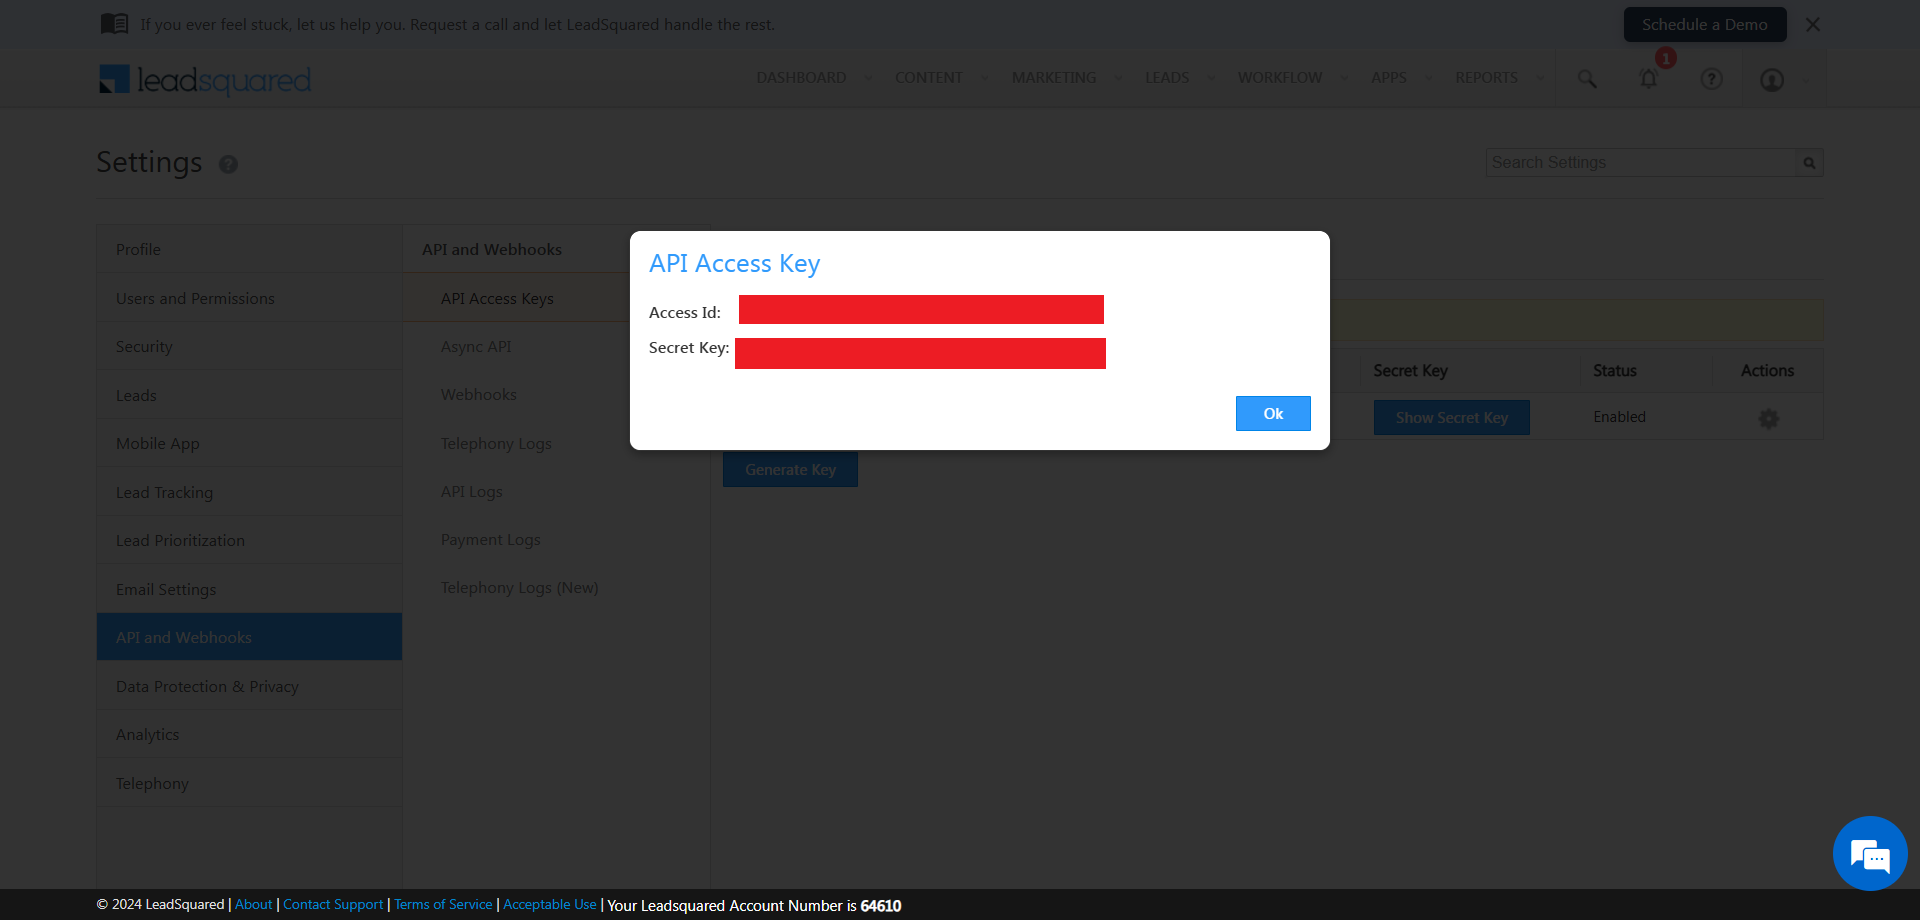
Paste the access key & secret key in Datahash studio. Once done, click on Validate Credentials.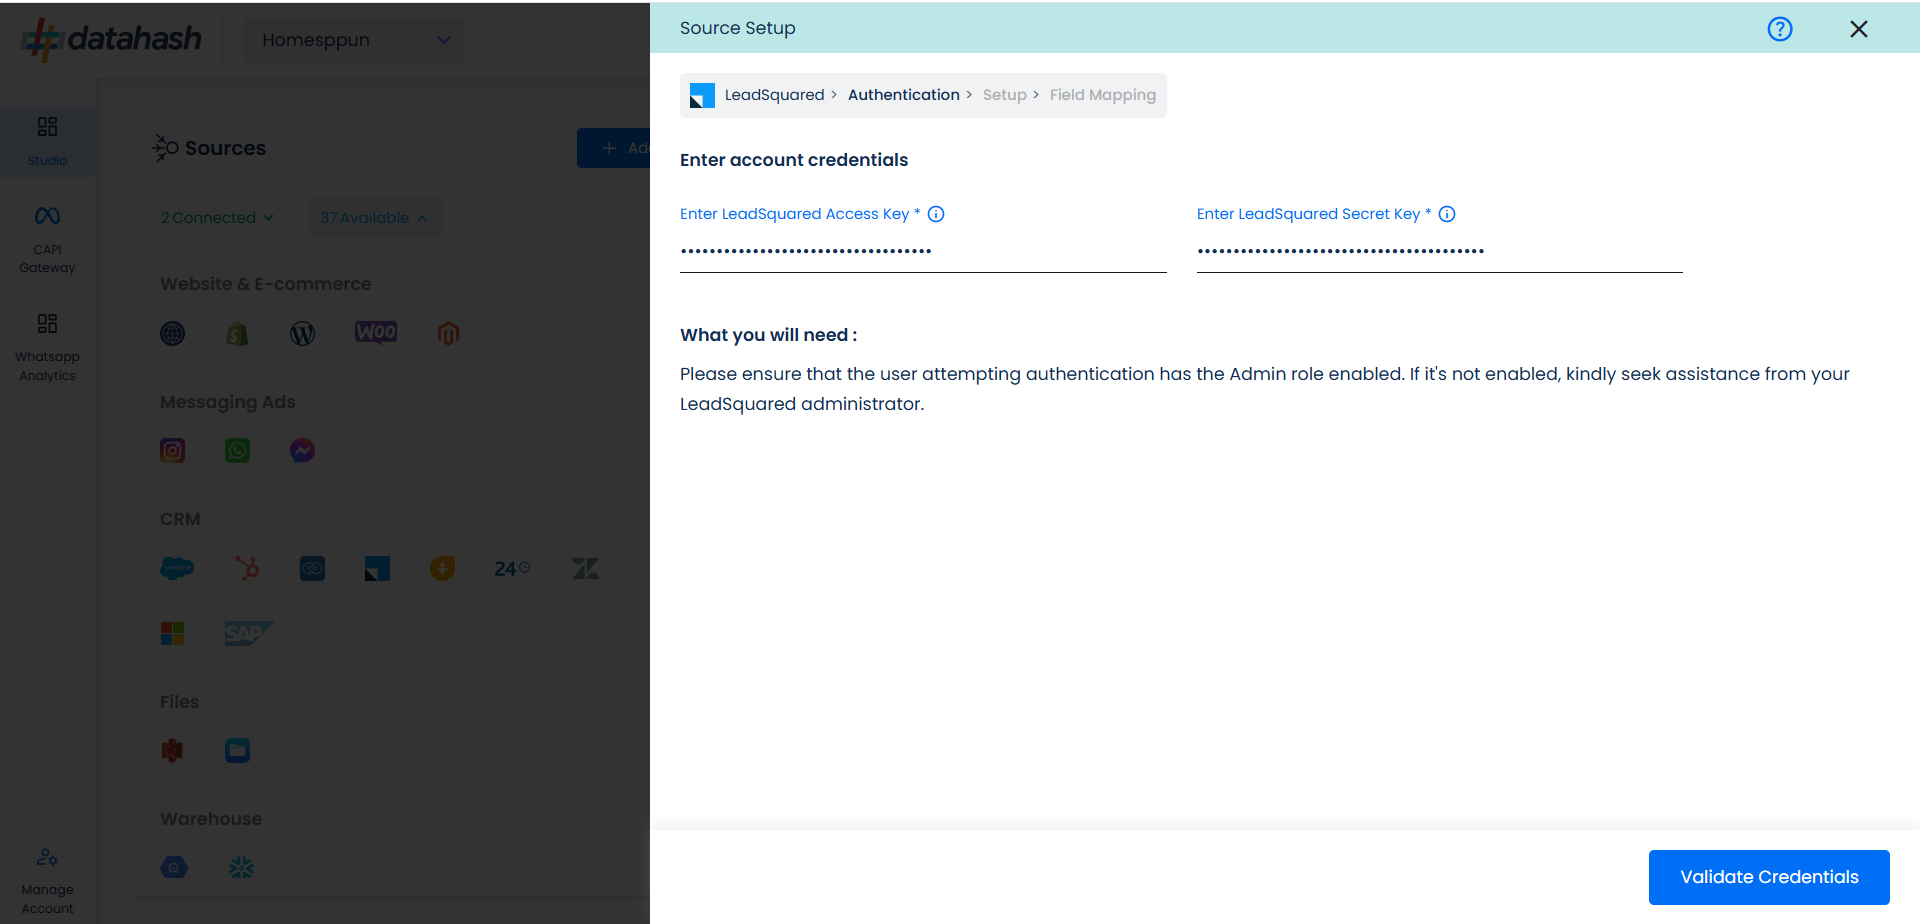
Choose the data entity as Offline Events.
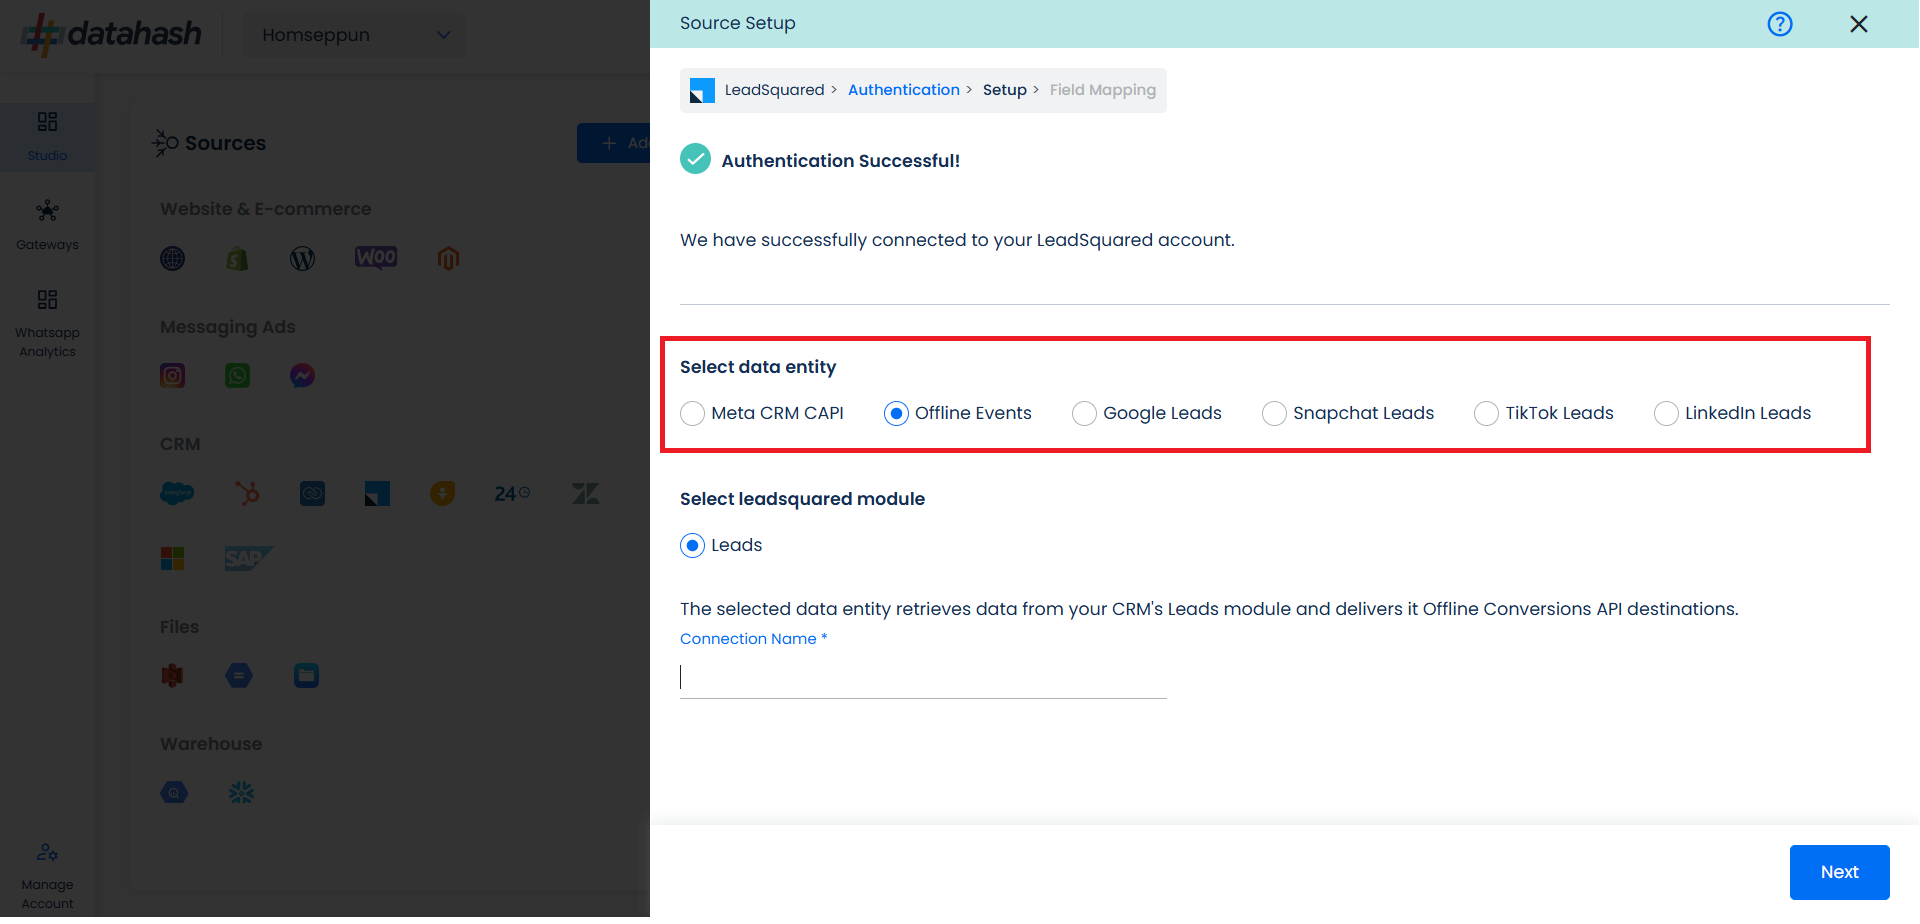
Select the LeadSquared module from which you want to track the lead status updates into Offline Conversions API and provide a name to the connection.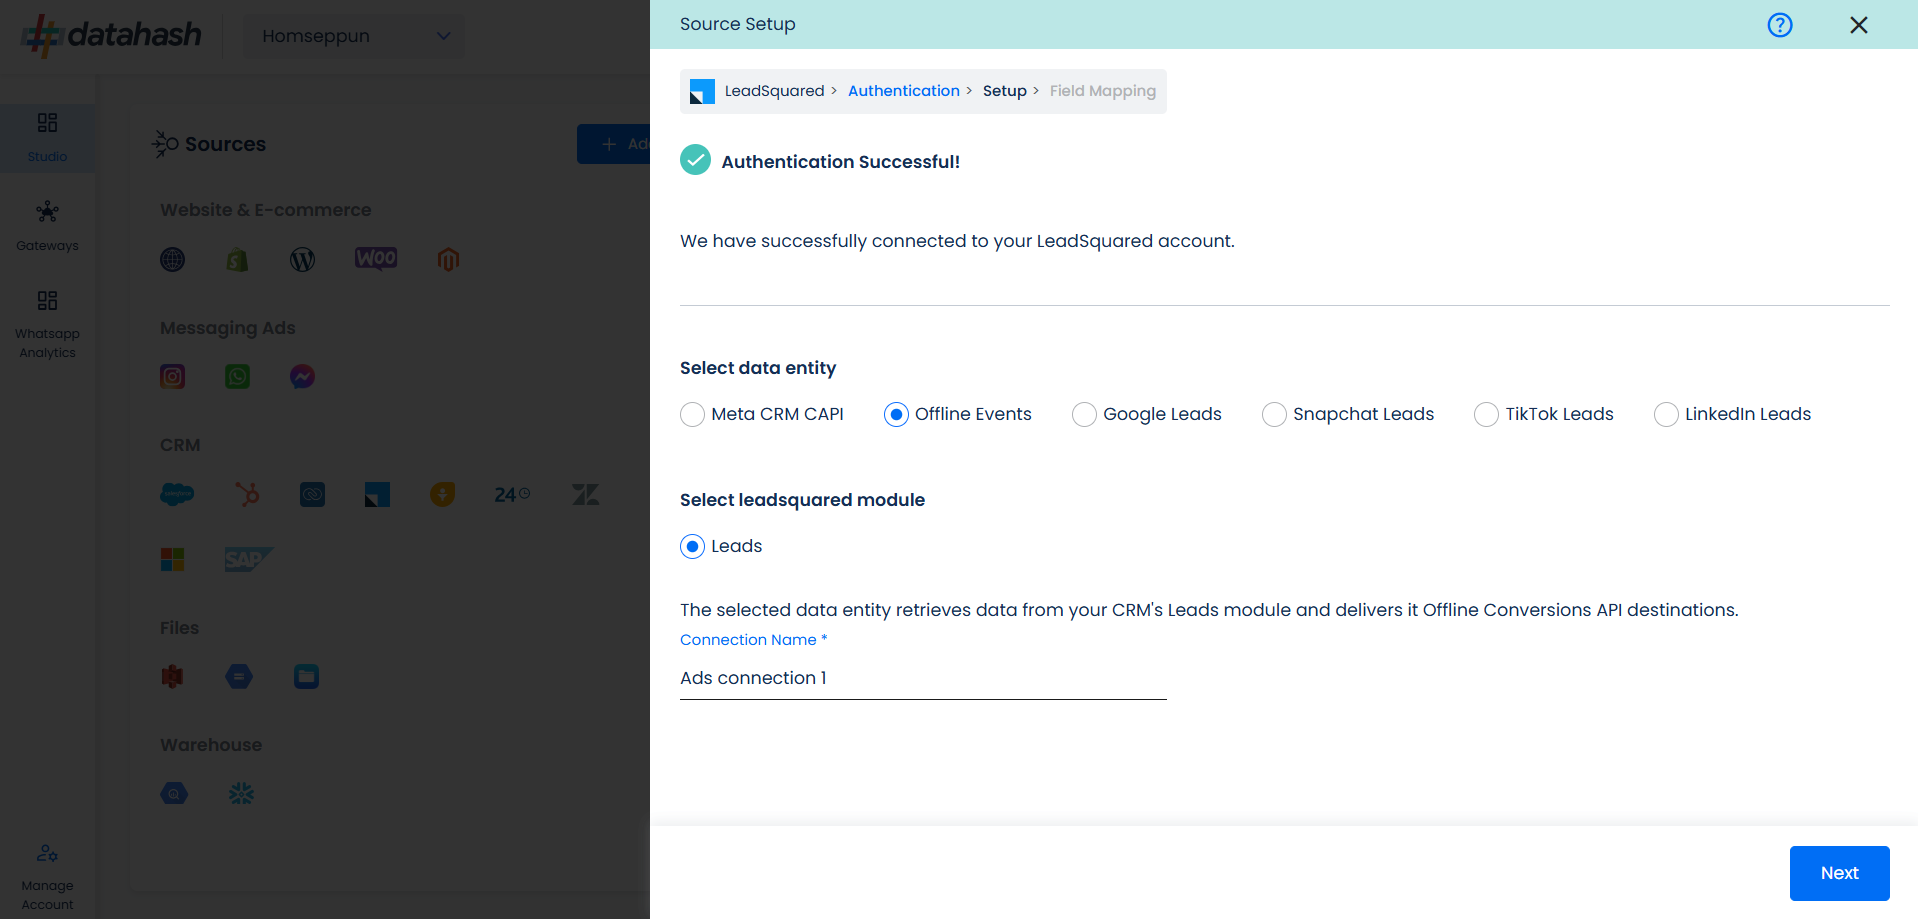
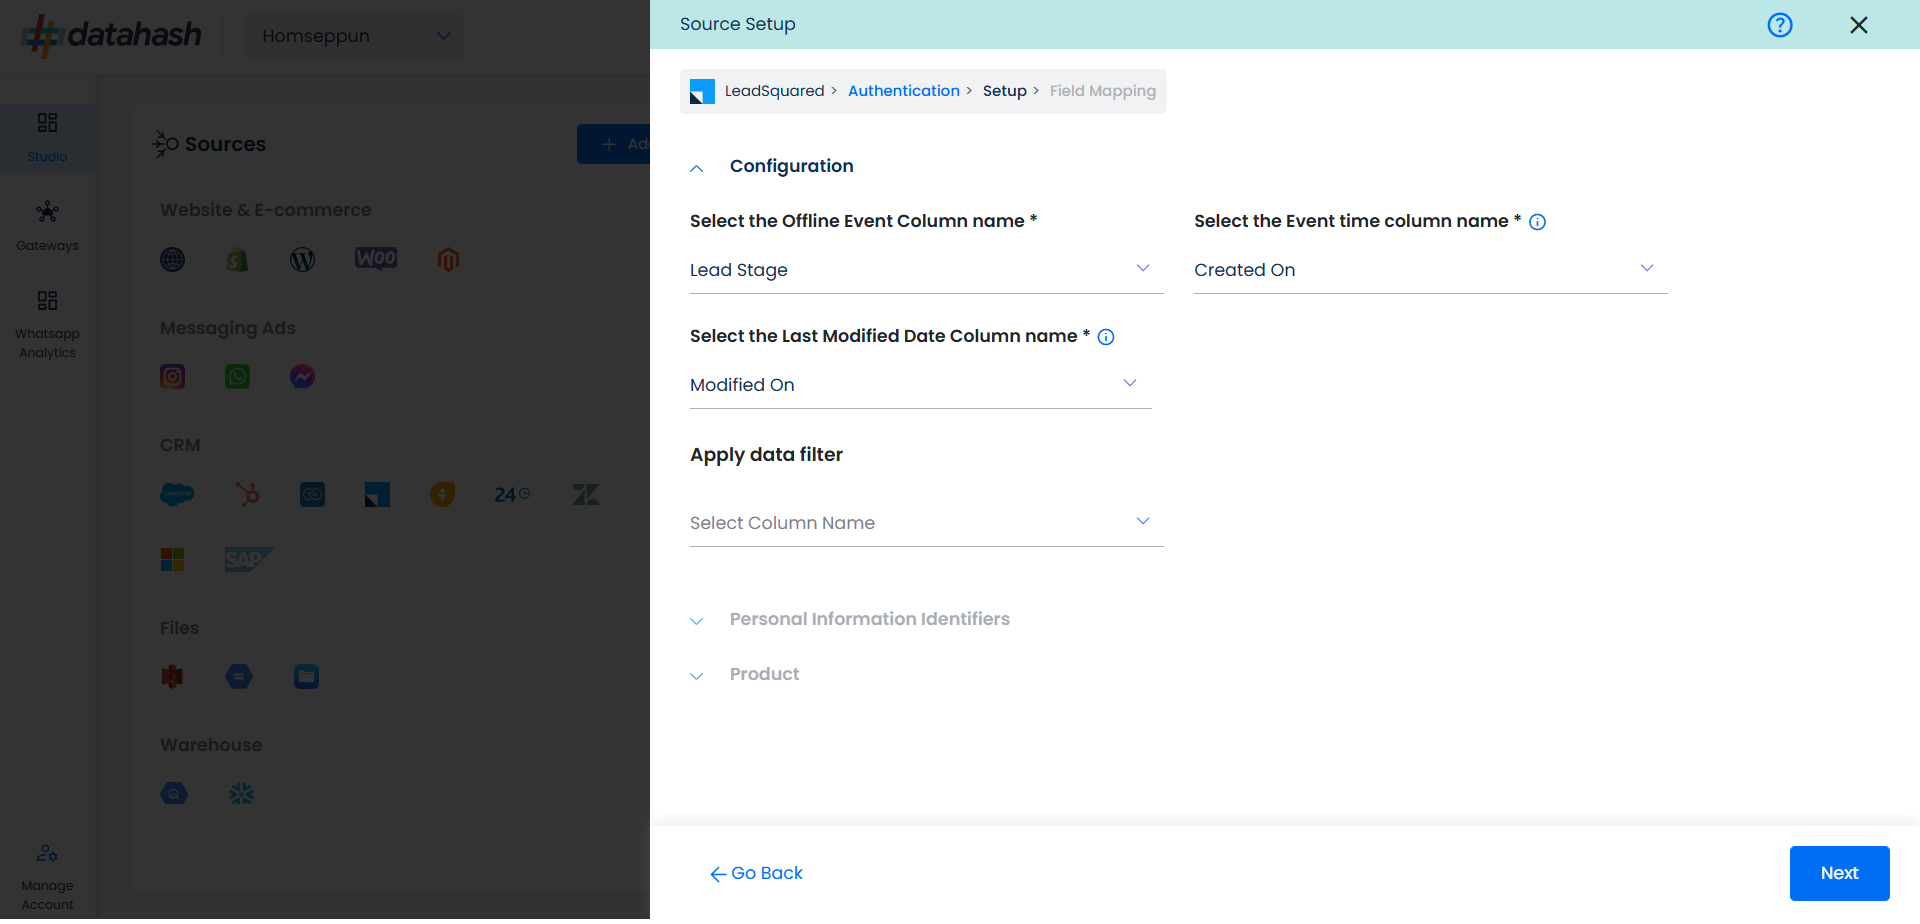
Next step is to map the CRM fields with the data points required for Offline Events integration.
Configuration: Select the following column name:
- Offline Event: This field indicates the identifier for the offline event in the CRM.
- Event time: This is the field that indicates the time at which the lead is captured
- Last Modified Date: This is the field that indicates the lead’s most recent update time to synchronize the latest updates. The default sync frequency is daily.
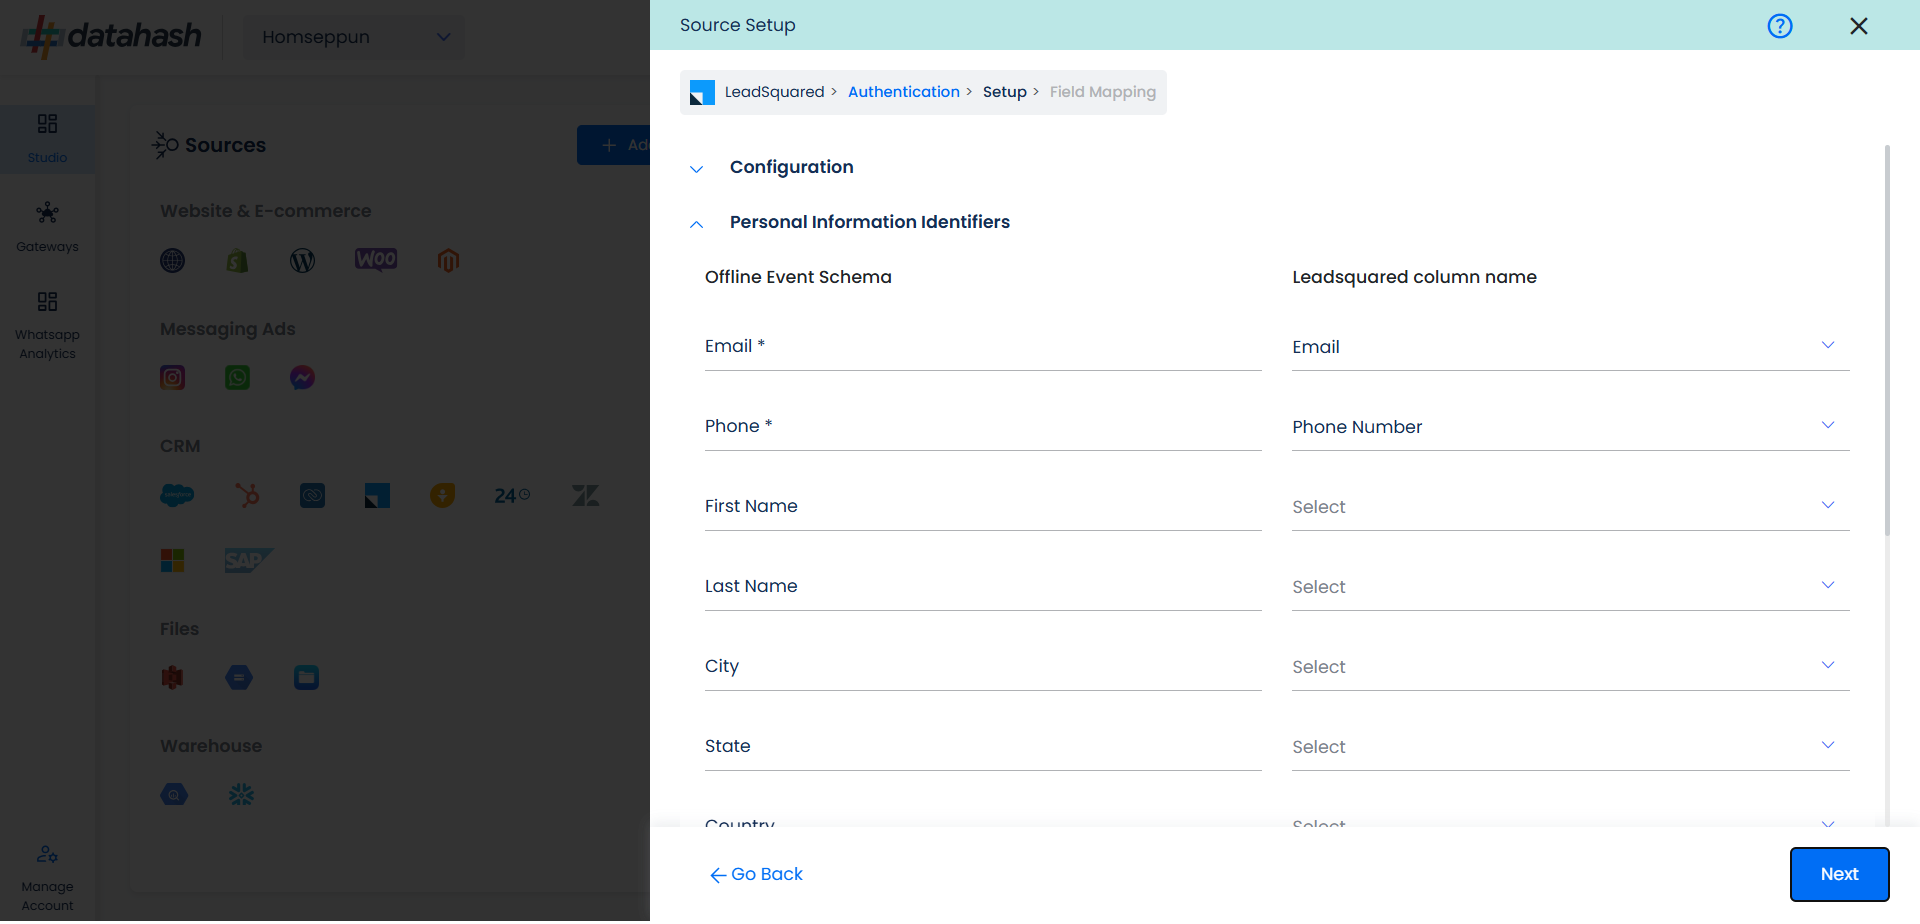
Personal Information: Now you need to map the offline schema to LeadSquared column name. Here the details of the User is asked.
Product: In similar way as done above we need to map the offline events schema of the product to the LeadSquared.
Once done, click on “Test Connection” to proceed.
Once done, you can view the latest leads data available in your CRM as per the mapping provided above.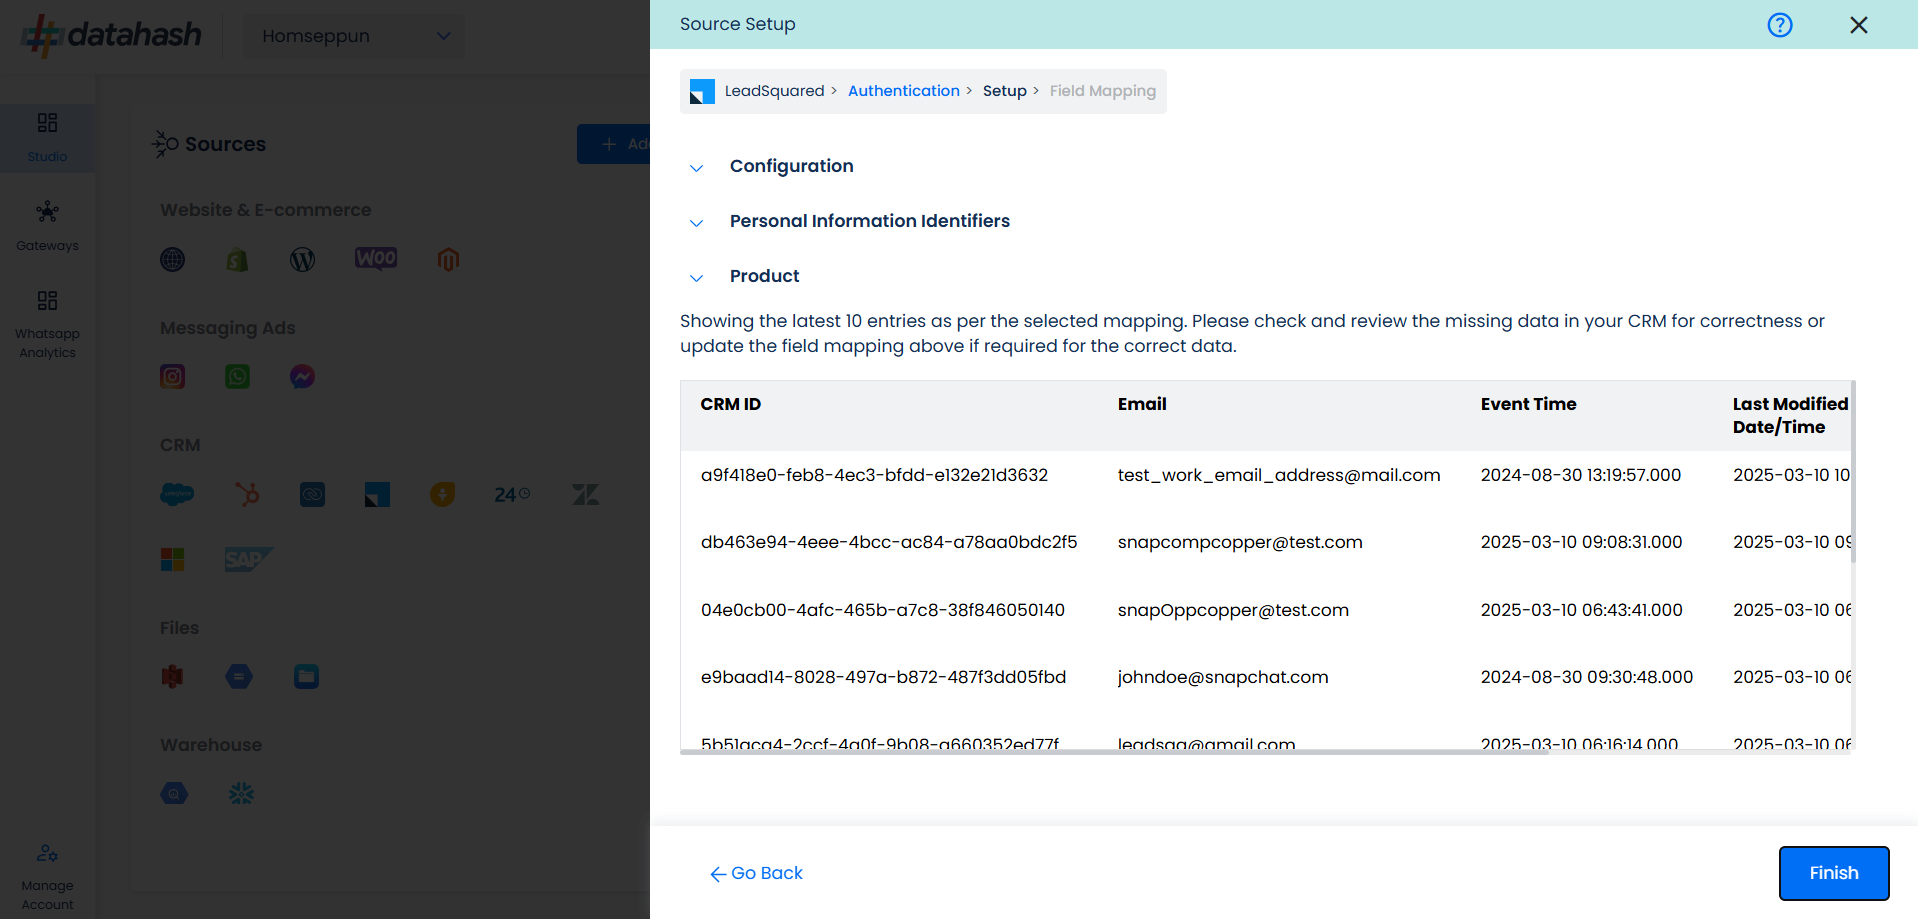
You can check for errors if any are shown in the table data itself.
Click Finish to complete the setup.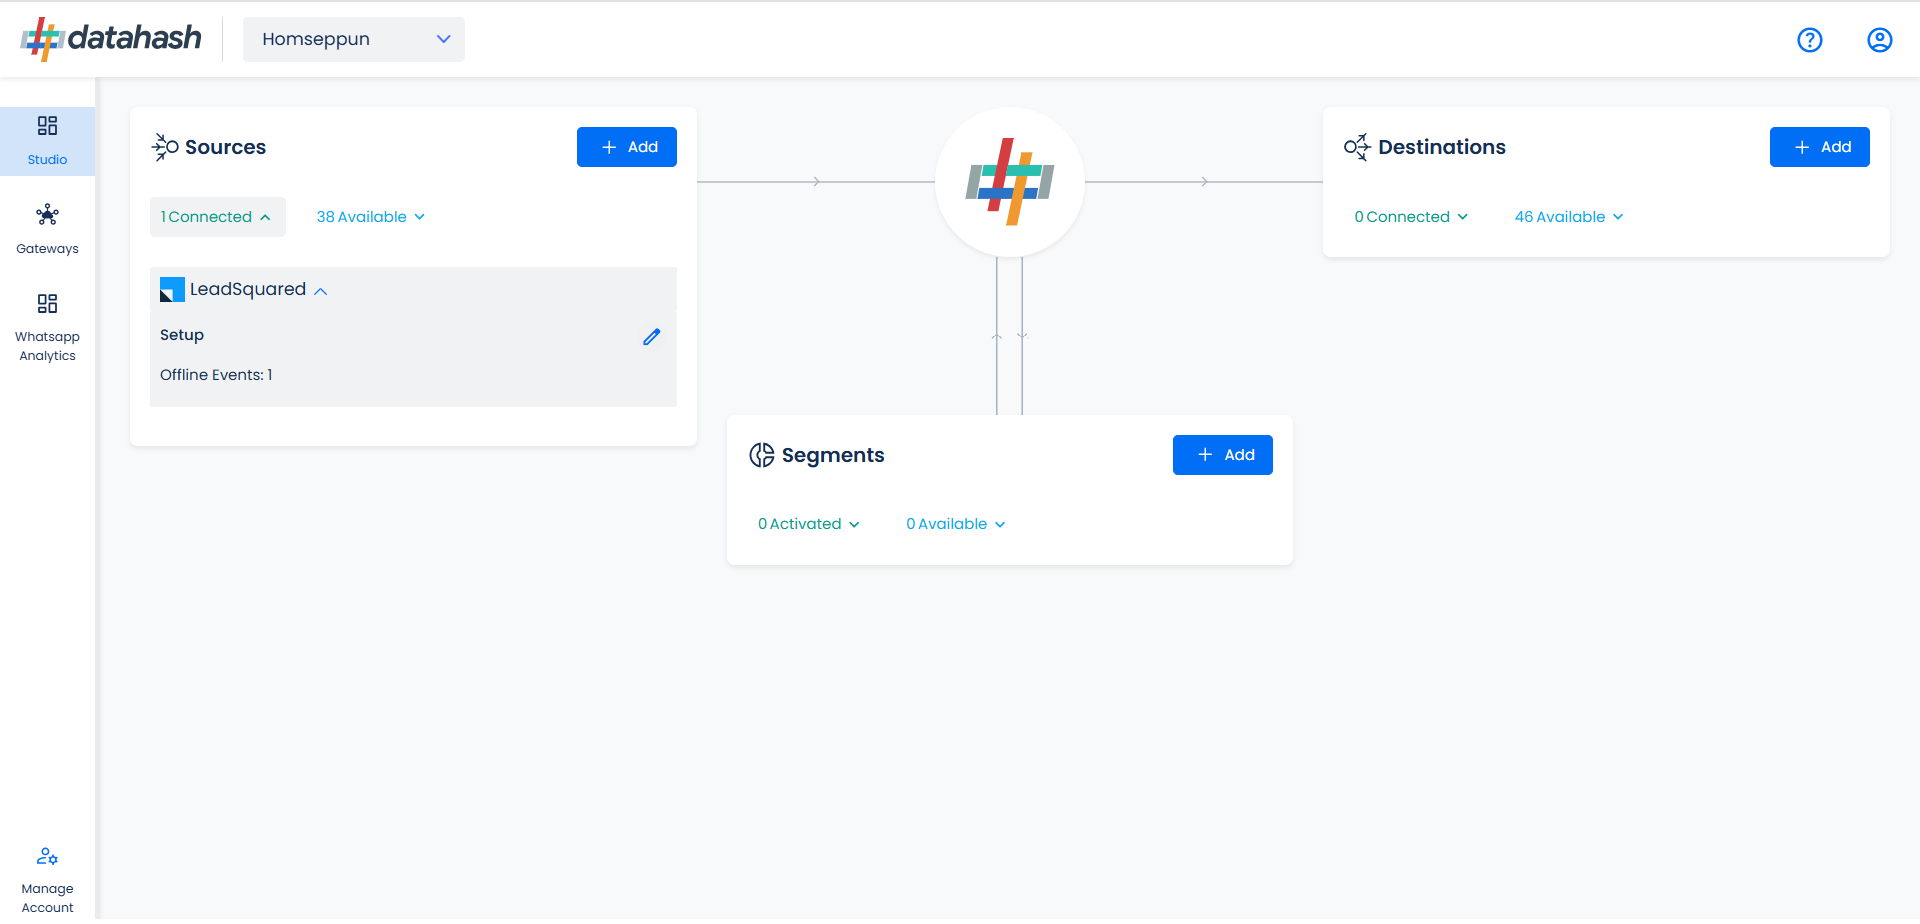
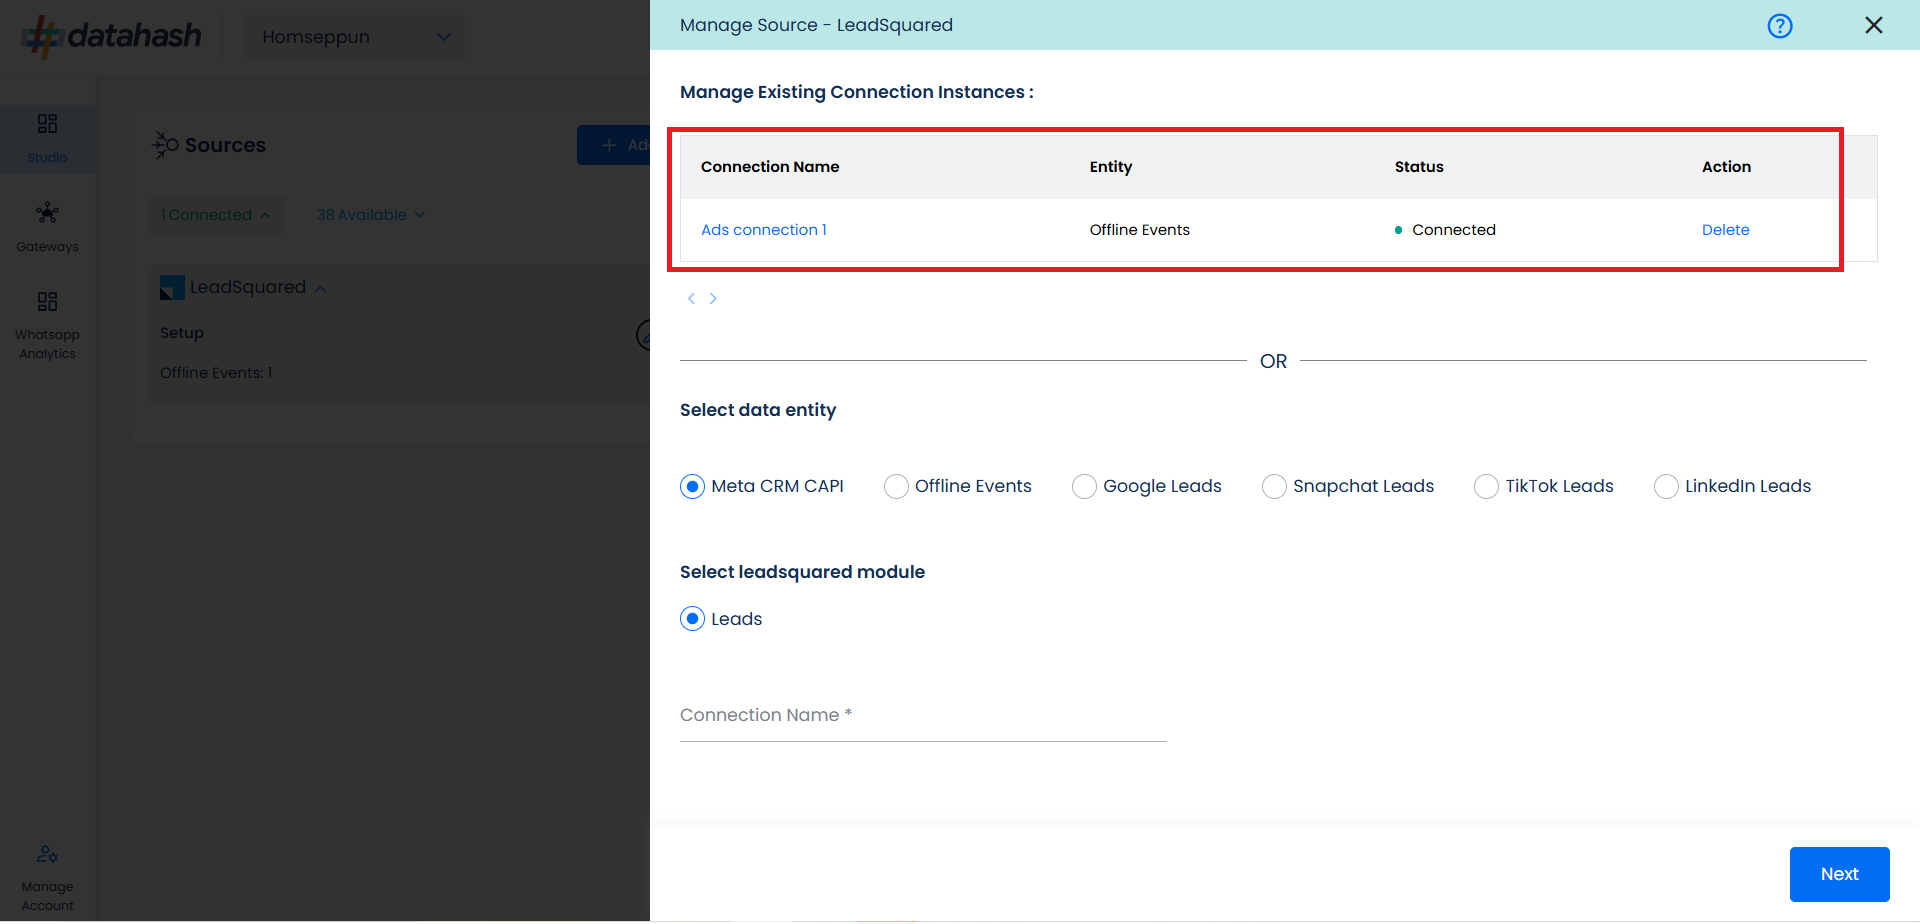
You can access the set-up again by clicking on the edit button in the LeadSquared CRM connector widget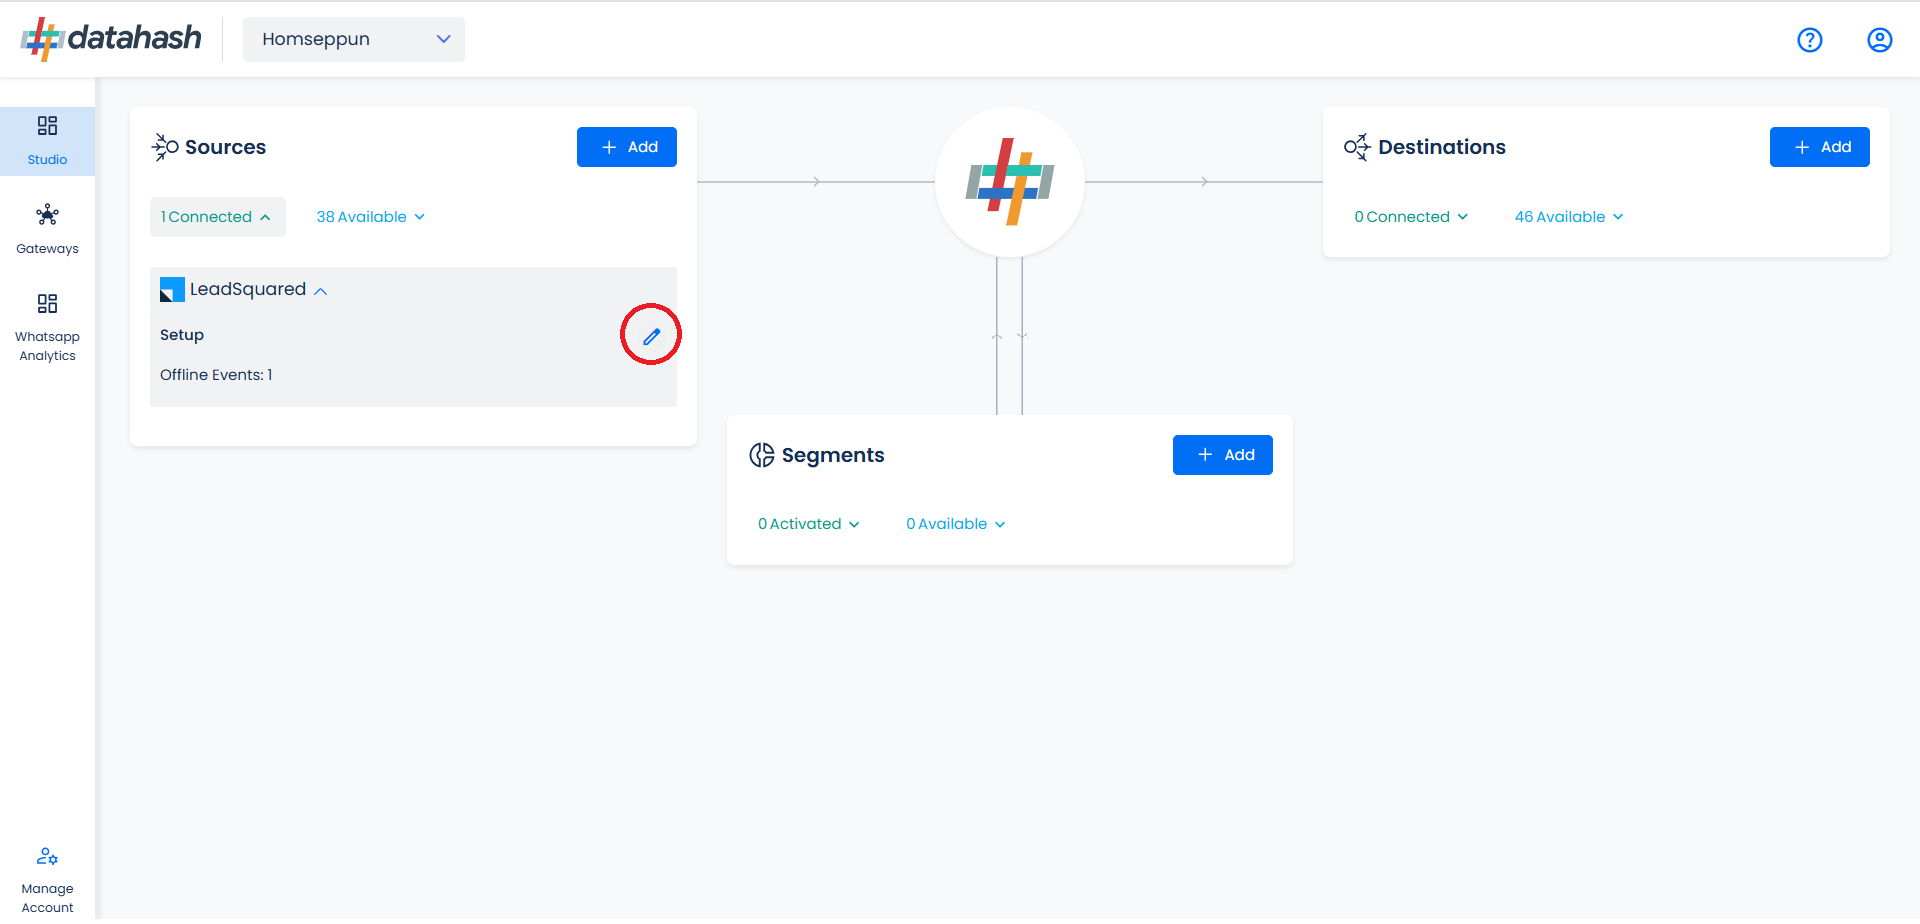
The set-up configurations can be edited if required, from the Manage connections section.