
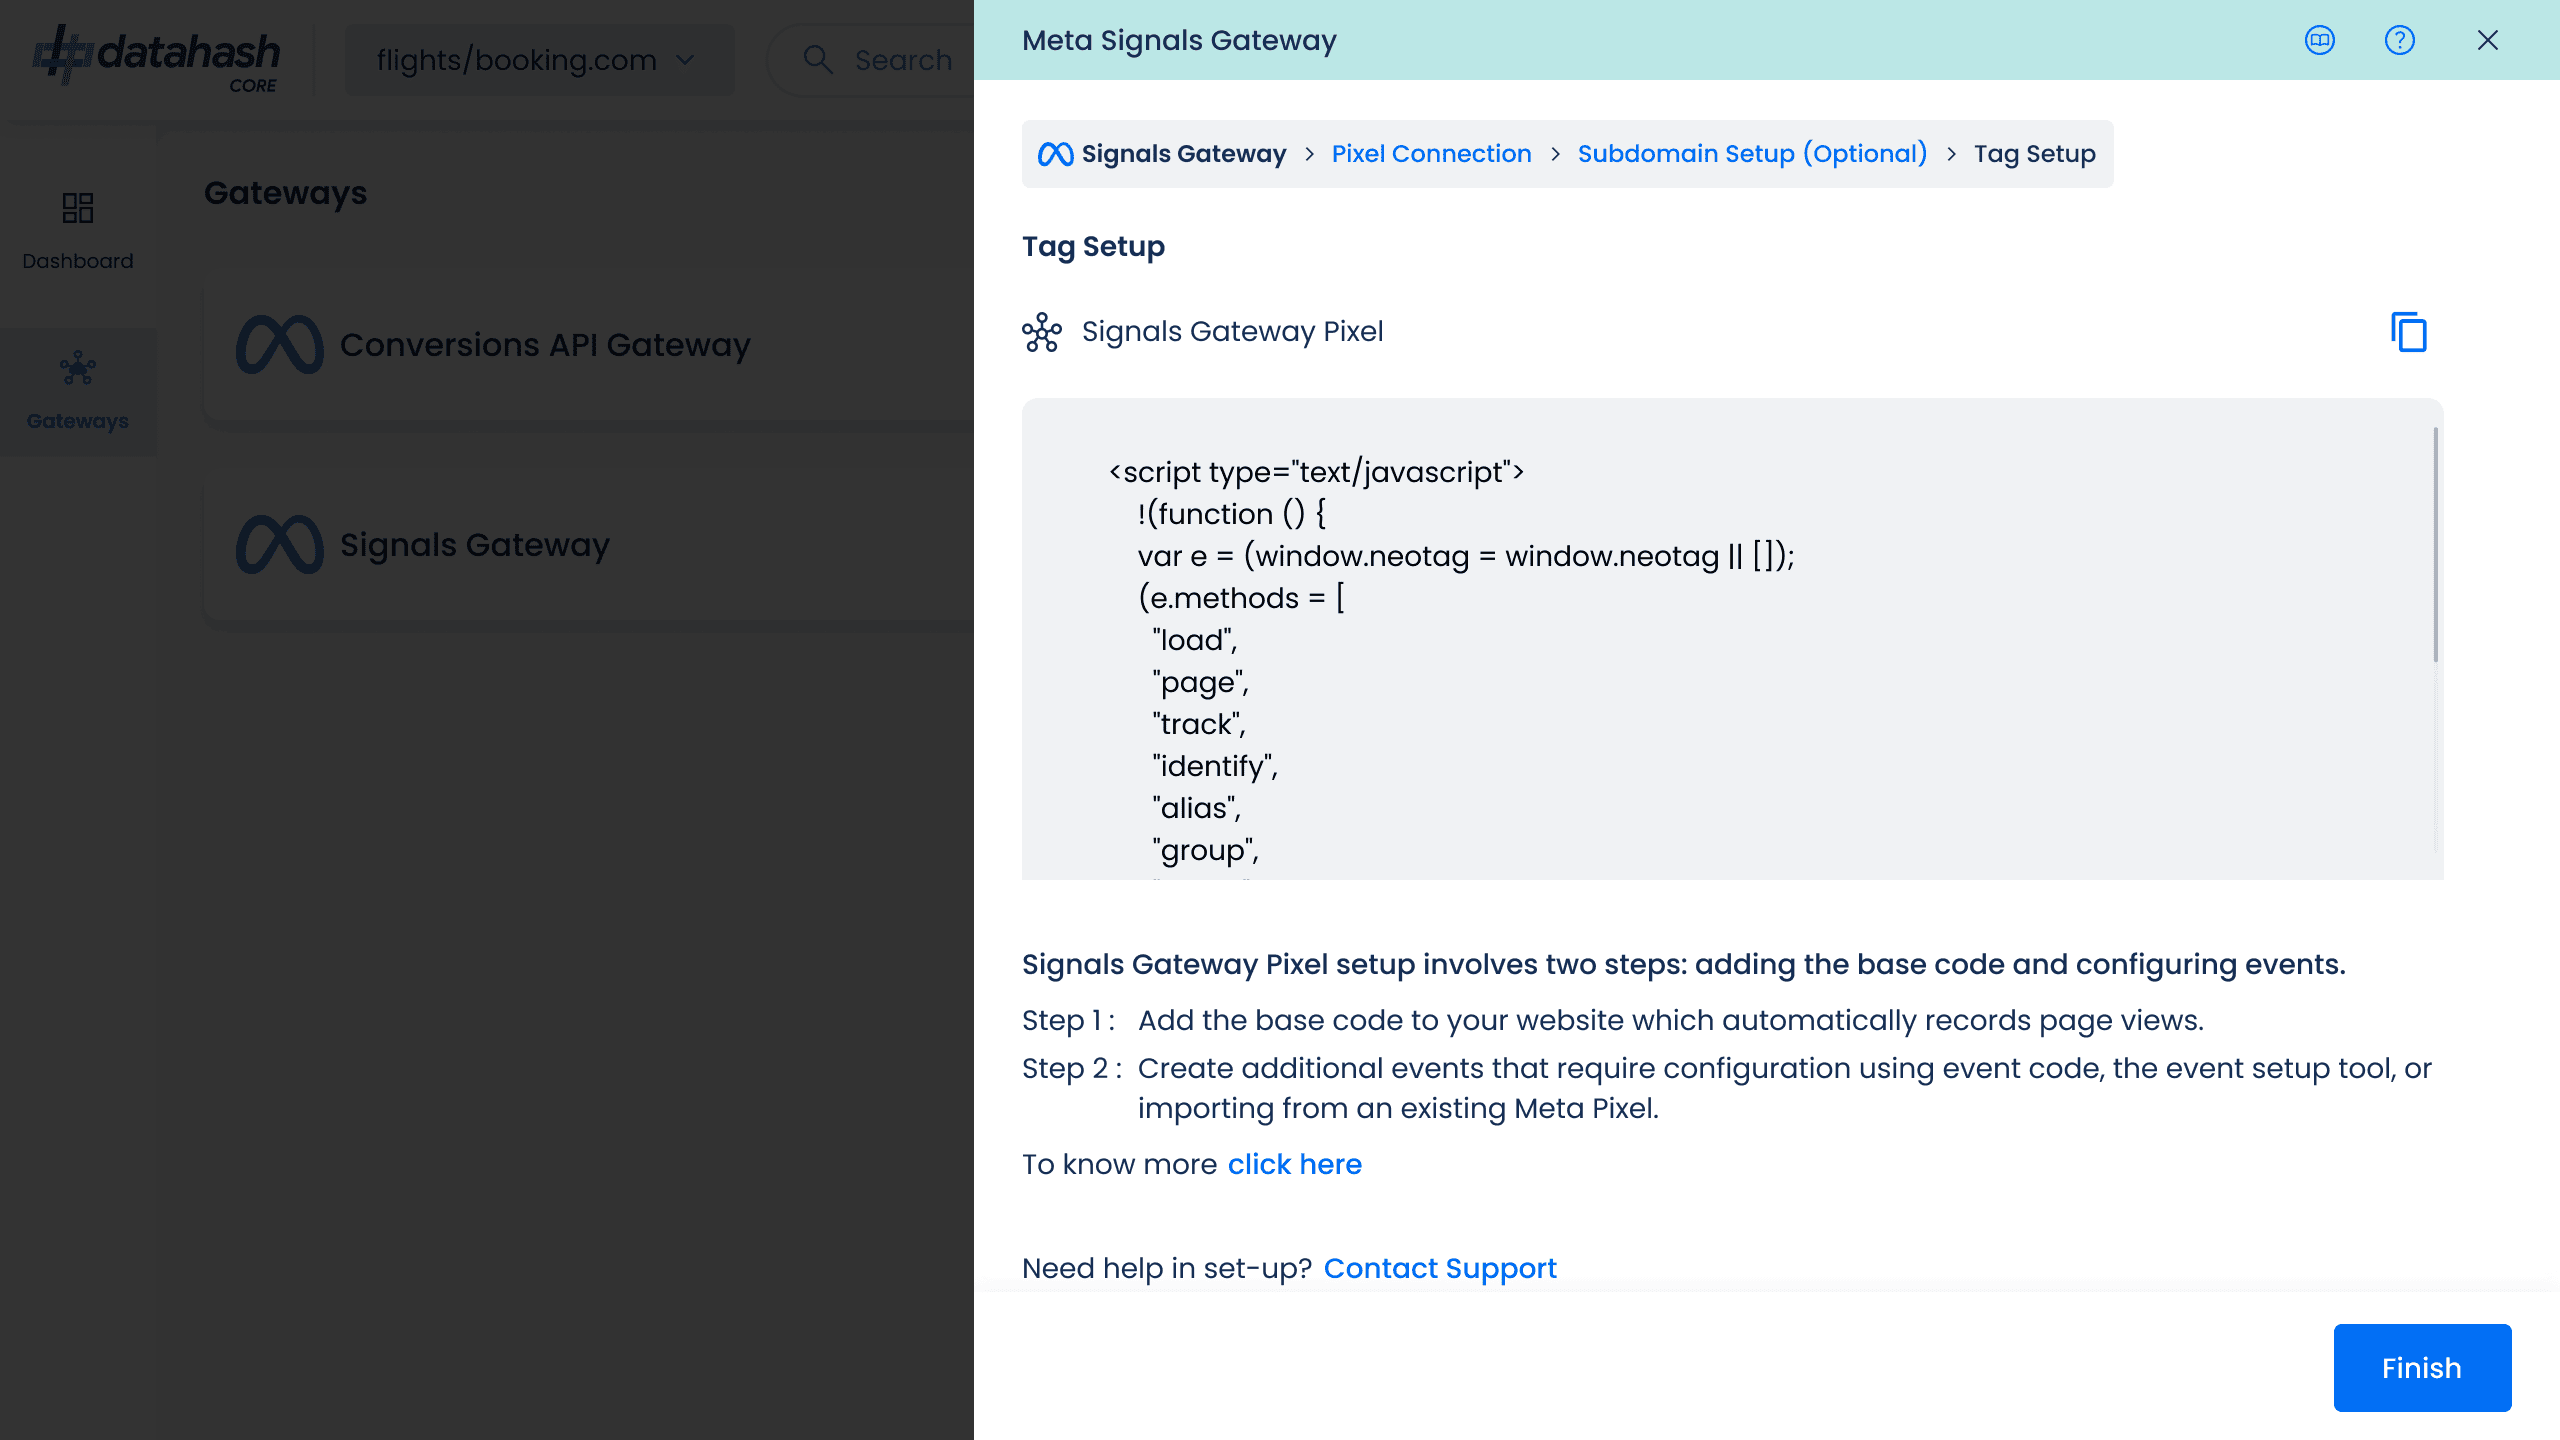
- Add the Base Pixel Code to Your Website
- Obtain the Signals Gateway Base Code from the Datahash UI.
- Paste the base pixel code into the <head> section of your website.
- Example of Base code is shown below:
<!-- Signals Gateway Pixel Code -->
<script>
  !function(a,h,e,v,n,t,s)
  {if(a.cbq)return;n=a.cbq=function(){n.callMethod?
  n.callMethod.apply(n,arguments):n.queue.push(arguments)};
  if(!a._cbq)a._cbq=n;n.push=n;n.loaded=!0;n.version='2.0';
  n.queue=[];t=h.createElement(e);t.async=!0;
  t.src=v;s=h.getElementsByTagName(e)[0];
  s.parentNode.insertBefore(t,s)}(window, document,'script',
  'https://capig.datah06.com/sdk/7081560923299074052/events.js');
  cbq('setHost', 'https://capig.datah06.com/');
  cbq('init', '7081560923299074052');
  cbq('track', 'PageView');
</script>
<!-- End Signals Gateway Pixel Code -->
- Configure Events
To track specific actions (e.g., purchases), specify event names and tag them in your website code:<script>
  cbq('track', 'Purchase', {
    value: '100.00',
    currency: 'USD'
  });
</script>
- Save the changes.
Final Steps
- Monitor the pixel connection and ensure the setup is complete.
- Test the integration by verifying the events are tracked correctly.
- If needed, revisit the dashboard to add or edit instances and configurations.
Note: Ensure proper testing and validation to guarantee accurate data collection and reporting.