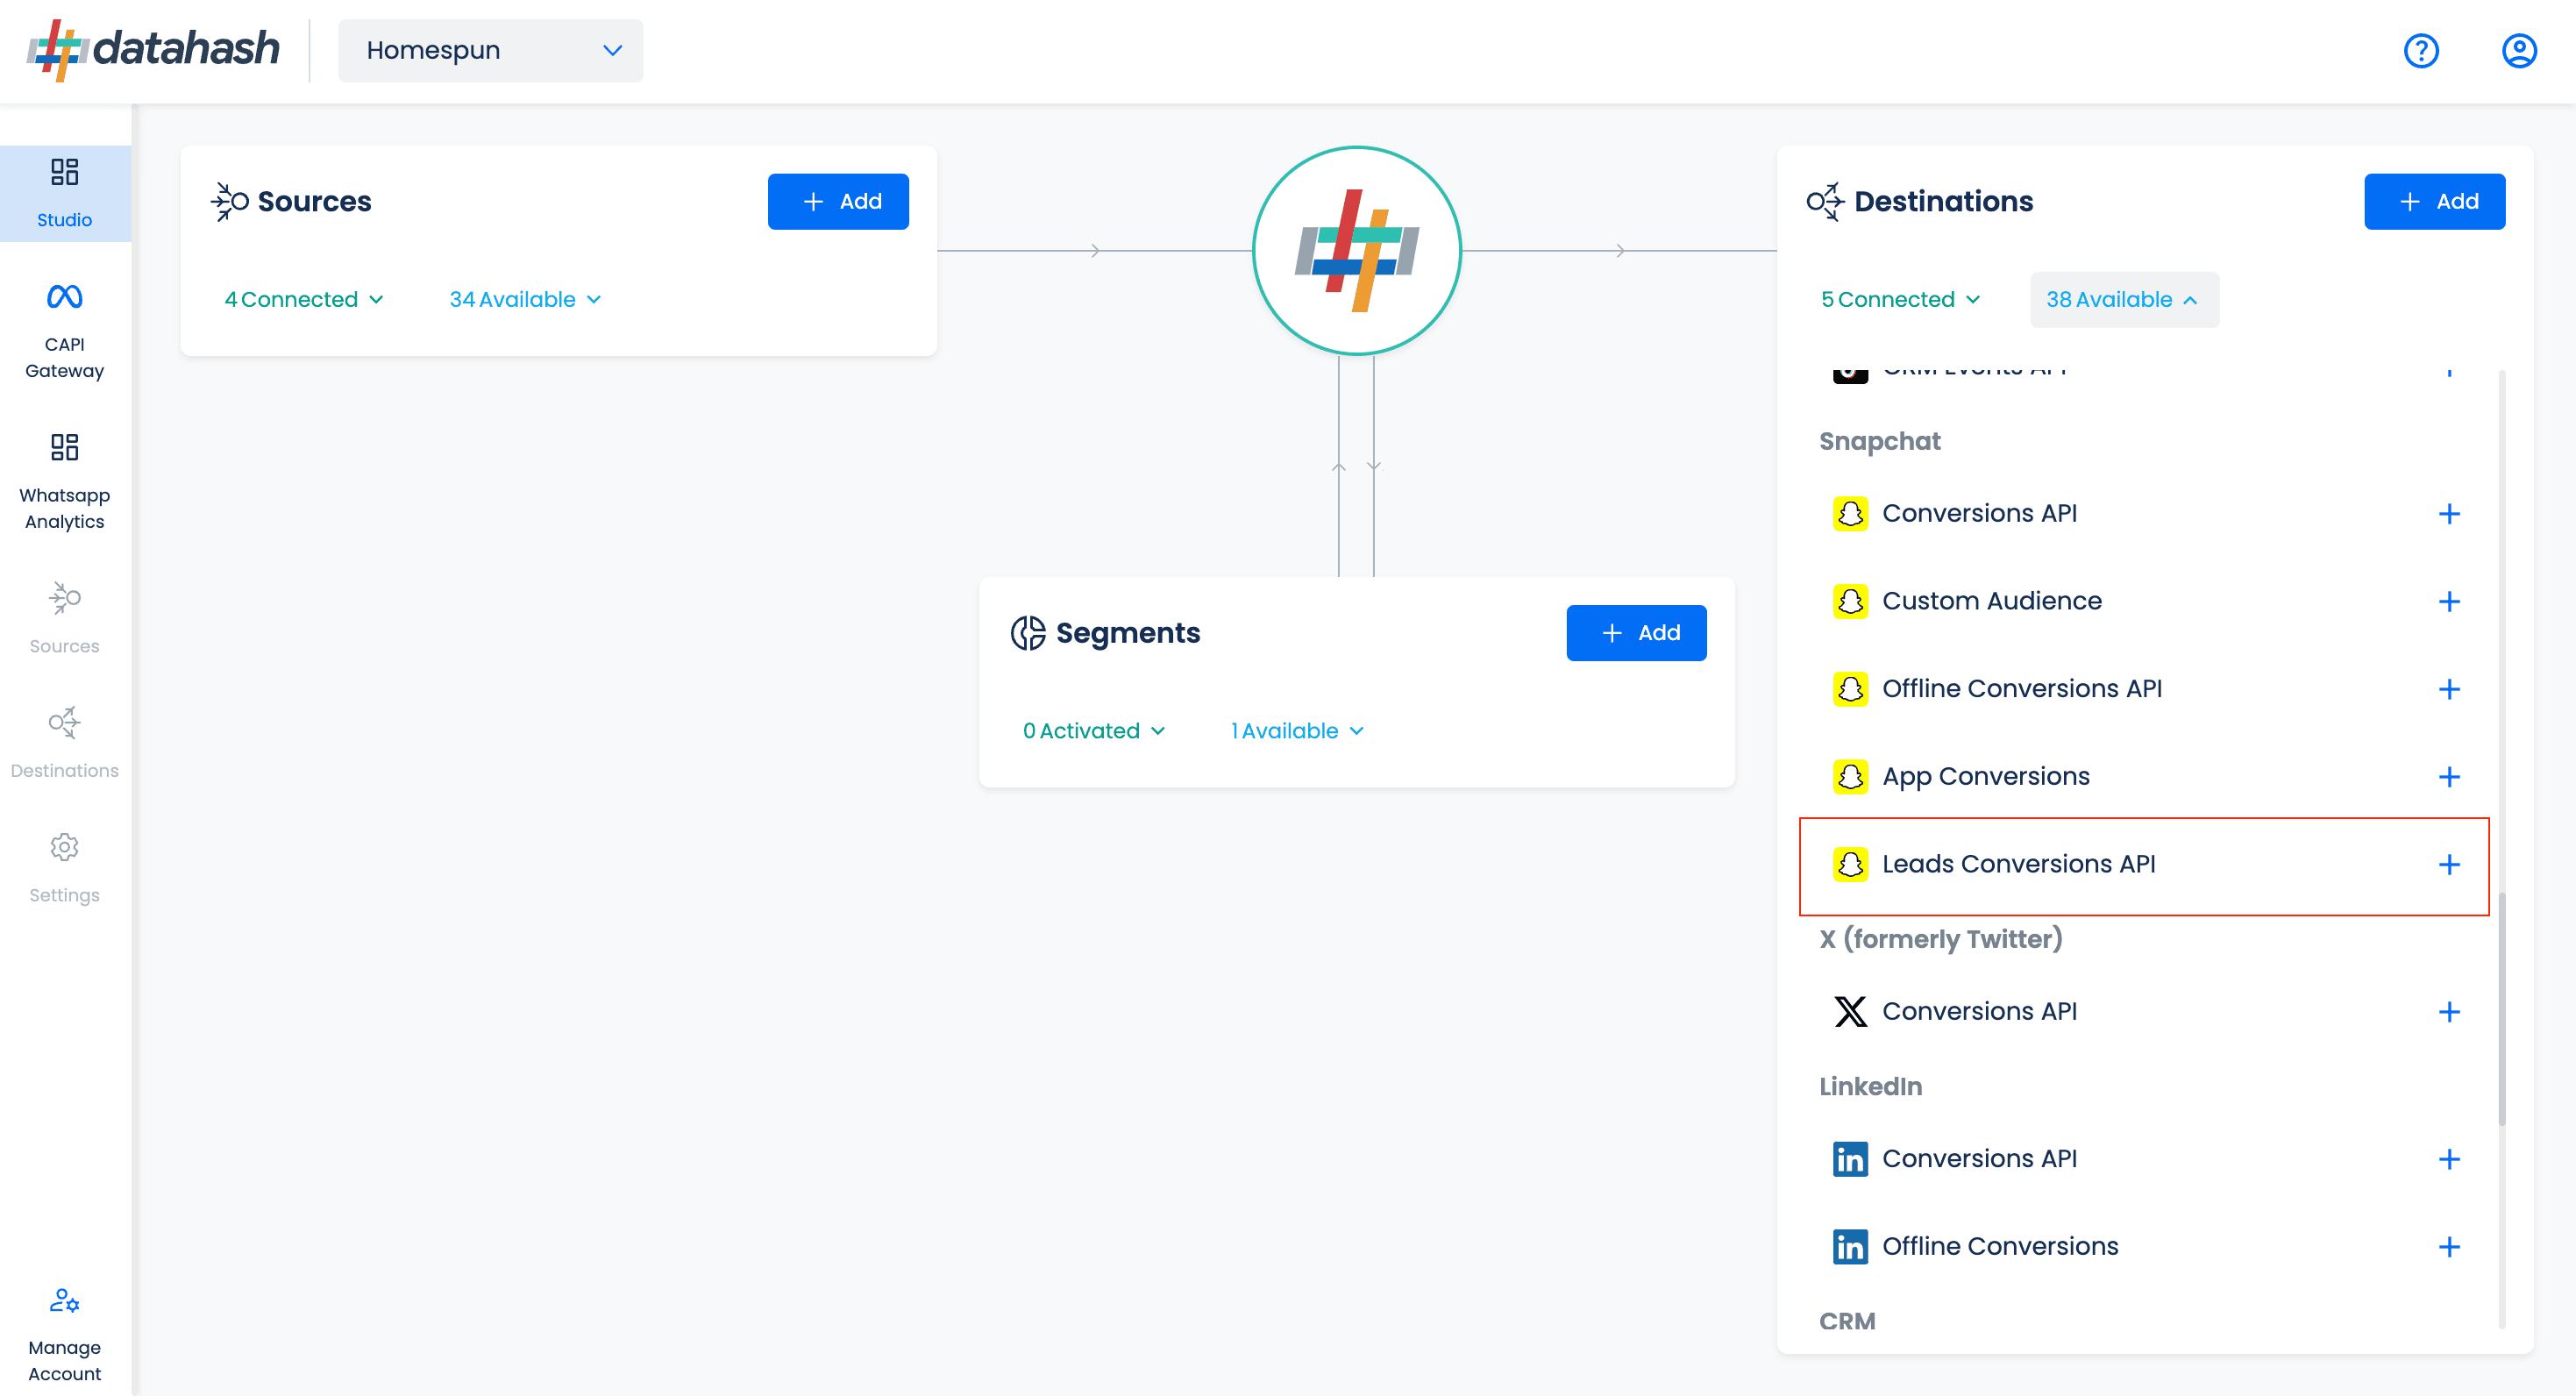
The process to setup the Snapchat Leads Conversions API is detailed below: –
- Sign in on your Datahash Dashboard
- Go to the Datahash dashboard. In the Destinations sections on the right, select the Snapchat Leads Conversions API connector from the Snapchat connectors.
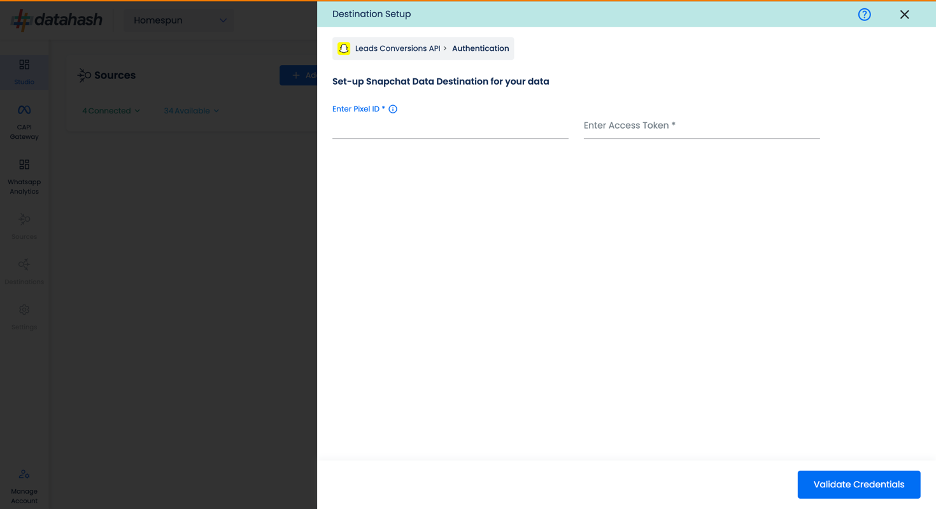
Provide the Pixel ID and the Access token of the Snapchat Business Account which you would
like to integrate.
- Pixel ID: – The Pixel ID is a unique identifier assigned to each Snapchat Pixel created
by a business within the Snapchat Ads Manager.
- Add Access Token: – An Ad Access Token is a unique identifier that allows businesses
to connect their Snapchat ad account with third-party tools such as the Snapchat
Conversion API.
- Once added, click on Validate credentials. Datahash will verify the provided credentials by sending a test event.
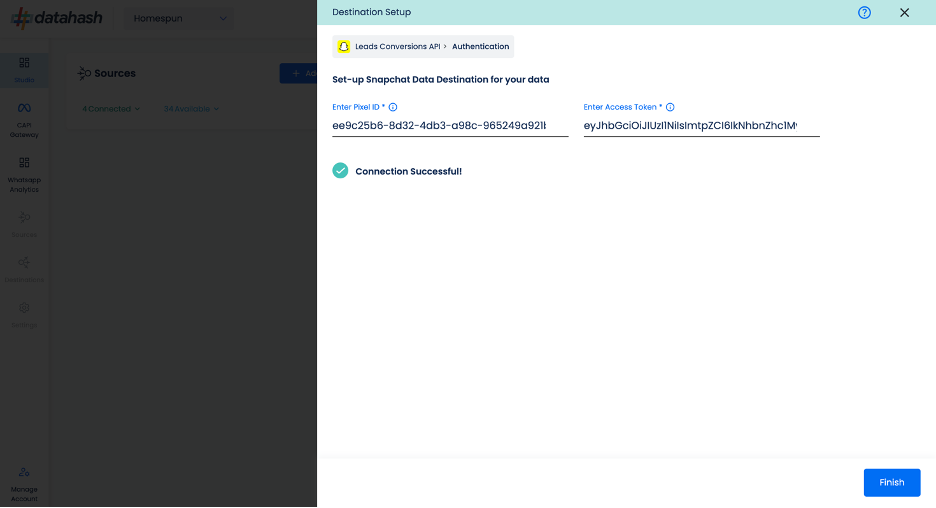
- Once verified, click on ‘Finish’ to complete the setup.
- You can see the connector in the connected state on the dashboard.
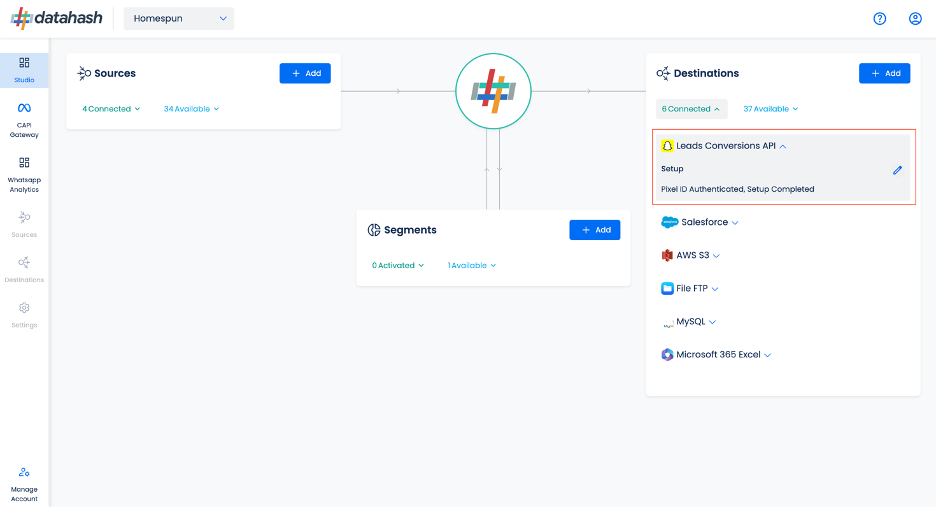
Components:
To better understand the setup, here are some technical details about the components involve
Where to Find Pixel ID and Access Token:
The process to find the Pixel ID is detailed below:
- Login to snapchat Ads account https://ads.snapchat.com/.
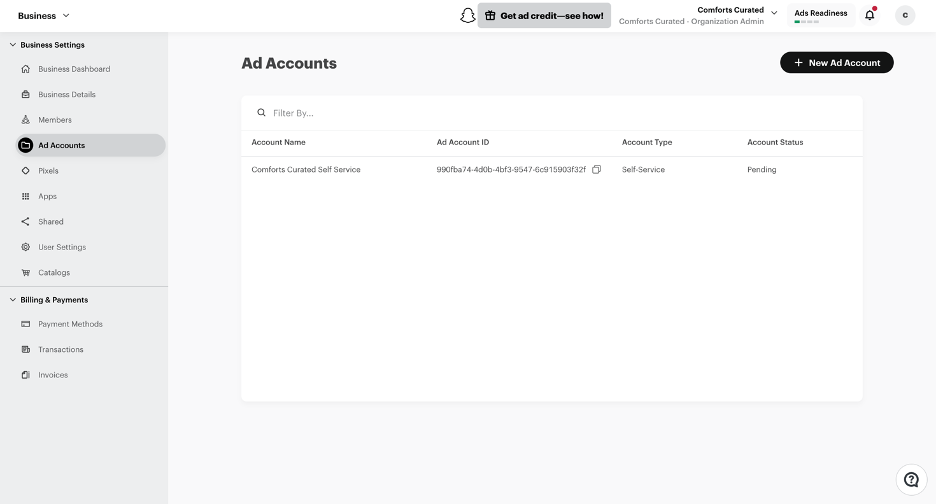
- On the top left, click on “Business” to open the navigation panel and navigate to ‘Pixels’ under Assets.
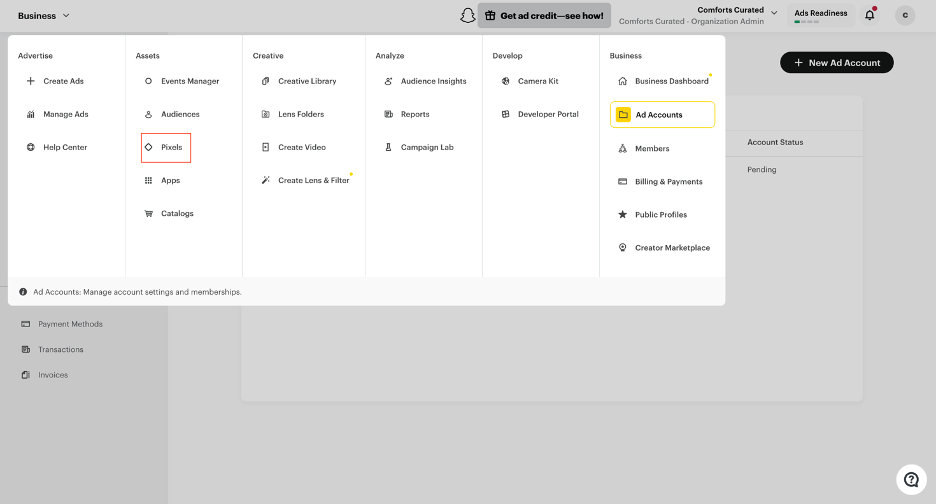
- You will land on the screen where you can view all the available pixels in the account.
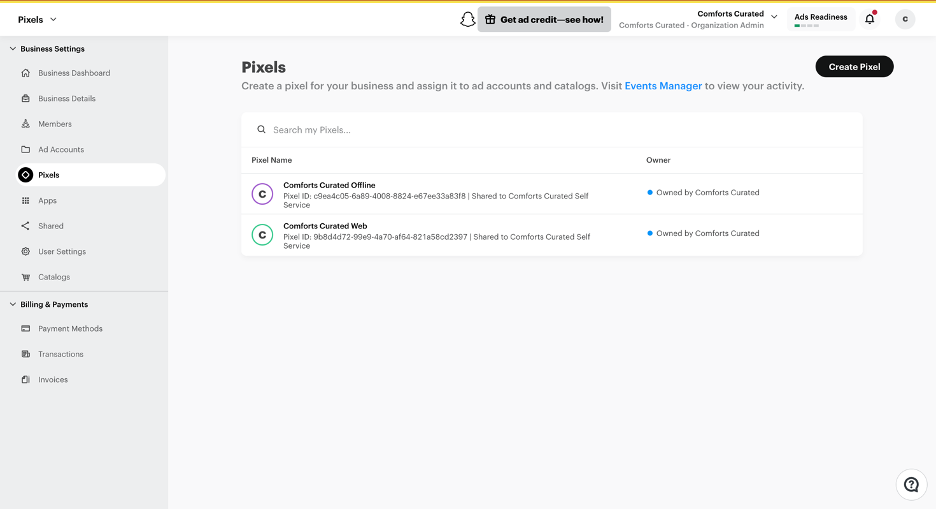
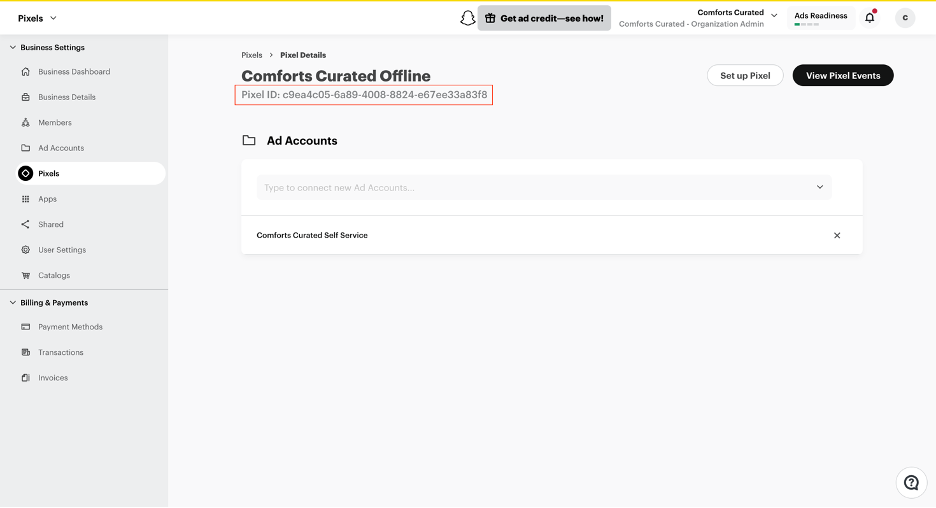
- Click on the desired pixel you would like to integrate. Copy the “Pixel ID” shown on the top under the Pixel name as shown in the image.
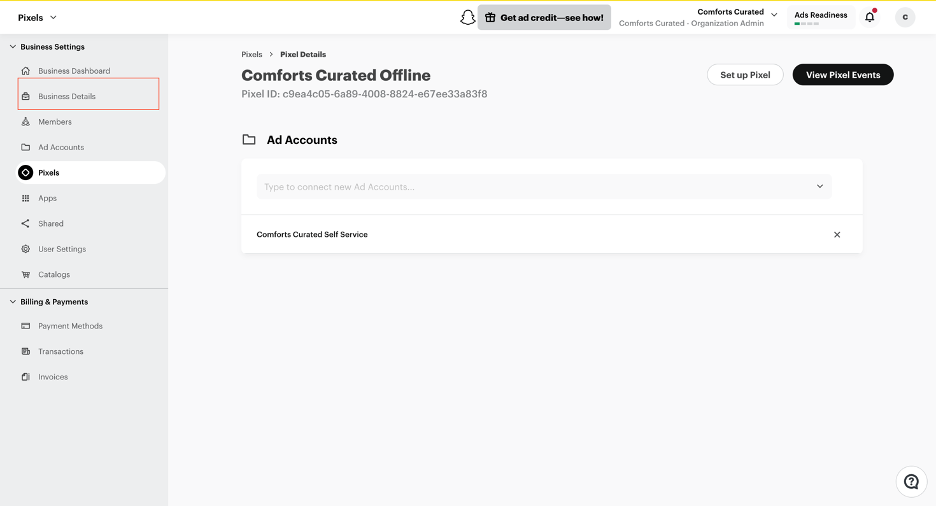
To retrieve the Access token, click on “Business Details” in the left navigation panel and scroll
down to Conversions API Tokens section.
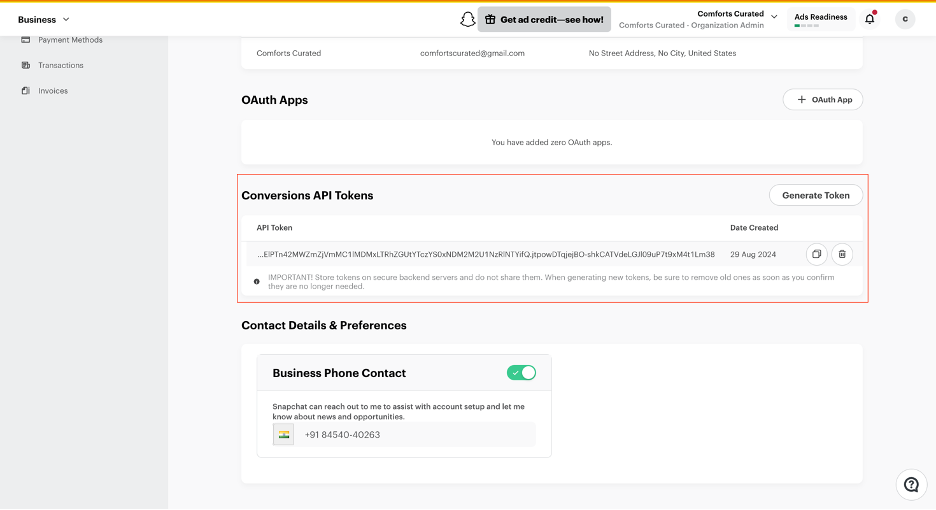
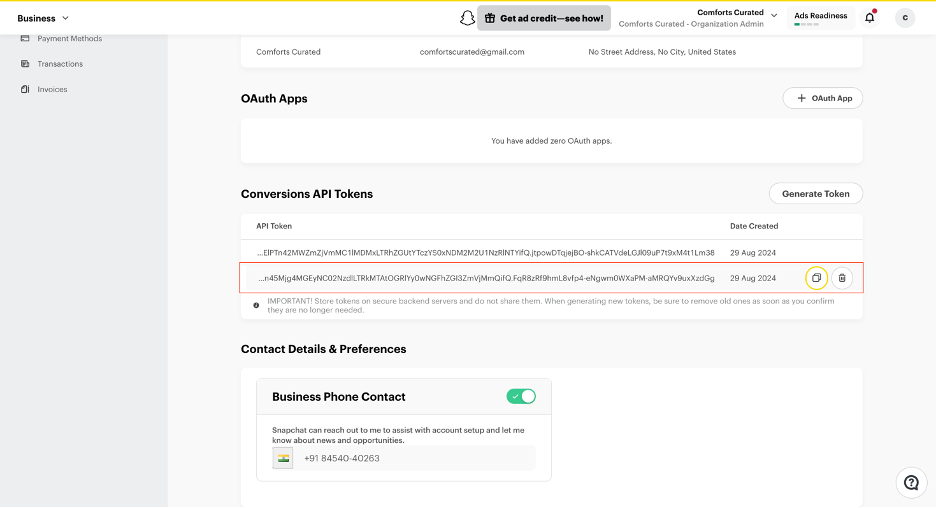
Click on “Generate Token”. A new access token will be generated. Copy and save this token.
How to Create a New Pixel ID:
Login to snapchat Ads account https://ads.snapchat.com/.
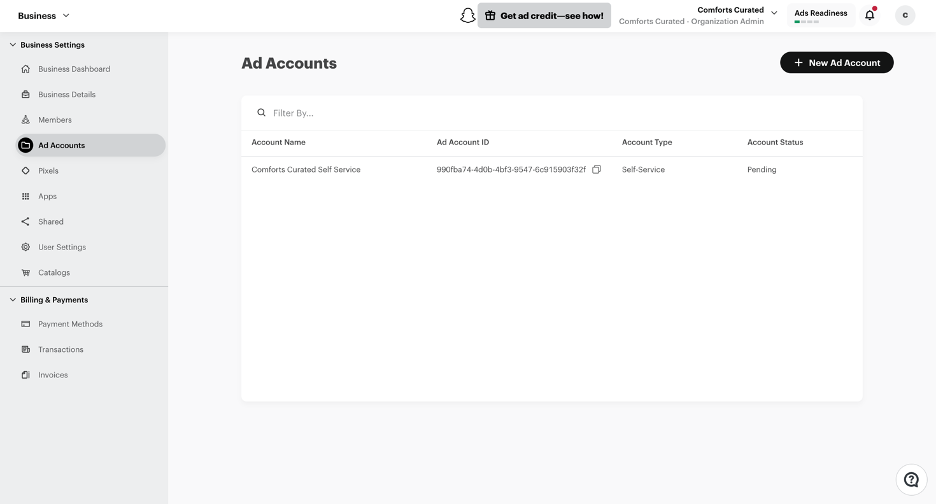
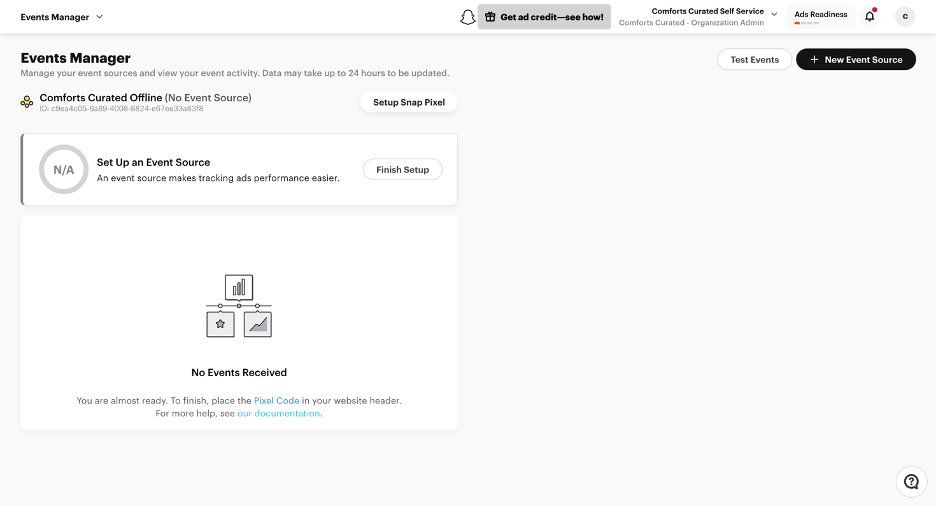
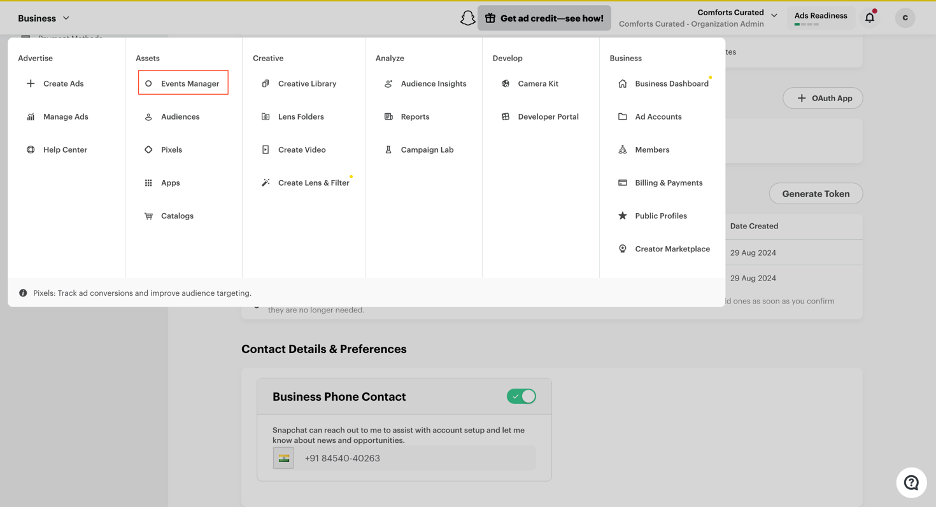
On the top left, click on “Business” to open the navigation panel. Click on “Events Manager”
under Assets.
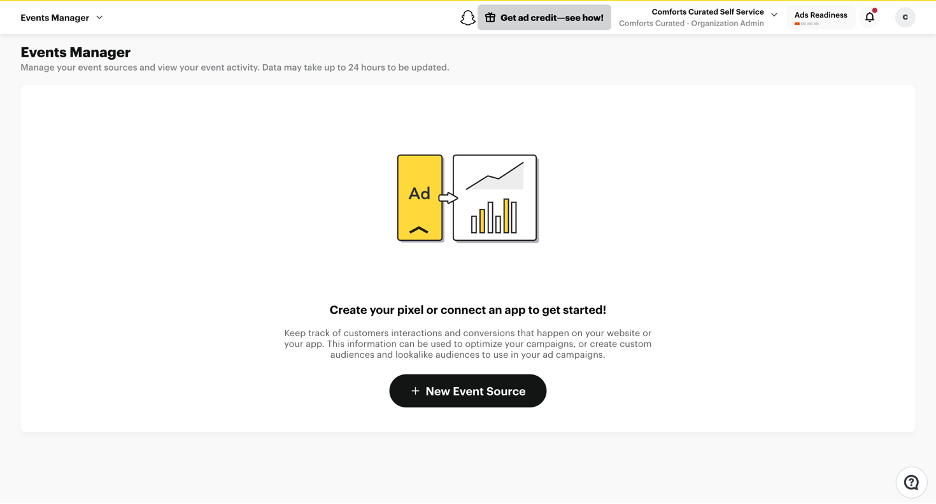
Click On ‘New Event Source’ available at the top right or at the center (if you have not created the pixel already).
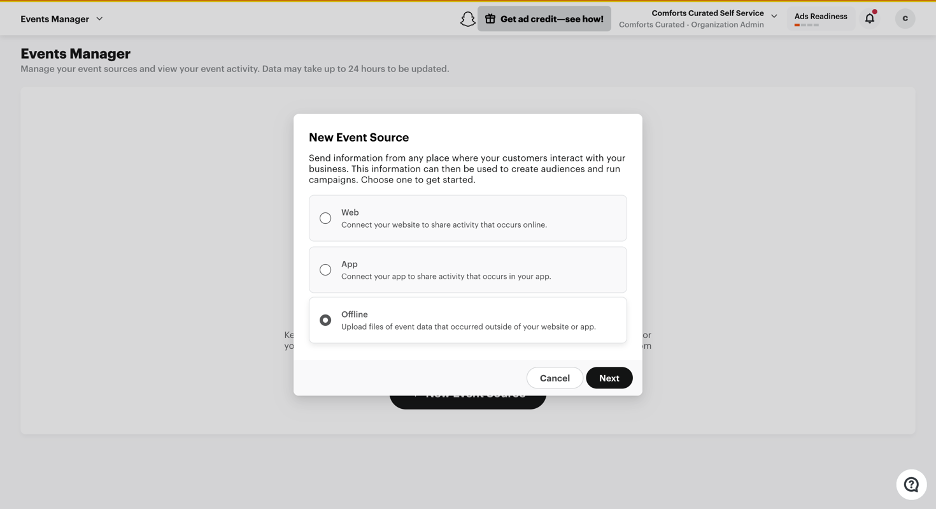
Select the event source type. For the Leads Conversions API select ‘Offline’ and click ‘Next’ to proceed.
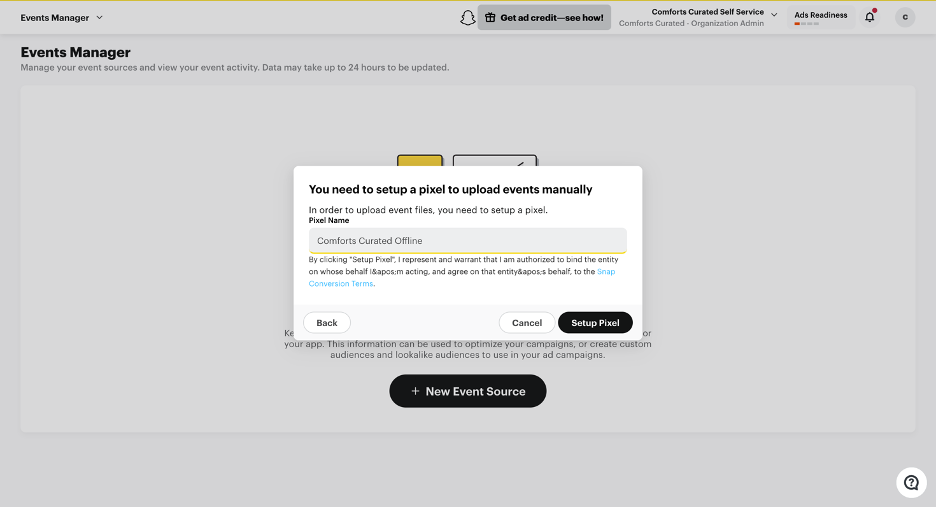
Provide a relevant name to your Pixel and click on “Setup Pixel”.
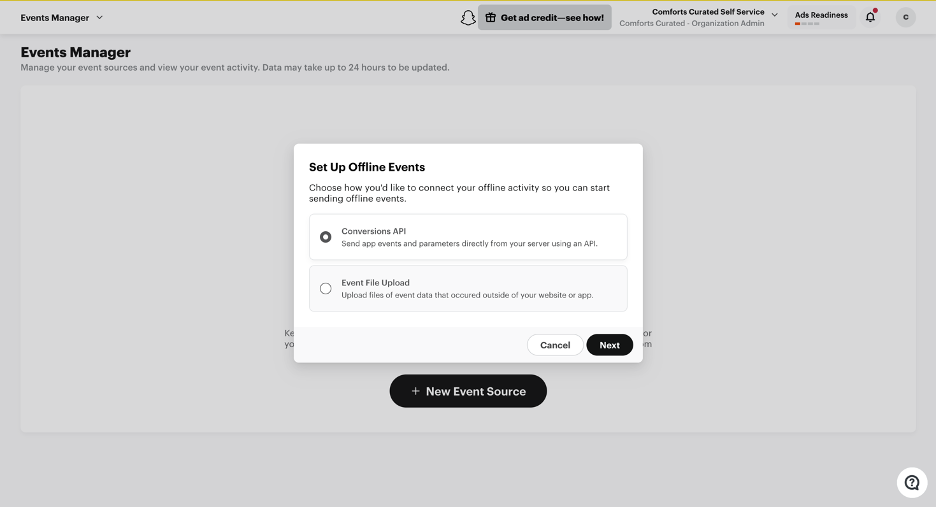
Now, select the Conversions API’ and ‘direct Integration’ options in the subsequent steps.
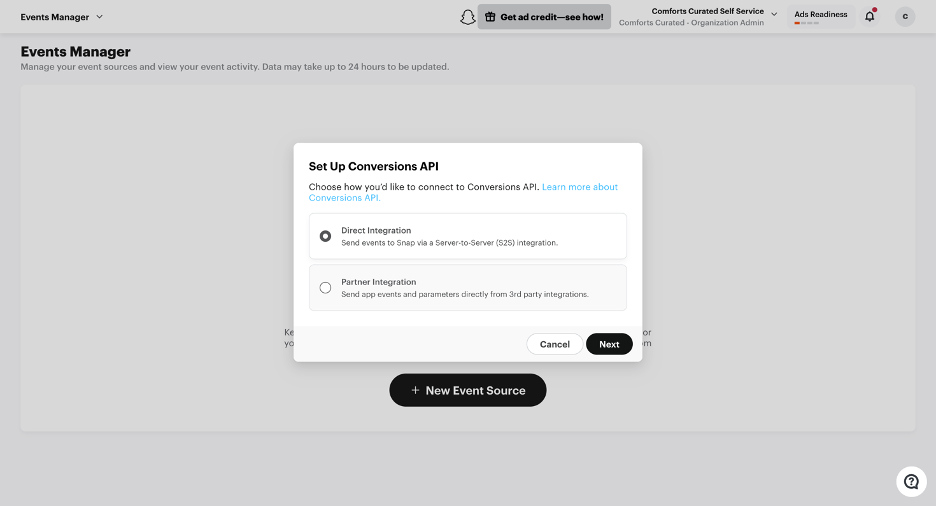
Click ‘Next’ to proceed. You can see the newly created pixel in your dashboard.
