
NS Records
Step 1: Go to Reseller Club & Login to your account
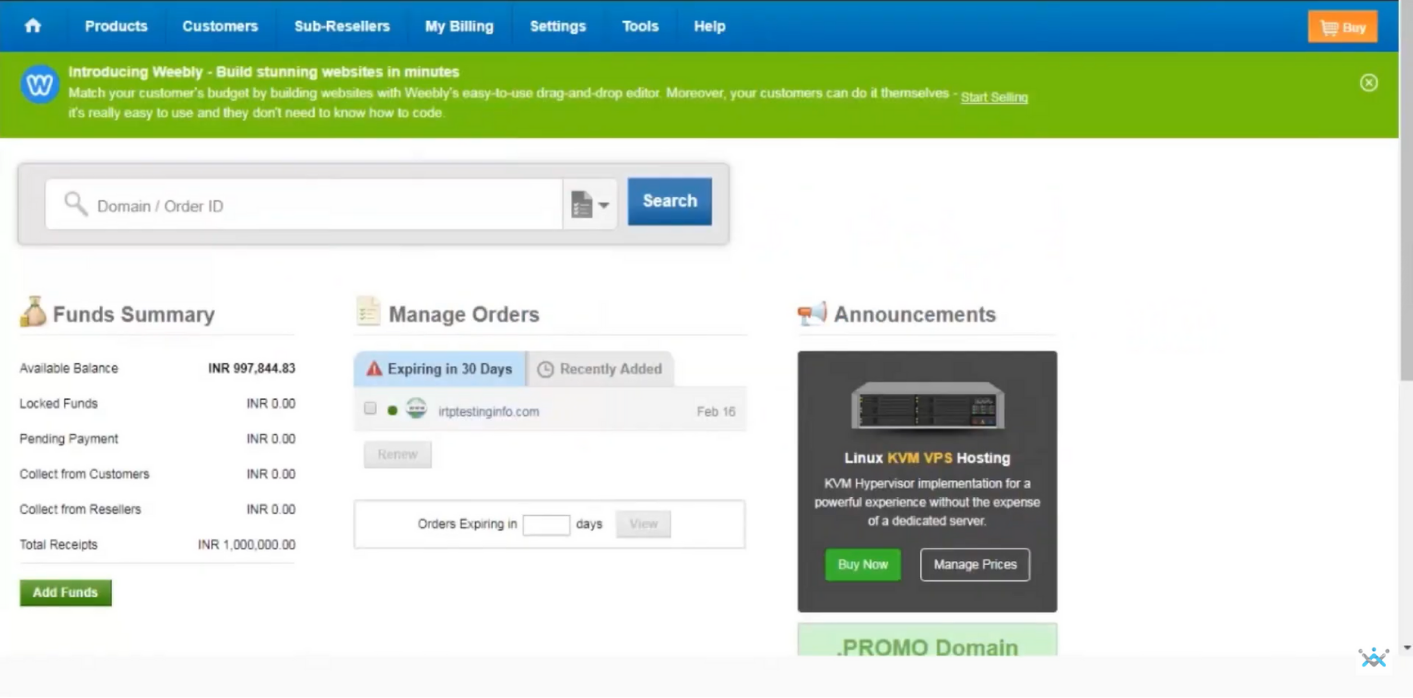
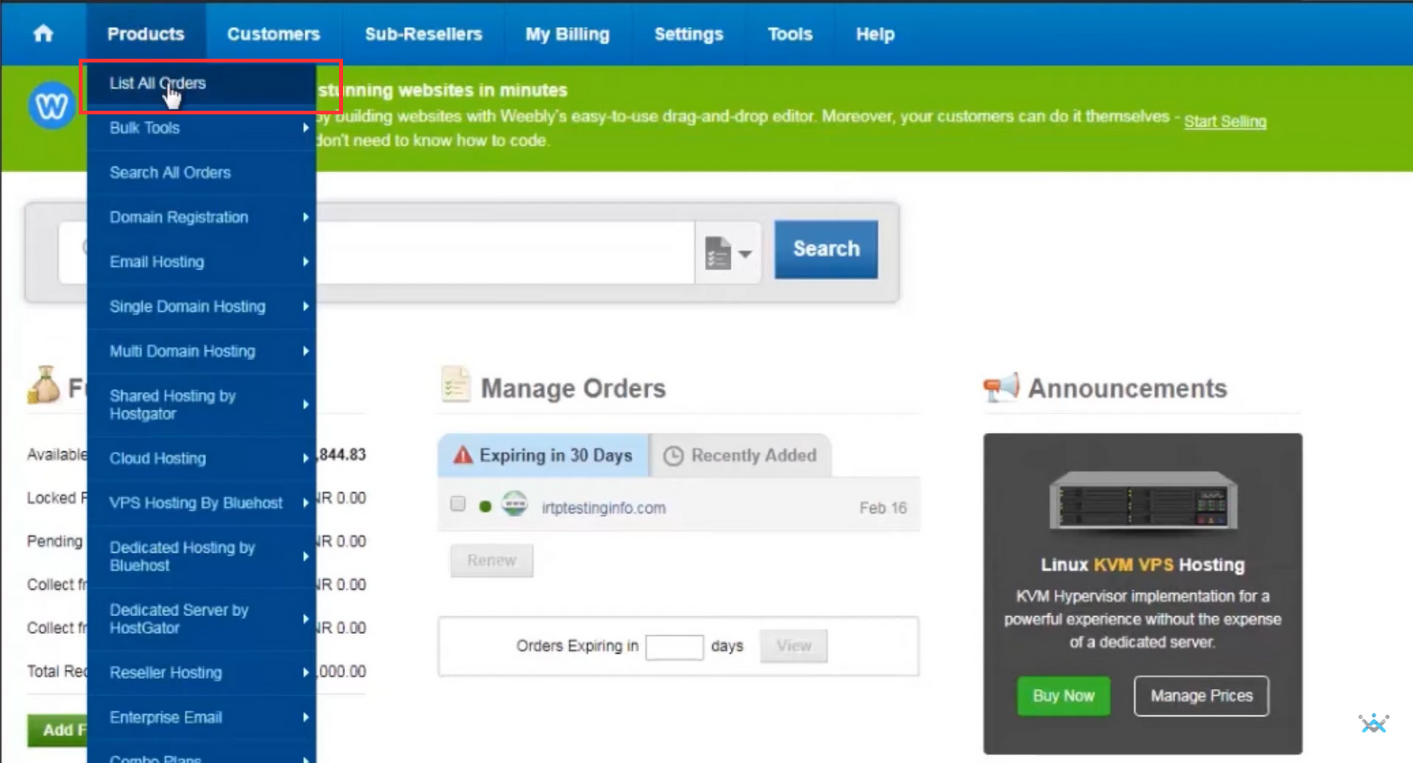
Step 2: Hover over Products section & click on List All Orders
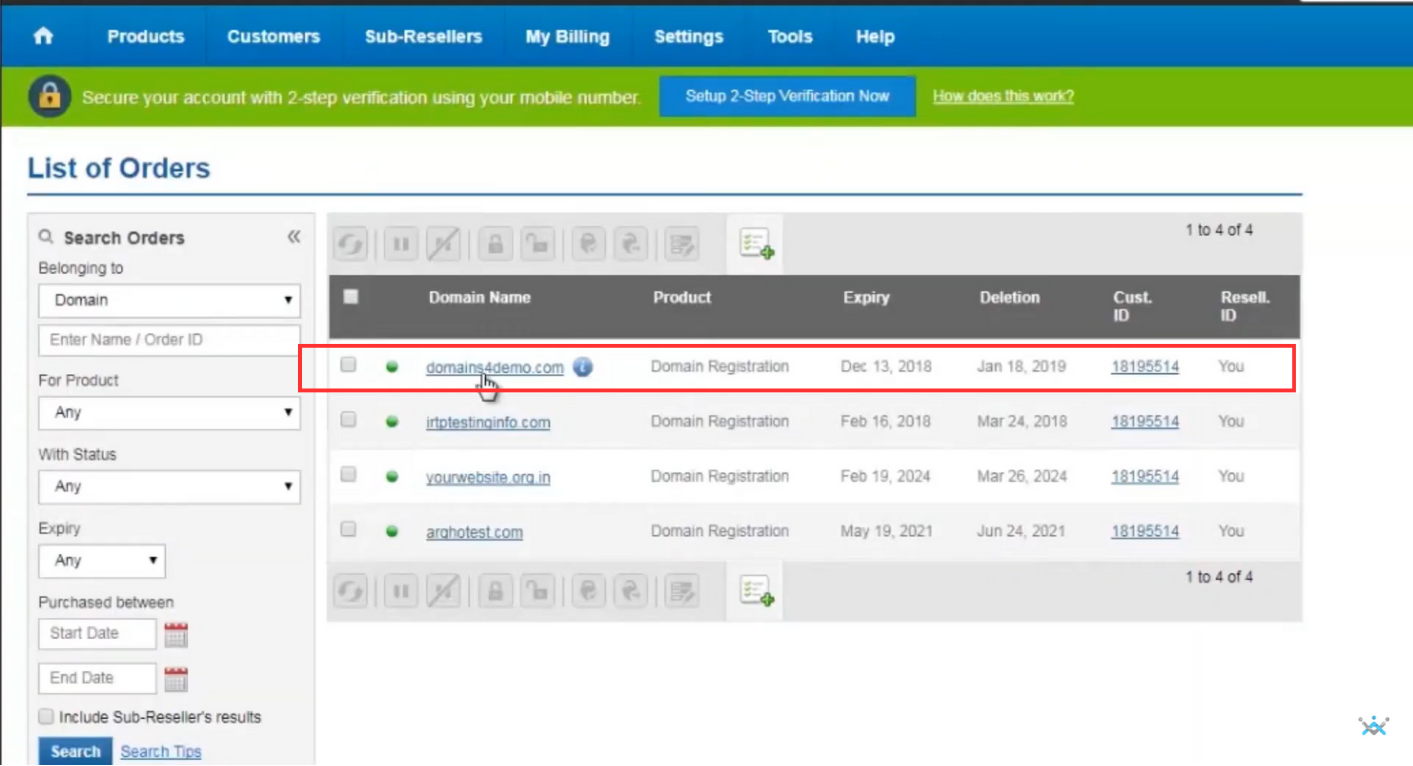
Step 3: Choose the domain where records are to be added

Step 4: Scroll down & click on Manage DNS

Step 5: A new window will open. Choose the NS record type & click on Add a record
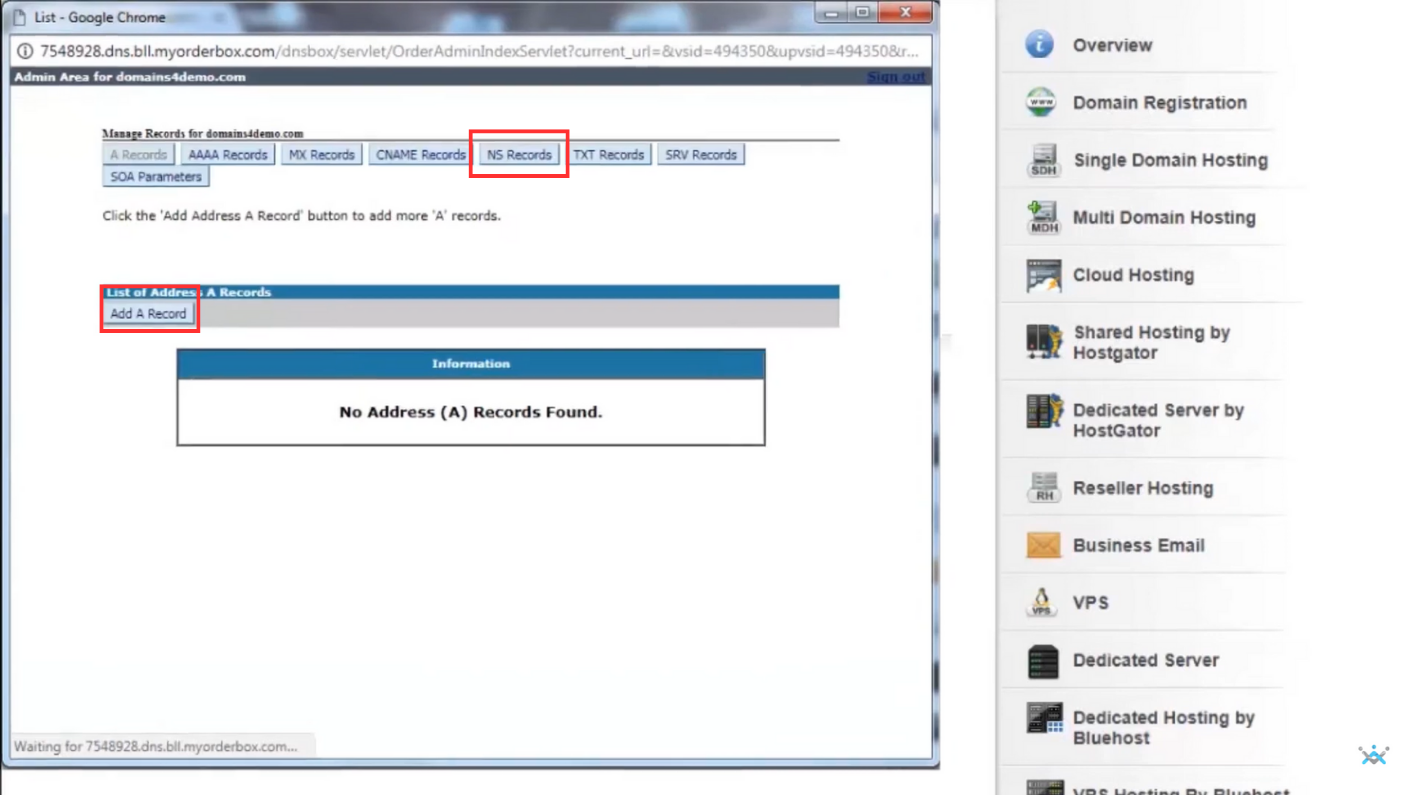
Step 6: Enter the NS Record Name and Value based on the information provided in the Datahash set-up window. Repeat for all 4 NS records provided by datahash
CNAME Records
Step 1: Go to Reseller Club & Login to your account

Step 2: Hover over Products section & click on List All Orders

Step 3: Choose the domain where records are to be added
Step 4: Scroll down & click on Manage DNS

Step 5: A new window will open. Choose the CNAME record type.
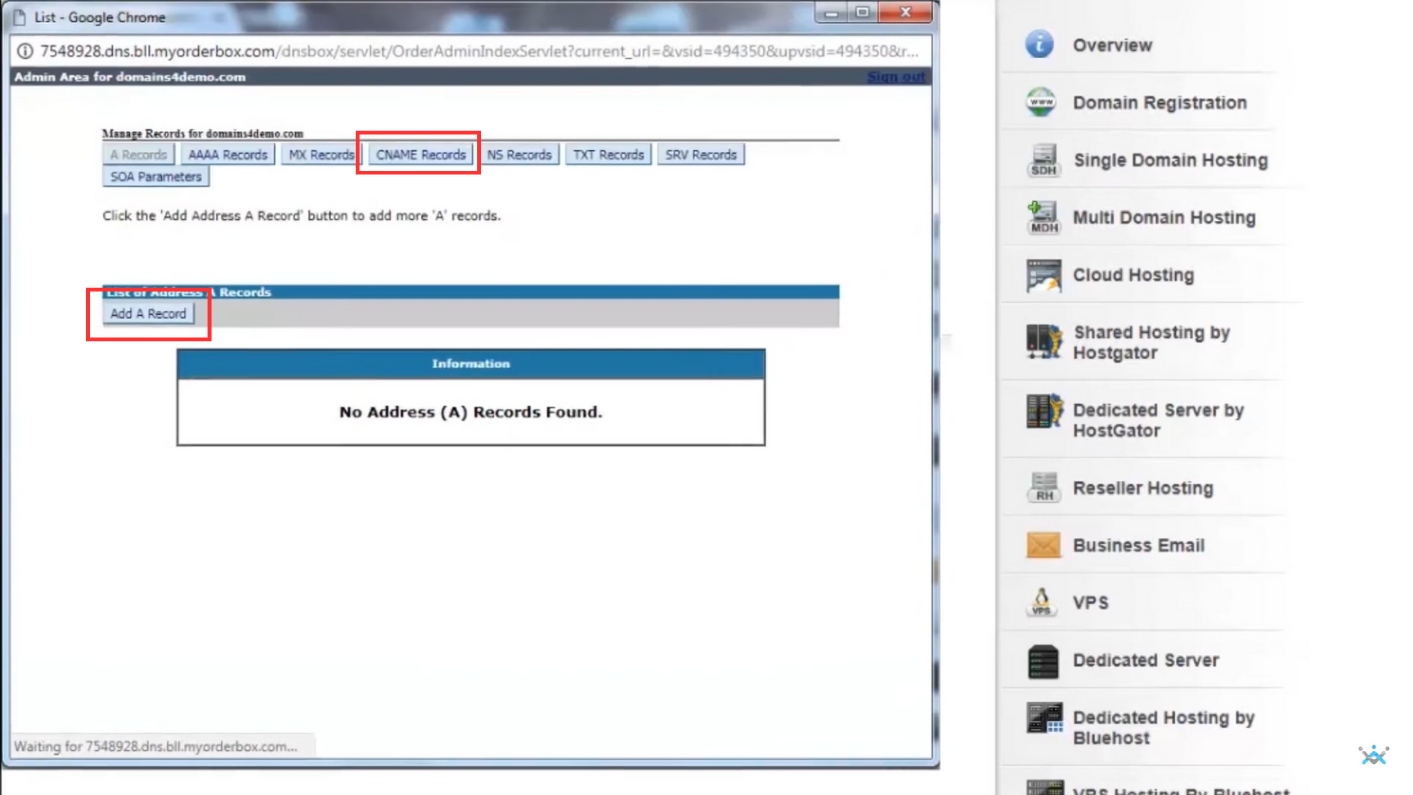
Step 6: Copy the CNAME record value shared by datahash and paste the same in the domain manager