CNAME Records
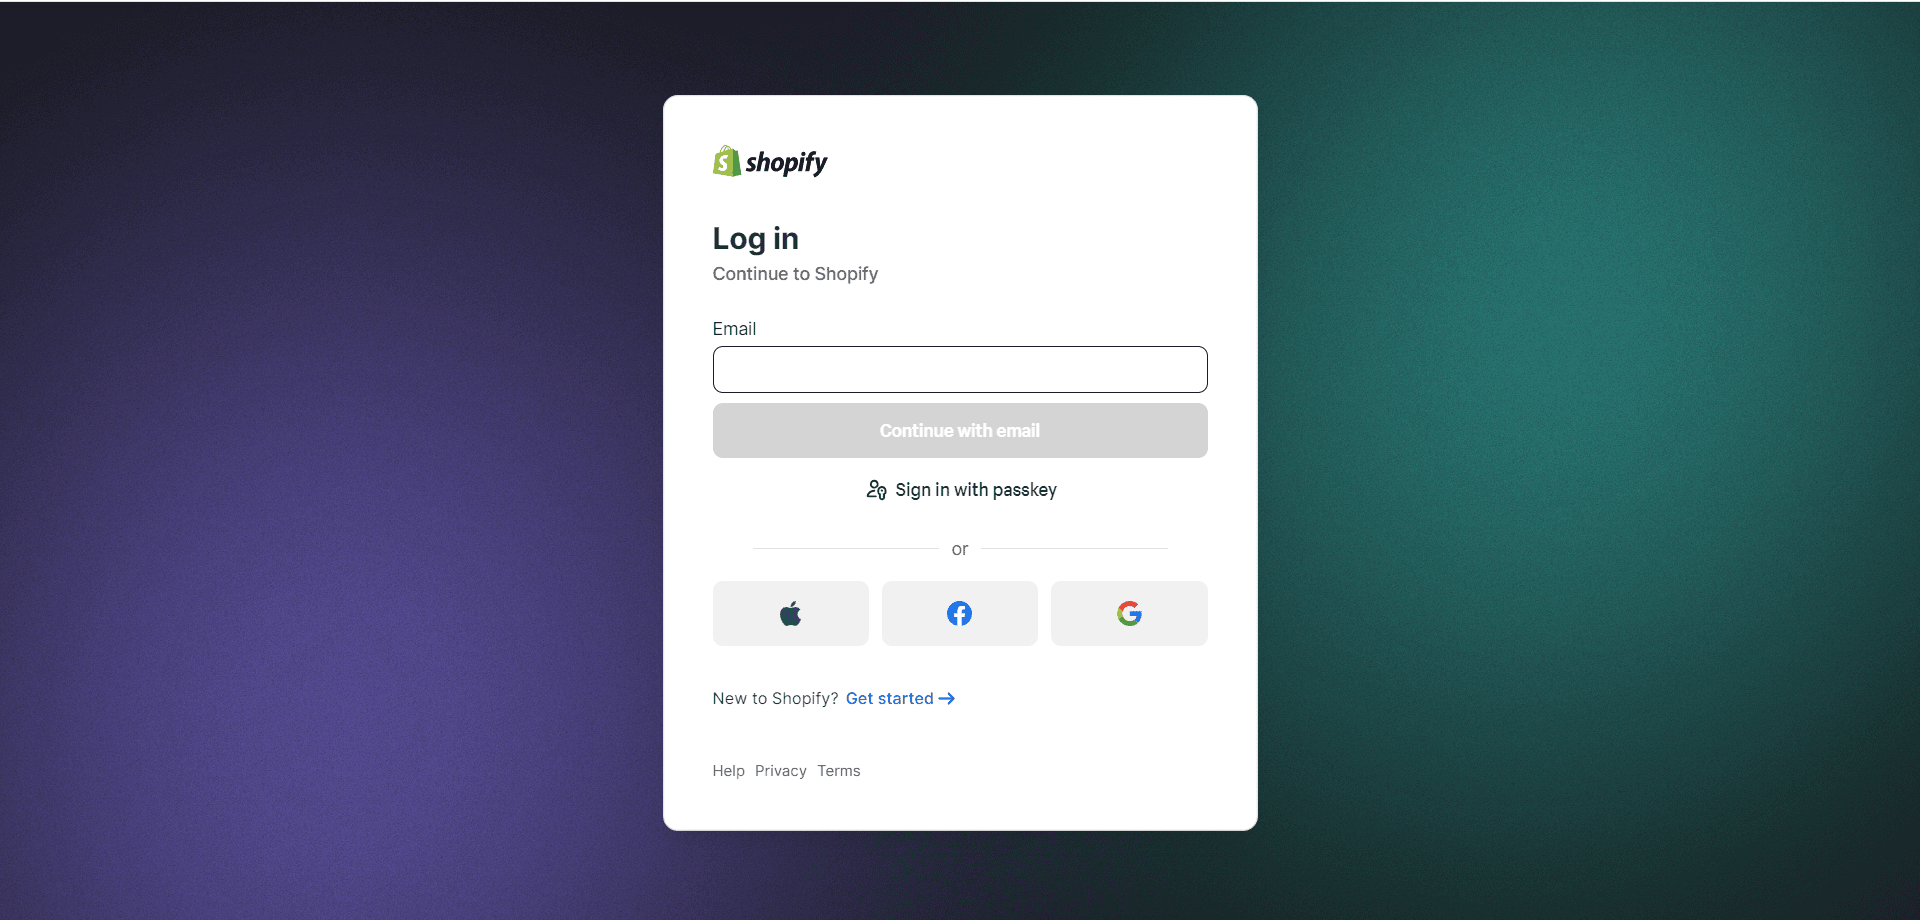
Step 1: Go to Shopify & login to your account.
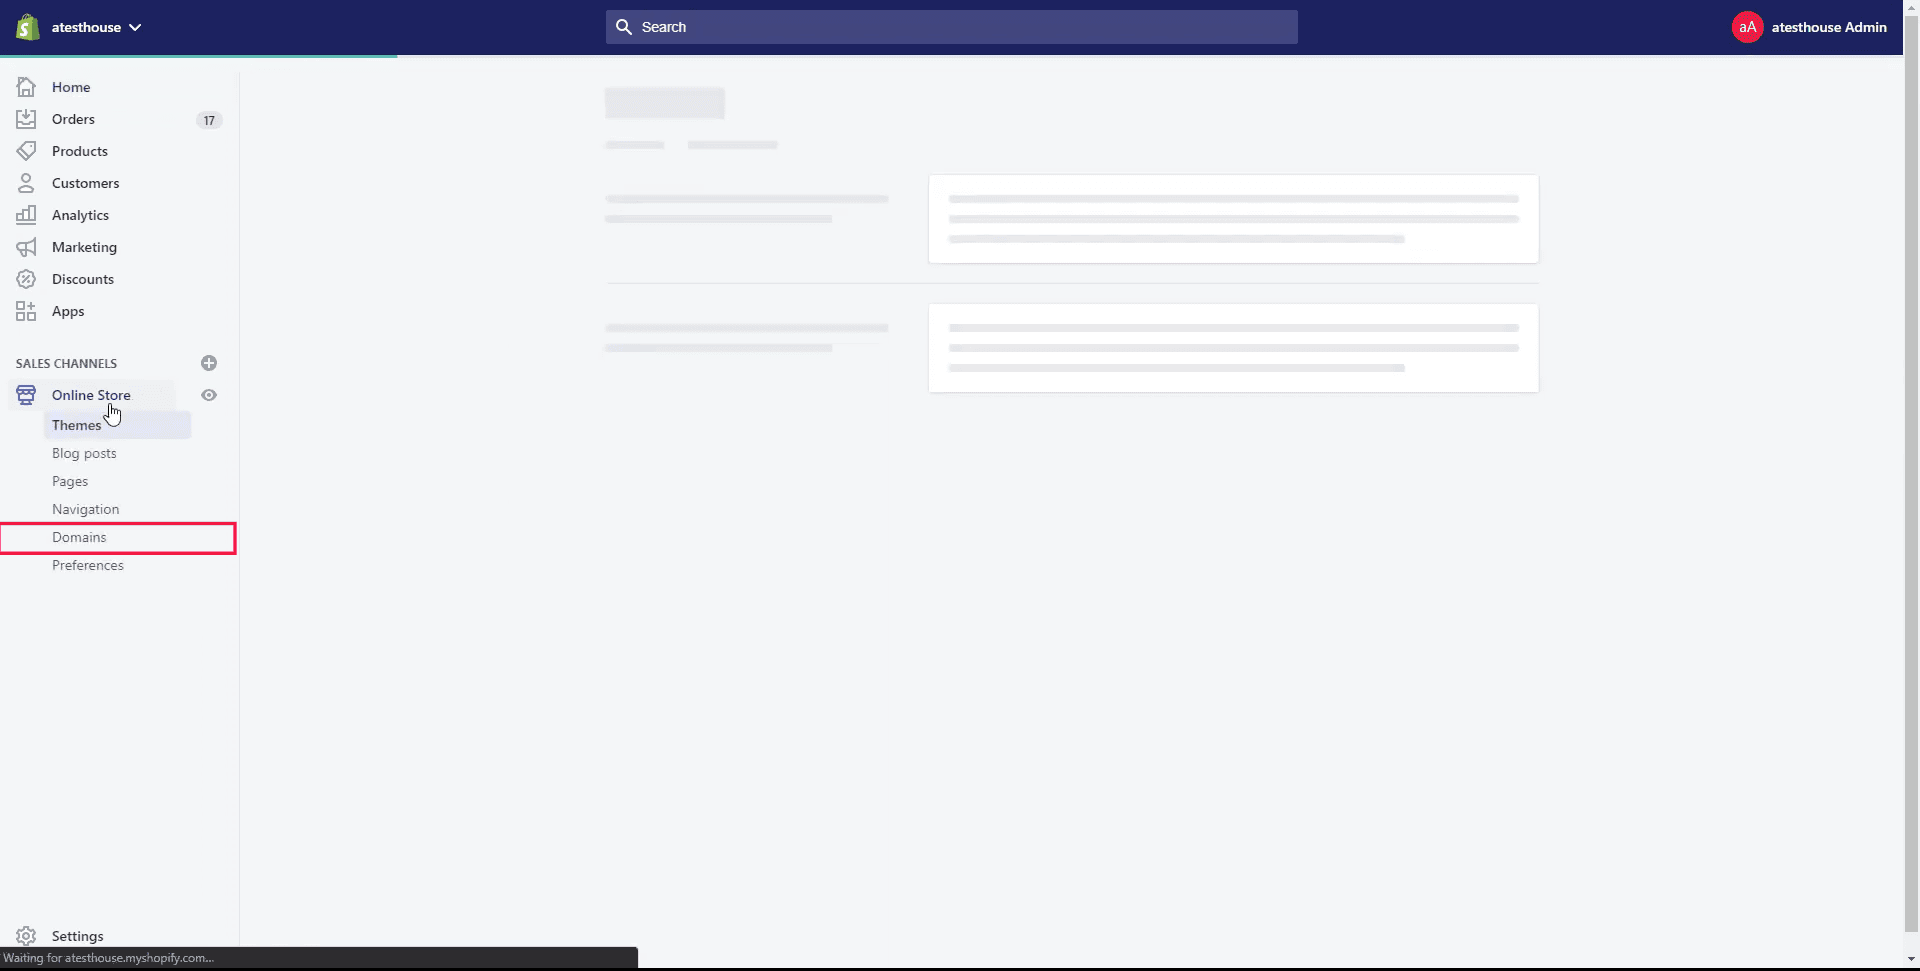
Step 2: Click on the Online store under the Sales Channels section.

Step 3: Locate Domains & click on it.
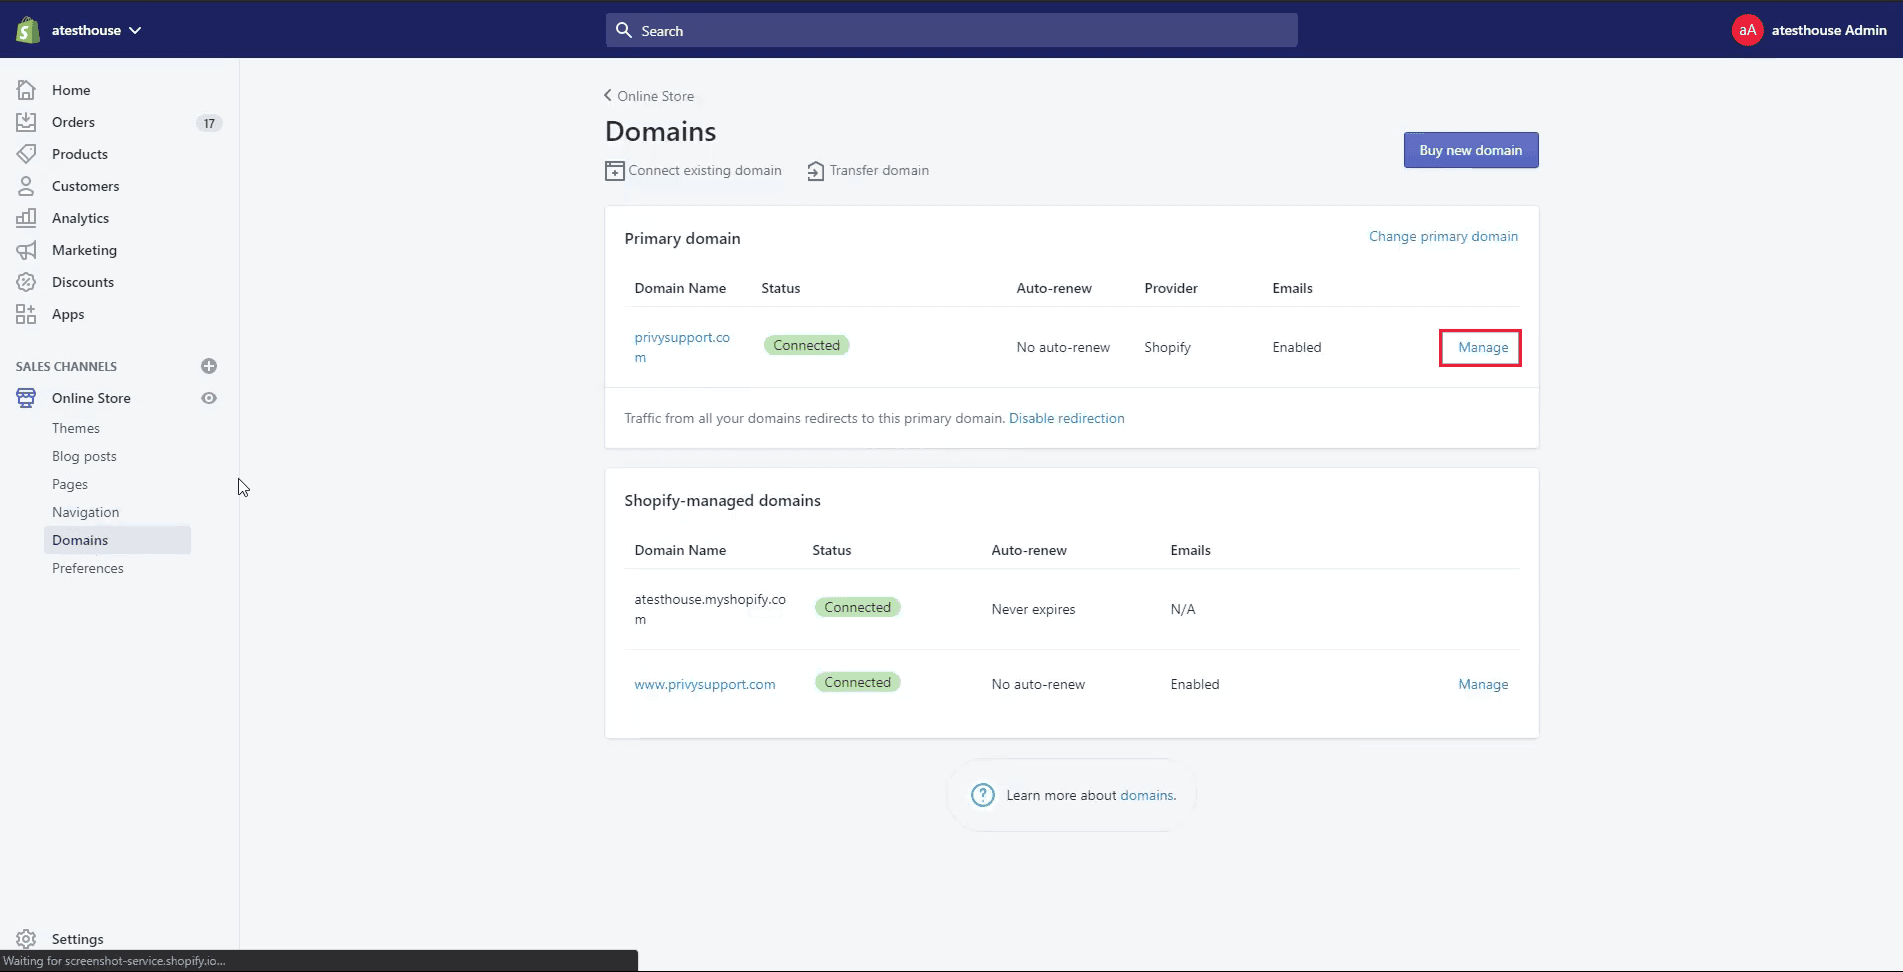
Step 4: Choose the Domain where the records are to be added & then click on Manage.
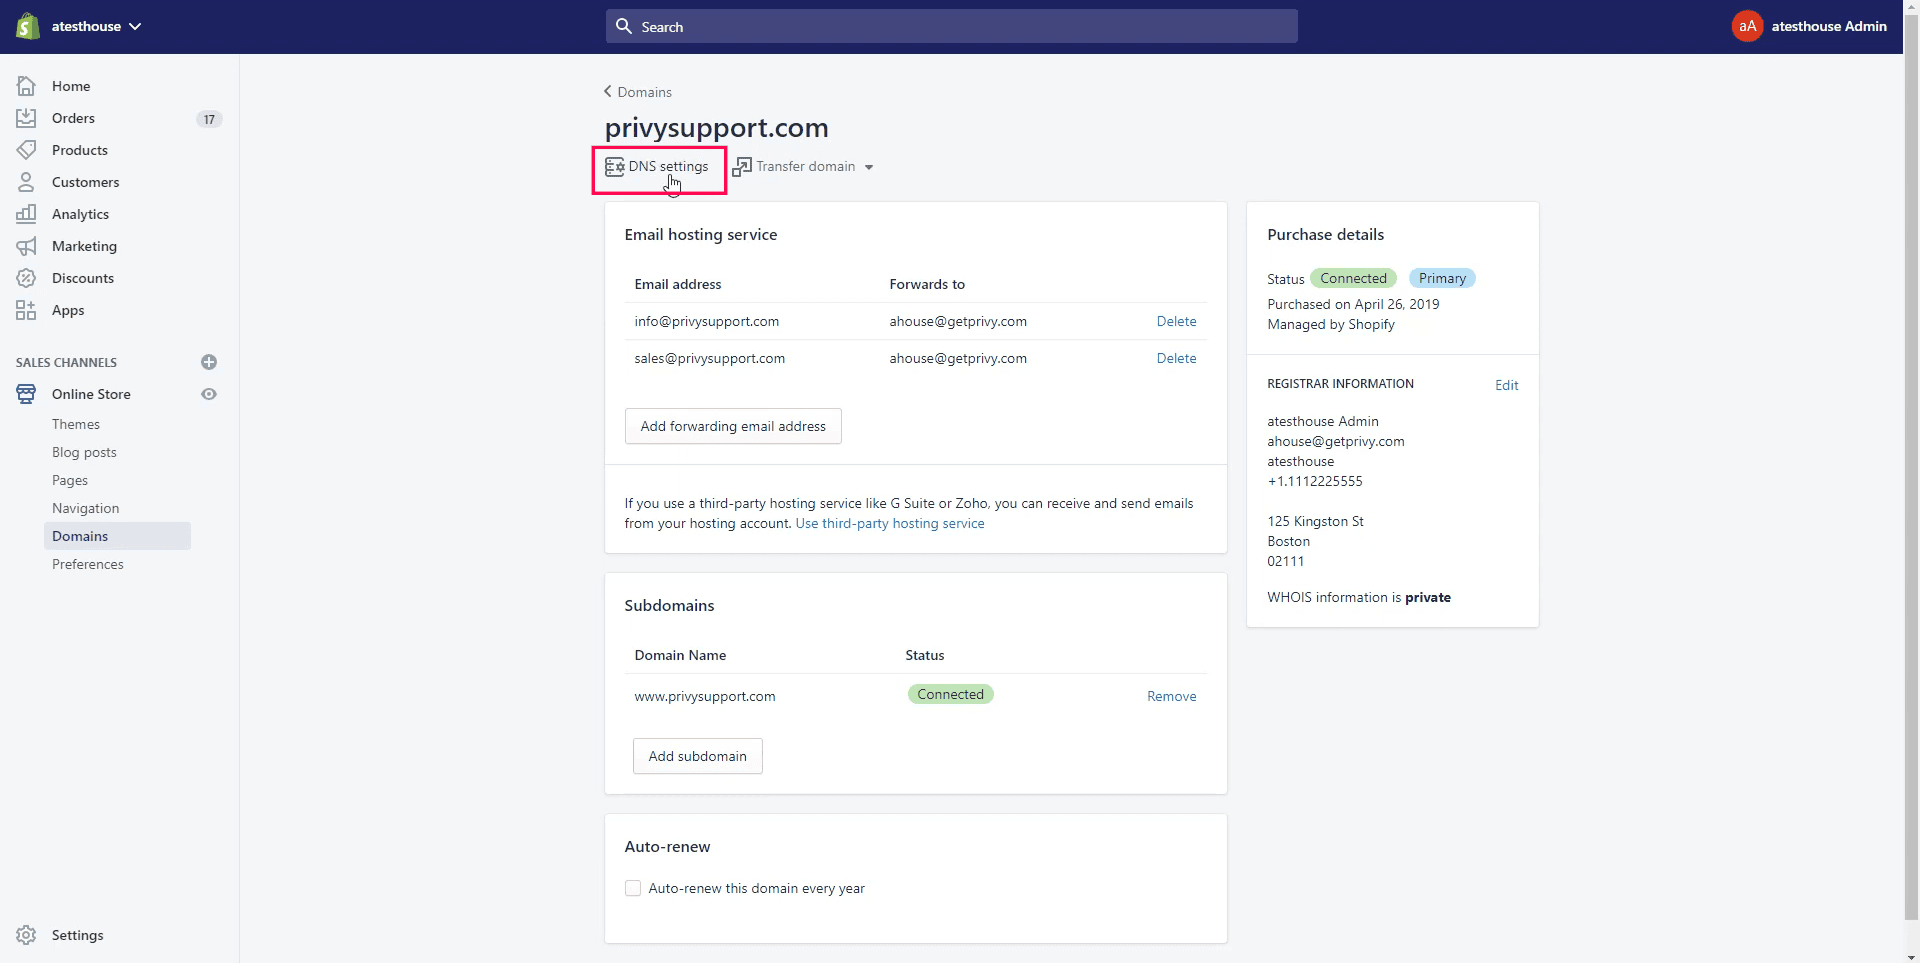
Step 5: Now click on DNS settings.
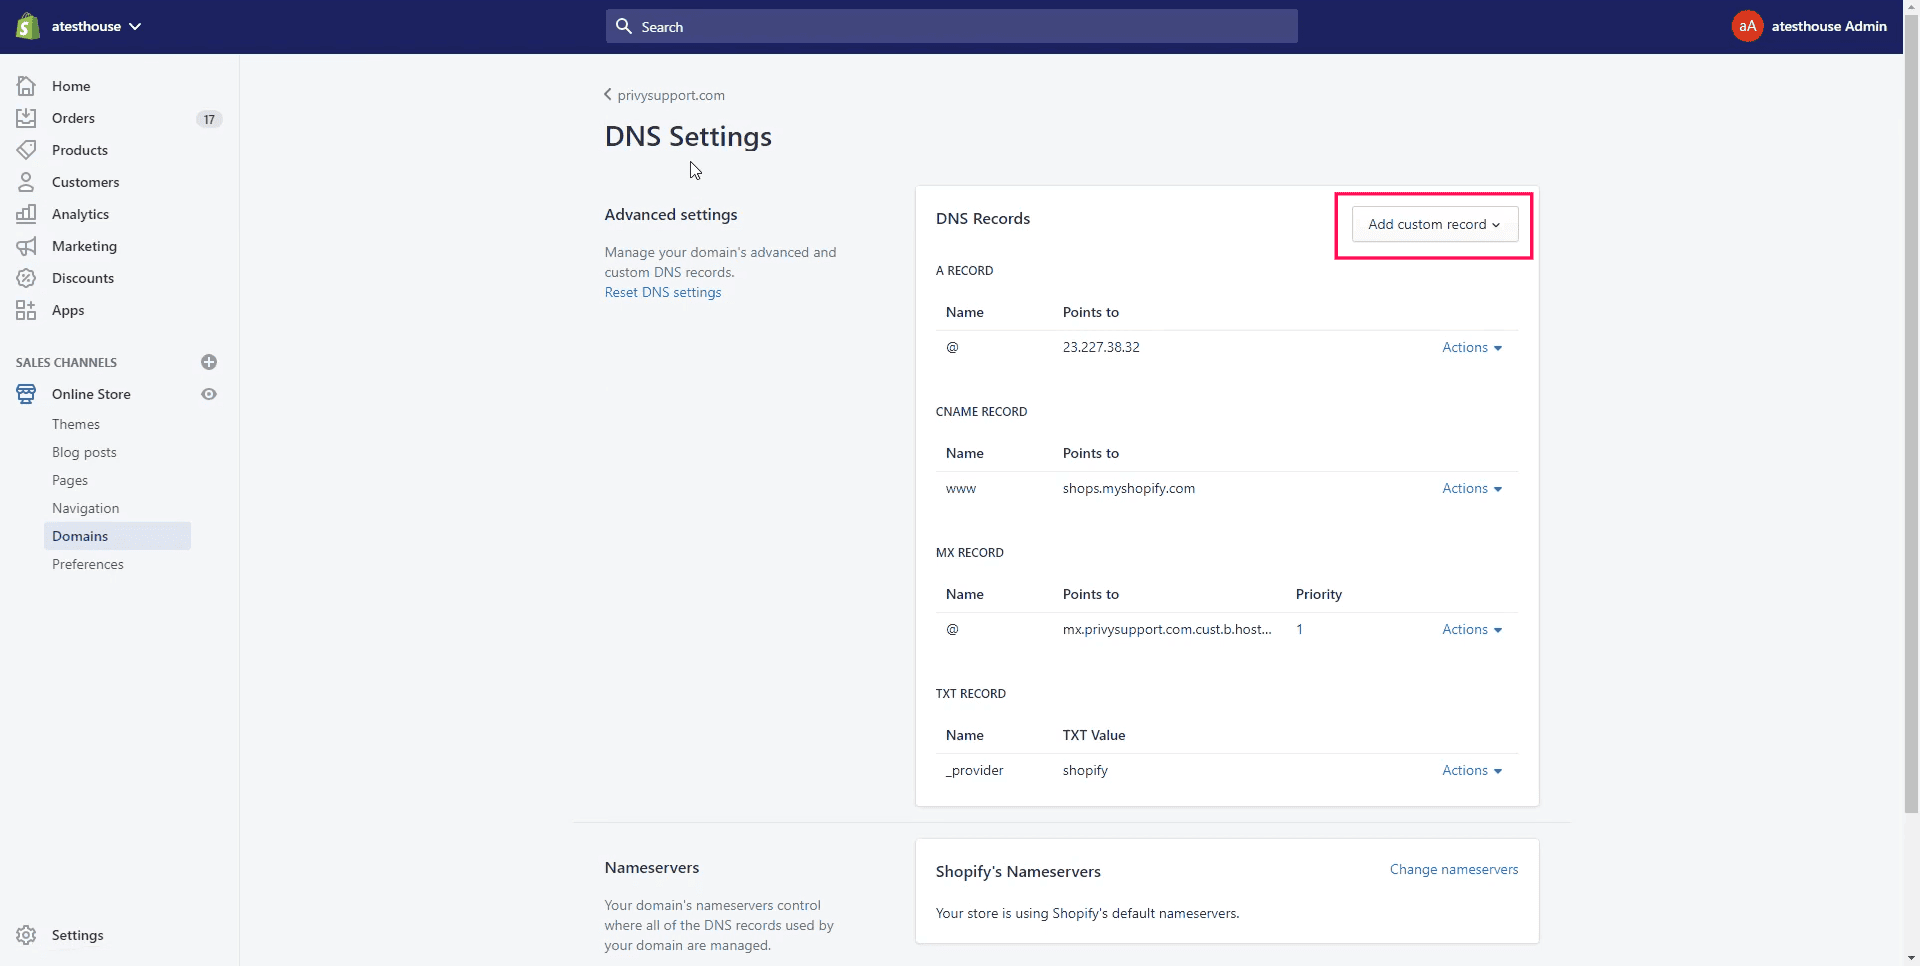
Step 6: Click on Add Custom Records to see the list of records.
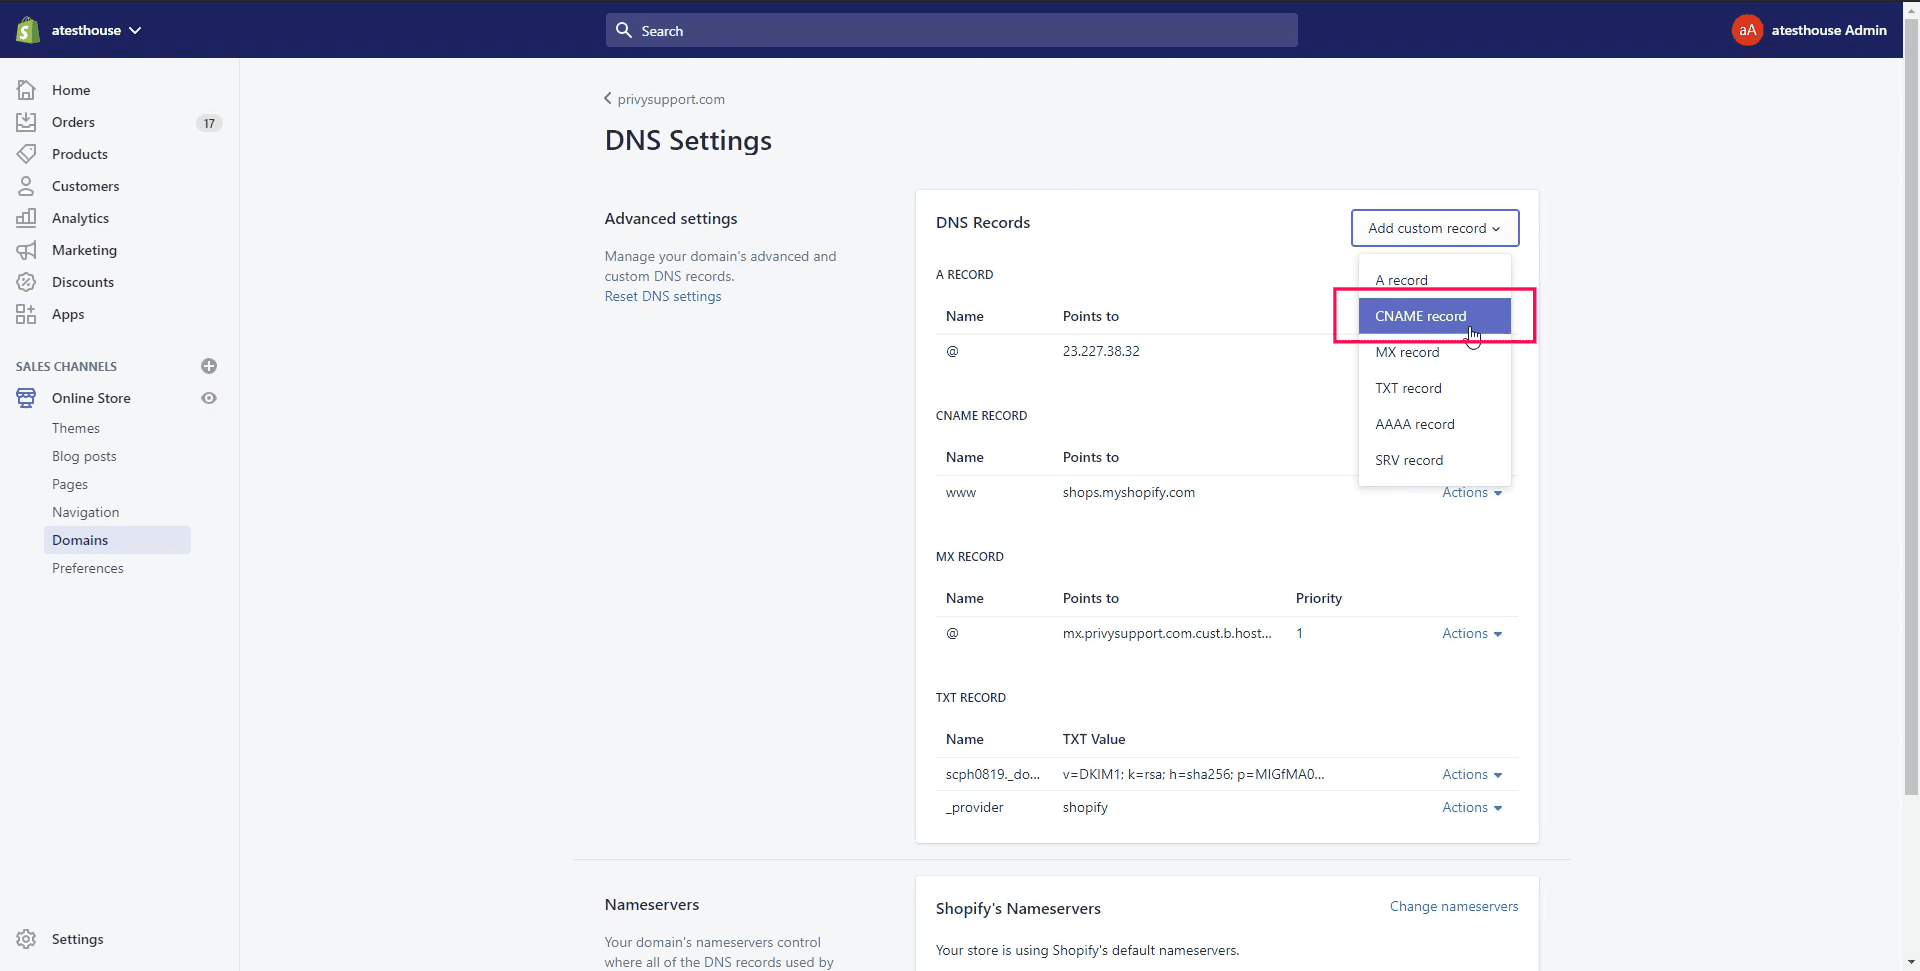
Step 7: Choose the CNAME record type.
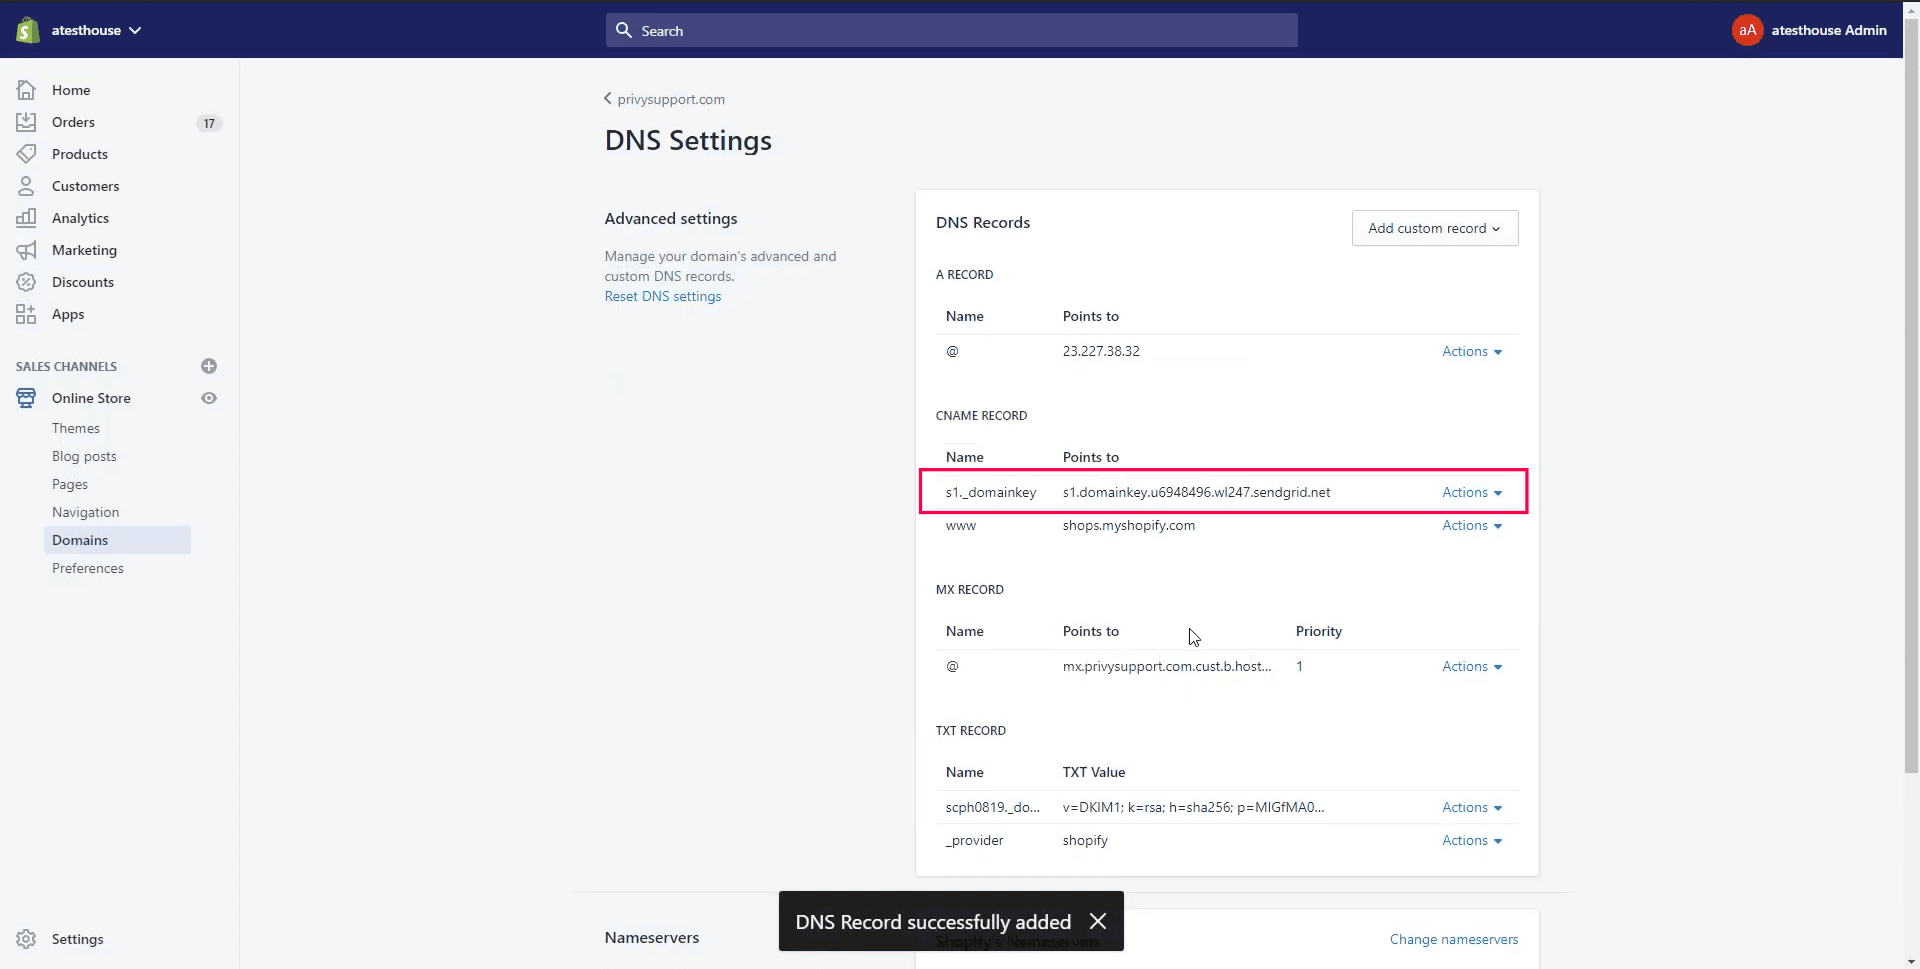
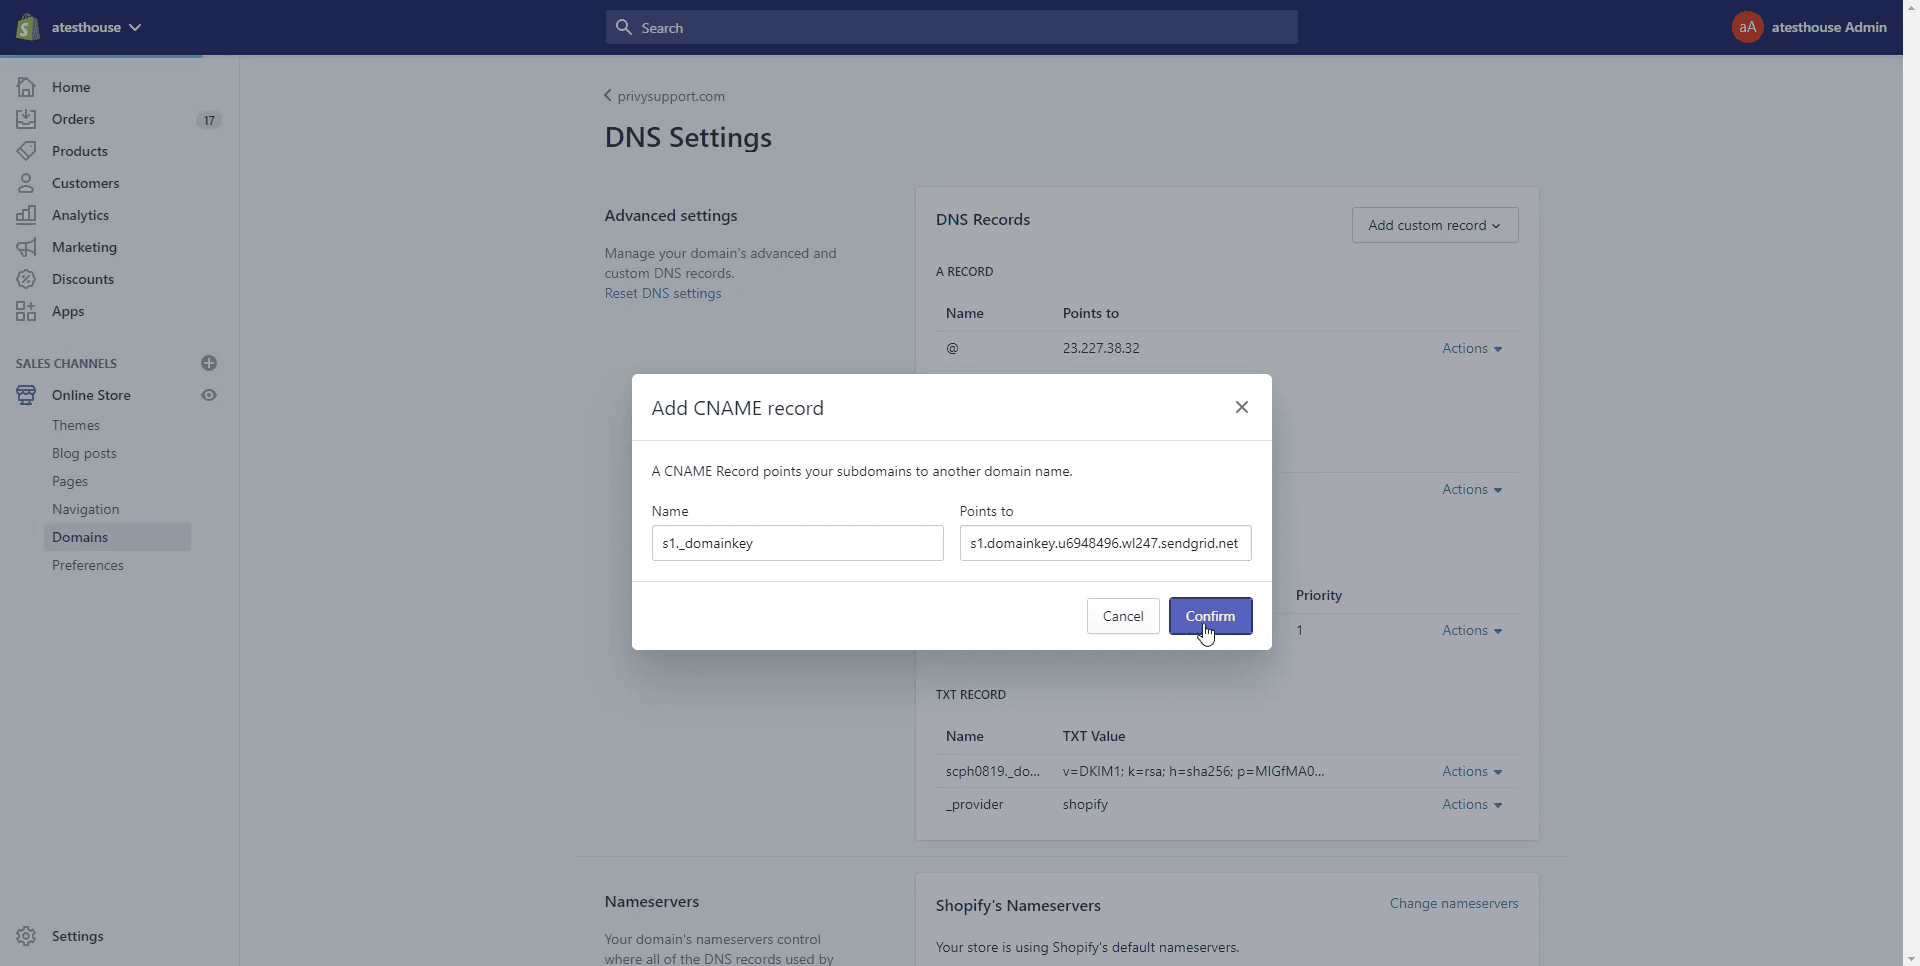
Step 8: Copy the CNAME record value shared by datahash and paste the same in the domain manager. Once done, click on Confirm
Step 9: The records are added.